How To: Set up Product Features
Note
Tutorial Difficulty: 1 / 3
Product features are various traits and properties of the product. You can use features in product filters to allow customers to find products with specific parameters.
Add a Feature
In the Administration panel, go to Products → Features.
Click the + button in the top right corner and choose Add feature.
Fill in the following fields in the opened New feature window:
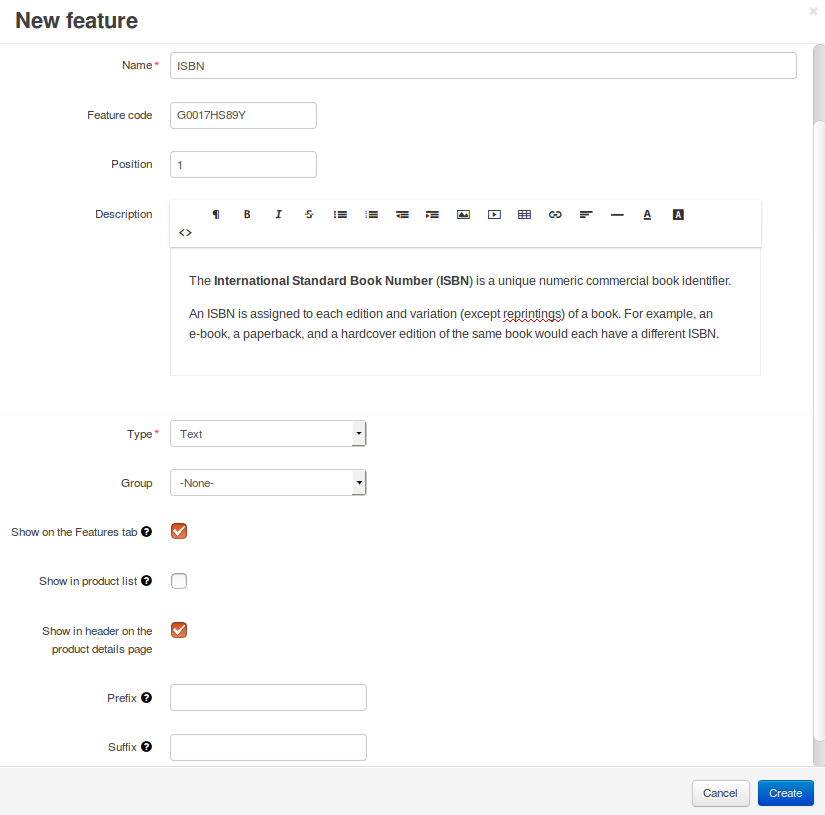
Name—the name of the feature.
Store—the store to which the product feature originally belongs.
Feature code—the code to identify the feature.
Position—the position of this feature relative to other features.
Description—the description that appears when a customer clicks the ? link on the Features tab of the product page on the storefront.
Type—the type of the feature.
Note
If you choose Multiple checkboxes or one of the Select box types, remember to specify feature variants on the Variants tab.
Group—the group to which feature belongs.
Hint
Use None for a feature that shouldn’t be a part of any group.
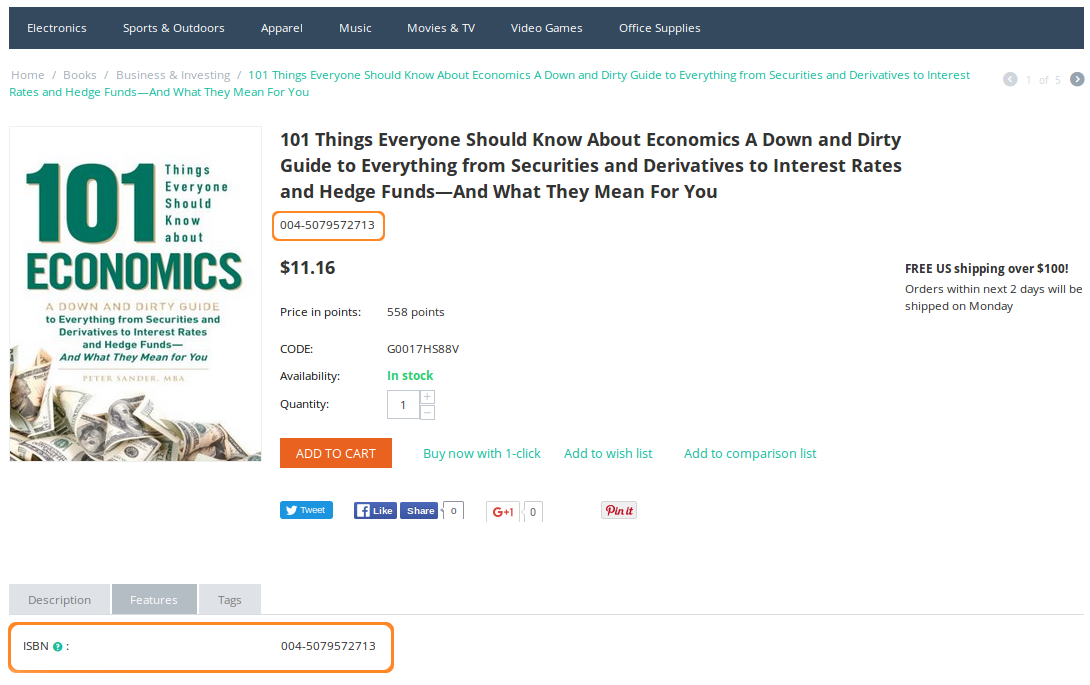
Show on the Features tab—determines whether or not to show the product feature on the product page.
Show in product list—determines whether or not to show the feature on the product list page on the storefront among other product details.
Show in header on the product details page—determines whether or not to show the feature under the product header.
Prefix—the text that appears before the value of the feature.
Suffix—the text that appears after the value of the feature.
(optional) By default, the feature will be available in all product categories. To limit the feature to certain categories, follow the steps below:
Switch to the Categories tab.
Important
If a feature belongs to a group, its categories are the same as the categories of the group. The Categories tab won’t appear for the feature in that case.
Click the Add categories button.
Tick the checkboxes of the categories where this feature should be available.
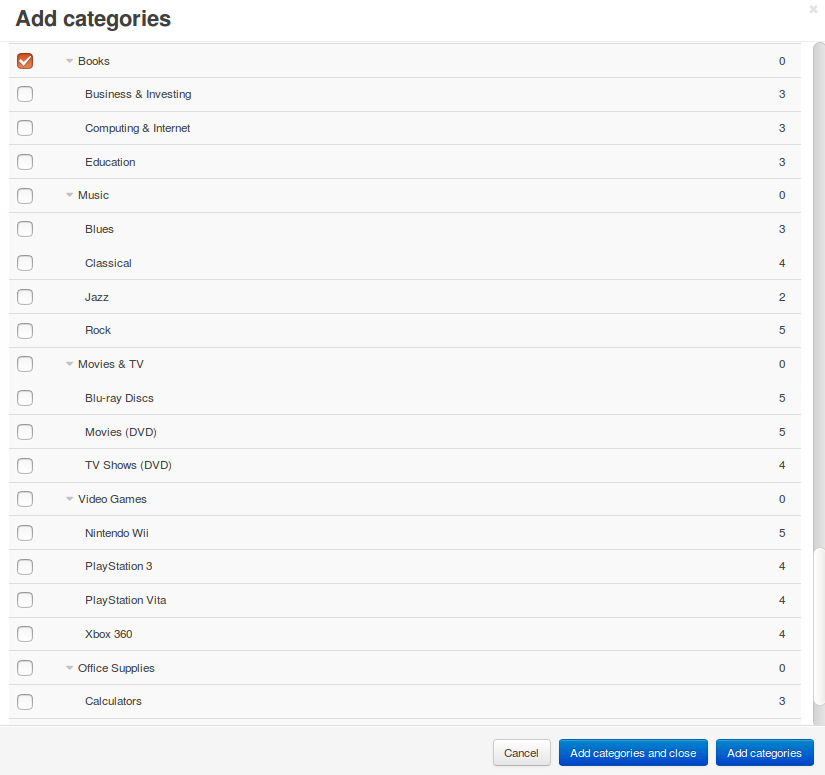
Click Add categories and close.
Note
A feature available in a category is also available in its subcategories.
Click the Create button.
Add a Feature Group
Feature groups allow you to keep your features organized and to assign categories to multiple features at once.
Warning
If you delete a feature group, all the features of of that group will be deleted too.
In the Administration panel, go to Products → Features.
Click the + button on the right and choose Add group.
Fill in the following fields in the opened New group window:
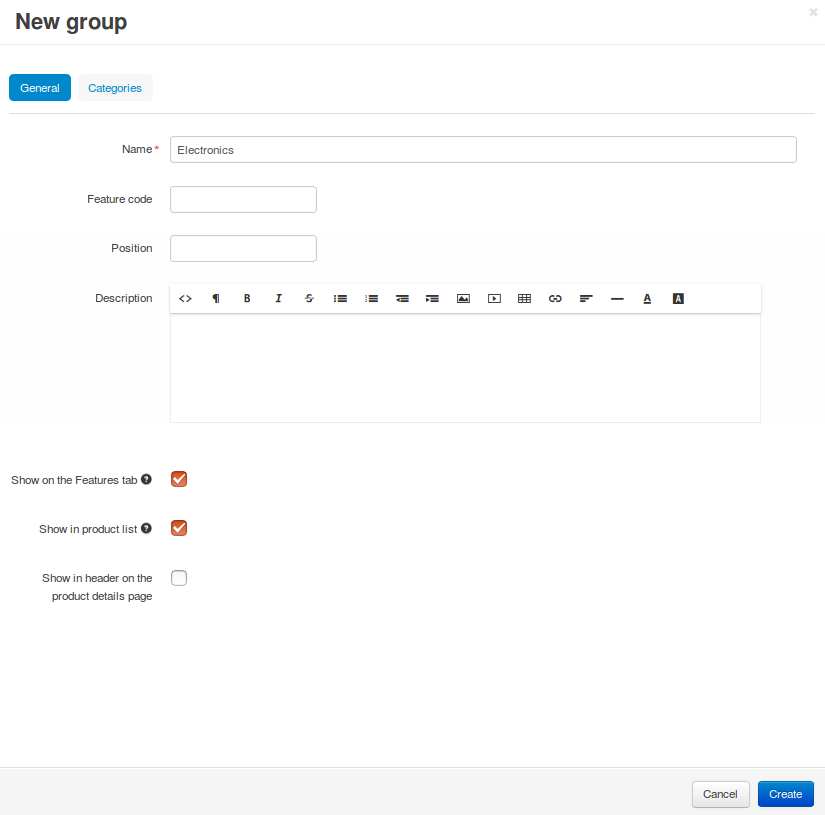
- Name—the name of the feature group.
- Store—the store to which the group originally belongs.
- Feature code—the code to identify the feature group.
- Position—the position of the feature group relative to other groups.
- Description—the description that appears when a customer clicks the ? link on the Features tab of the product page on the storefront.
- Show on the Features tab—determines whether or not to display the feature group on the product page.
- Show in product list—determines whether or not to show the feature group on the product list page on the storefront among other product details.
- Show in header on the product details page—determines whether or not to show the feature group under the product header.
(optional) By default, the feature group will be available in all product categories. To limit the group to certain categories, follow the steps below:
- Switch to the Categories tab.
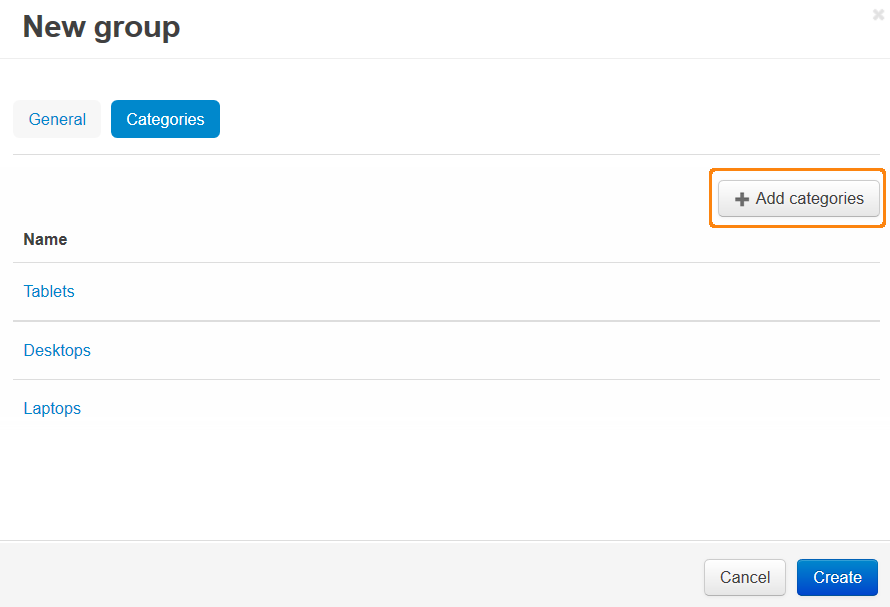
Click the Add categories button.
Tick the checkboxes of the categories where this feature group should be available.
Important
A group determines the categories for all the features that belong to that group.
Click Add categories and close.
Click the Create button.
Specify Features of the Products
Single Product
Go to Products → Products.
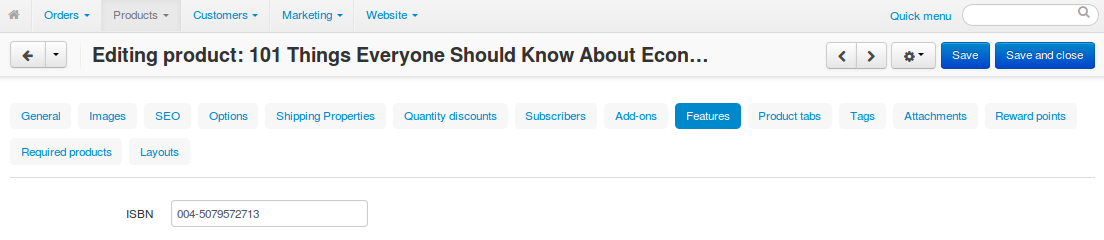
Click the name of the desired product.
Switch to the Features tab.
Specify the value of the feature.
Click the Save button.
Multiple Products
- Go to Products → Products.
- Tick the checkboxes next to the names of the desired products.
Hint
Use the search panel on the right to find the products faster.
Click the gear button in the top right corner and choose Edit selected.
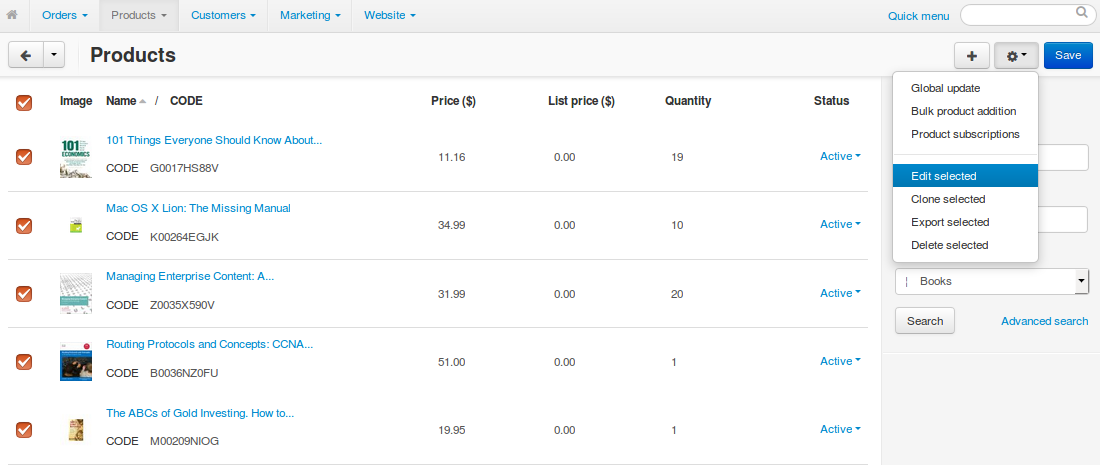
A pop-up window will appear. Click Unselect all, then tick the Features checkbox.
Click Modify selected.
Specify the values of the features for the selected products.
Click the Save button in the top right corner.
Note
You can also add features to products using product import. The description of the correct format in the Imported fields format article.
Questions & Feedback
Have any questions that weren't answered here? Need help with solving a problem in your online store? Want to report a bug in our software? Find out how to contact us.