How To: Enable Customers to Create and Buy Gift Certificates
Important
Before you proceed, go to Add-ons → Manage add-ons and make sure the Gift Certificate add-on is installed and enabled.
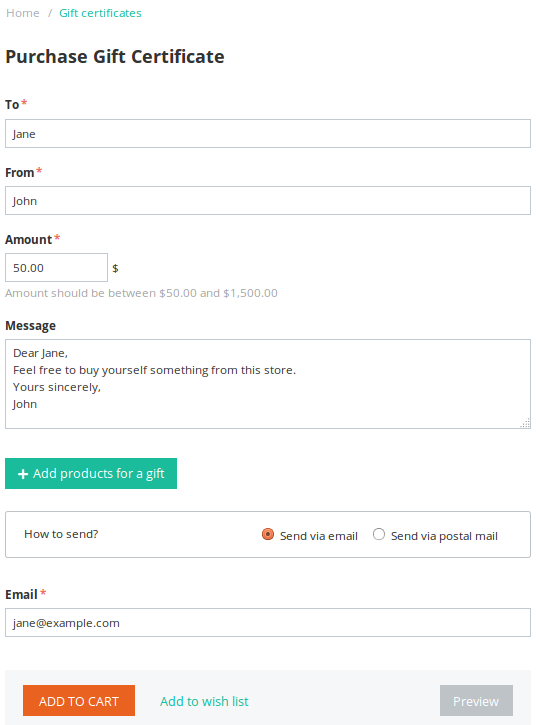
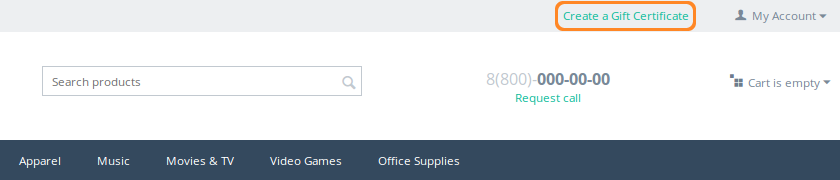
The Gift Certificate add-on provides a special page where customers can create gift certificates, add them to cart, and buy them like any other product.
If the link doesn’t exist in your store, you’ll be able to add it manually as described in this article.
Note
Enter example.com/index.php?dispatch=gift_certificates.add in the address bar of your browser to access the gift certificate creation page. Replace example.com with the domain name of your store. Customers can also use this URL.
Step 1. Create a Menu
1.1. Open the Administration panel of your store and go to Design → Menus.
1.2. Click the + button to add a new menu.
1.3. A pop-up will appear. Specify the menu’s name (for example, Gift Certificate) and set the status to Active, then click Create. You’ll be able to see the new menu on the list.

1.4. Let’s add a new item to the menu. Click the menu’s name and then click the + button on the page that opens.
1.5. Configure the menu item in the pop-up that will appear:
- Enter the name of the menu item as it will appear on the storefront.
- Enter
gift_certificates.addin the URL field. - Specify any other settings you need, then click Create.

Step 2. Display the Menu in a Block
For your new menu to appear on the storefront, you need to put it into a block.
2.1. Open the Administration panel of your store and go to Design → Layouts.
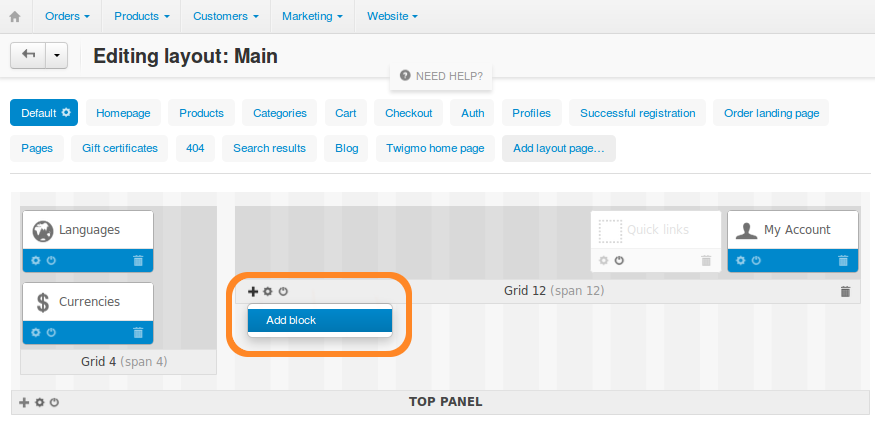
2.2. Find the place where you want the menu to appear. For example, let’s put our menu on the Default layout in the Top Panel container.
2.3. Use the + button and click Add block to add the block of the menu to an existing grid.
Hint
You can also create a new grid for a block by using the + buttons of one of the 4 containers: Top Panel, Header, Content, and Footer.
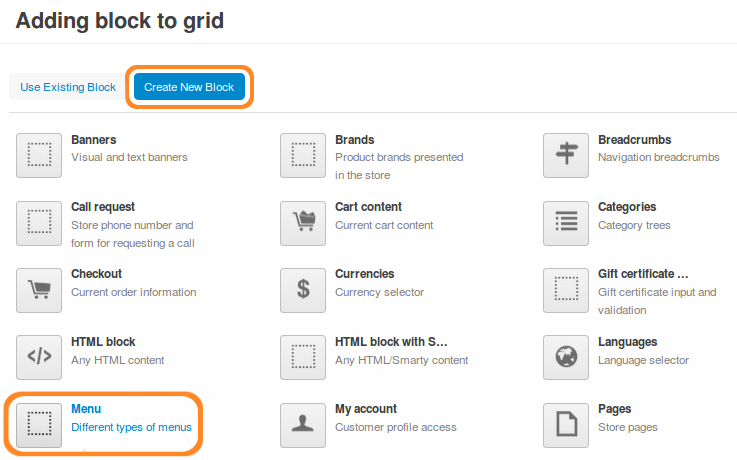
2.4. A pop-up will appear. Switch to the Create New Block tab and click Menu.
2.5. On the new pop-up, configure the block by filling in the data on the following tabs:
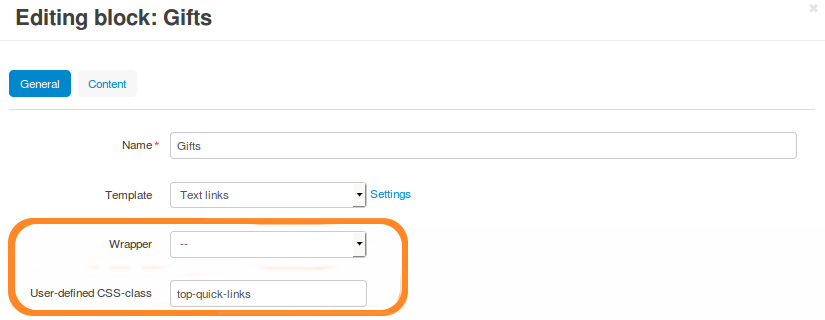
- General—specify the name of the block (for example, Gifts) and the type of the menu (Text links)
- Content—select the menu to display in the block (Gift Certificate in our case)
2.6. Click Create. The new block should appear on the grid, and the menu should now be visible to customers.
2.7. You can also customize the look of your new menu. Click the gear button (Block options) of the newly-created block. Now you can select a wrapper and specify a CSS class for the block.
Note
In this example we used the top-quick-links class of the Responsive theme.
2.8. Congratulations! Now your customers can reach the gift certificate creation page by using the new menu.
Questions & Feedback
Have any questions that weren't answered here? Need help with solving a problem in your online store? Want to report a bug in our software? Find out how to contact us.