How To: Create an Autoresponder
To set up an autoresponder:
- Open the Add-ons → Manage add-ons section and make sure that the Newsletters add-on has an Active status.
- Go to Marketing → Newsletters → Autoresponders.
- Click the + button to add an autoresponder.
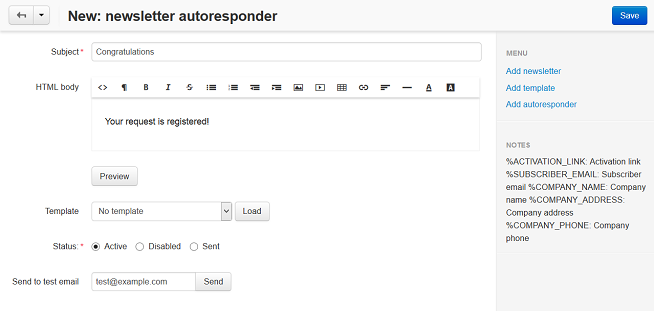
- Fill in the following fields:
- Subject — enter a subject. This text will be displayed in the e-mail subject.
- HTML body — enter the e-mail text. This field is used to send the e-mail in the HTML format. Please note that this format is not supported by some e-mail programs. If you are not familiar with HTML, you can add a formatted description using the built-in WYSIWYG editor.
- Template — select a template. If no template is created, create a template.
- Status — status of an autoresponder.
- Send to test email — enter a test e-mail address. Click the Send button to send a test email.
- Click Create.
After the autoresponder is created, you can select it for a newsletter.
To assign the autoresponder to a newsletter:
- Go to Marketing → Newsletters → Mailing lists.
- Click on the name of the mailing list.
- Find the Confirmation e-mail field and select the autoresponder in the drop down box.
- Click Save.
The autoresponder e-mail will be sent to subscriber after he/she is subscribed to the mailing list.
Questions & Feedback
Have any questions that weren't answered here? Need help with solving a problem in your online store? Want to report a bug in our software? Find out how to contact us.