How To: Install and Configure PayPal Adaptive Payments Add-on
Note
The PayPal Adaptive Payments add-on comes with Multi-Vendor starting with version 4.5.1. Please note that PayPal doesn’t accept new registrations for Adaptive Payments. The article is relevant only for the existing users of that solution.
Open the Administration panel and go to Add-ons → Manage add-ons.
Switch to the Browse all available add-ons tab and install PayPal Adaptive Payments.
Important
Please make sure you have the Vendor plans add-on installed. Otherwise you won’t be able to install PayPal Adaptive Payments.
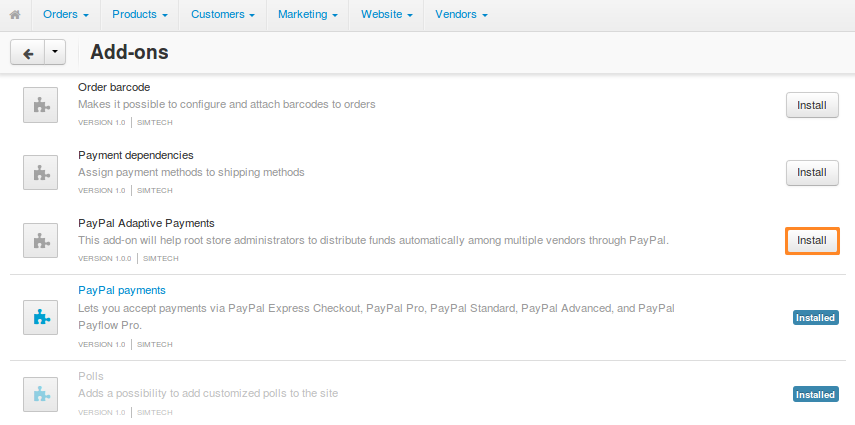
If the installation is successful, find PayPal Adaptive Payments and click on its name to access the add-on’s settings.
A pop-up window open. Configure the add-on’s settings there:
Commission includes—this radio button determines how the funds will be diverted to the store owner. There are 2 ways:
Order commission—when an order is paid, the commissions specified via the Vendor plans add-on will be deposited in the store owner’s account automatically. The remaining money will be distributed among vendors, and completed withdrawals will be created for vendors automatically. Payouts will be ignored.
Order commission and unpaid payouts—when an order is paid, the commissions specified via the Vendor plans add-on will be deposited in the store owner’s account automatically.
If a vendor owes the store owner a certain sum, that sum will be taken from the vendor’s share in the order and diverted to the store owner’s account as well.
Important
If the vendor’s share in the order can cover all of the vendor’s pending payouts, those payouts will be marked as Completed. Otherwise they’ll remain with the Pending status until the remaining debt is covered by one of the next orders.
After that, if the vendor’s share has any sum of money left, it will be deposited in the vendor’s account and recorded as a completed withdrawal.
PayPal Adaptive logo—the logo that will appear on the PayPal page during checkout at the top of the cart review area. Your image shouldn’t be wider that 190 pixels and higher than 60 pixels. PayPal crops larger images.
Display verification status to customers—this checkbox determines whether or not to display the PayPal verification status of the vendor on a product page next to the vendor’s name.
Important
By PayPal verification we mean that a vendor provided a correct email associated with a functioning PayPal account.
Verification image—if you don’t upload an image, the verification status next to the vendor’s name on a product page will appear as text. Otherwise, the uploaded verification image will replace the text status.
- Image width—the width of the verification image.
- Image height—the height of the verification image.
Use this link to get E-mail verification status of your vendors via CRON—this link checks the verification statuses of all vendors at once.
We recommend you set up a CRON job to do this regularly. It’s important, because when a customer buys products from multiple vendors in one order, all those vendors must be verified.
Once you have configured the add-on, click Save. Now it’s time to create a payment method that uses PayPal Adaptive Payments.

Questions & Feedback
Have any questions that weren't answered here? Need help with solving a problem in your online store? Want to report a bug in our software? Find out how to contact us.