How To: Add a Banner to the Homepage
Step 1. Create a Banner
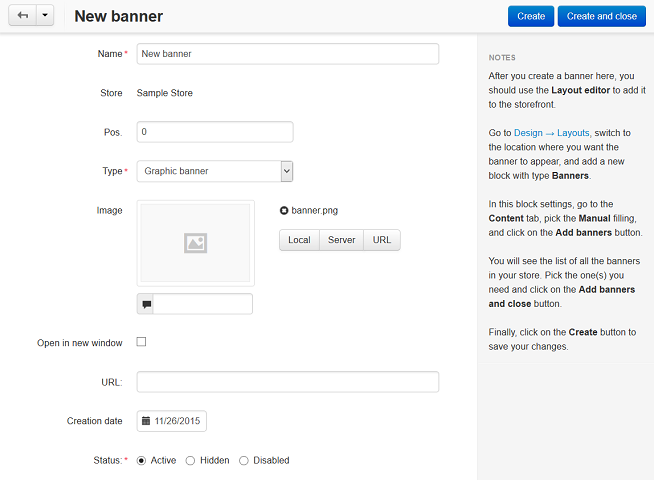
- Go to Marketing → Banners in the Administration panel of your store.
- Click the + button on the right and in the new page:
- Specify the Name of the banner (e.g. New banner).
- In the Type select box select Graphic banner.
- Upload an image for the banner.
- Tick the Open in new window (graphic banner only) checkbox, if you want the URL under the banner to be opened in a new window/tab.
- If needed, specify the URL to which the banner is linked in the URL (graphic banner only) field.
- Click the Create and close button.
Step 2. Add the Banner to the Homepage
To make a banner appear on the homepage, you’ll need to create a block for banners there first.
- Go to Design → Layout and switch to the Homepage tab.
- Click + in the desired container and choose Add block.
- Go to the Create new block tab and choose Banners. In the new window:
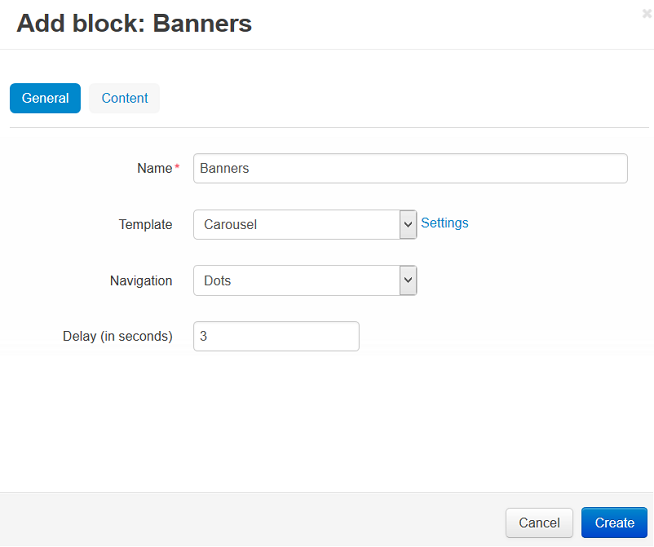
- Specify the Name of the block (e.g. Banners).
- Select Carousel in the Template select box and click the Settings link next to it:
- Navigation — choose how a visitor can switch between the banners in the storefront.
- Delay (in seconds) — set how quickly the banners change.
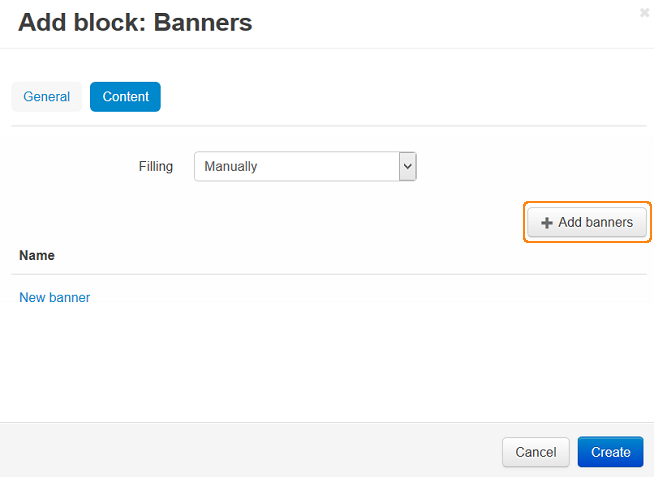
- Go to the Content tab and choose Manually as Filling.
- Click Add banners and choose banners you want to display in the storefront. Click Add banners and close.
- Click the Create button.
Questions & Feedback
Have any questions that weren't answered here? Need help with solving a problem in your online store? Want to report a bug in our software? Find out how to contact us.