How To: Install CS-Cart on a Host with cPanel
Note
Tutorial Difficulty: 1 / 3
In this tutorial, you will learn how to install CS-Cart on a virtual host with cPanel in 4 easy steps. cPanel is one of the most popular hosting control panels.
Even if your host offers another control panel, you may still find this tutorial useful.
Note
CS-Cart works on any host that supports MySQL and PHP. You can learn about the minimum requirements here.
Step 1. Create a MySQL Database
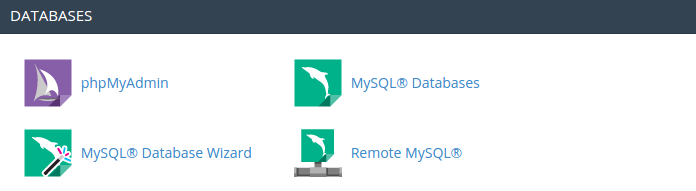
1.1. The easiest way to set up your first database is to use a wizard. Go to cPanel → Databases → MySQL Database Wizard.
Note
If the cPanel provided by your web hosting service doesn’t have MySQL Database Wizard, use MySQL Databases. Create a database and a user, then add the user to the database. Make sure to give the user All Privileges.
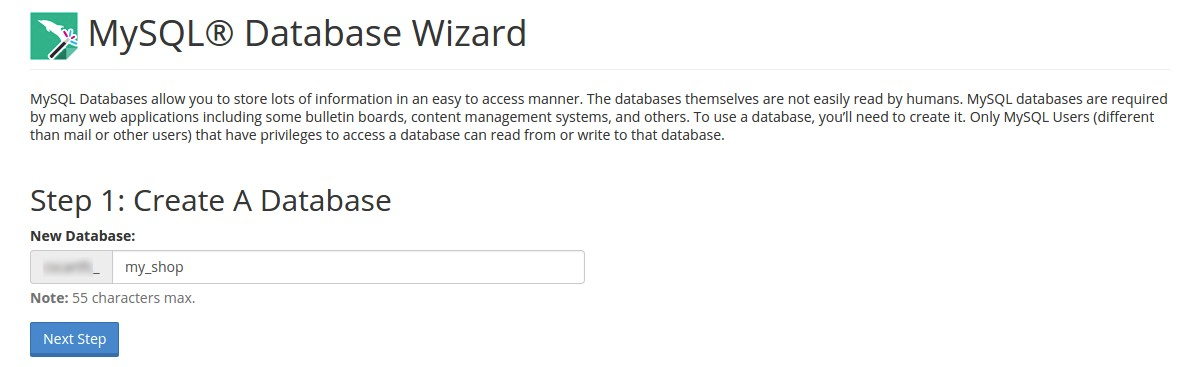
1.2. Name your database and click Next Step.
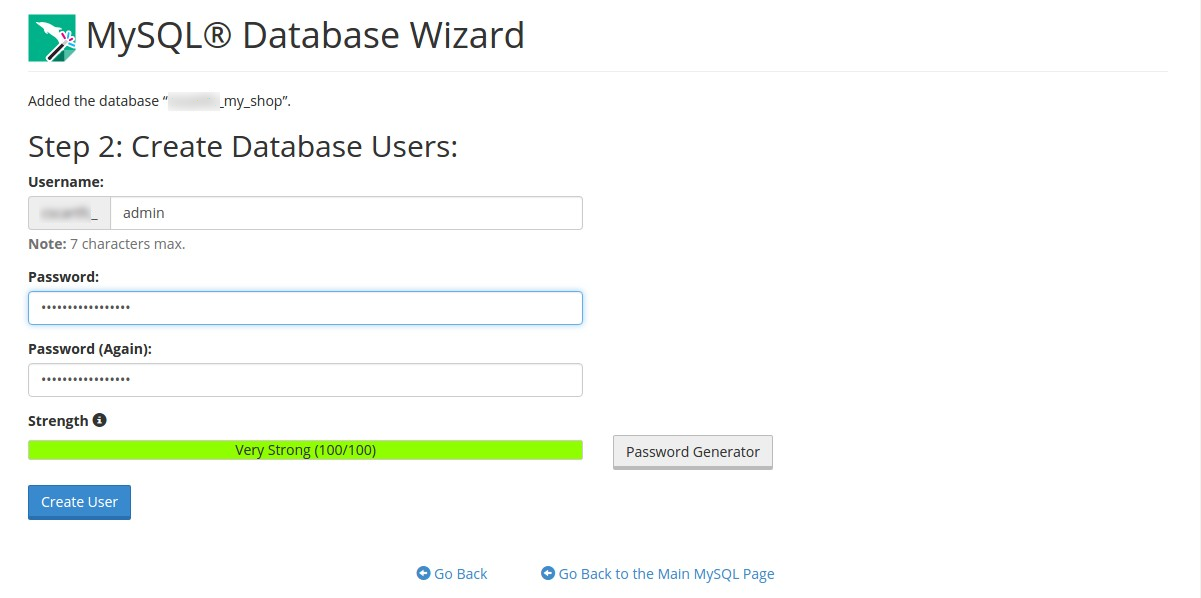
1.3. Create a user for your database. Enter a username and a password and click Create User.
Hint
If your password is shorter than 5 characters, cPanel might not accept it. If you can’t come up with a password, use the Password Generator.
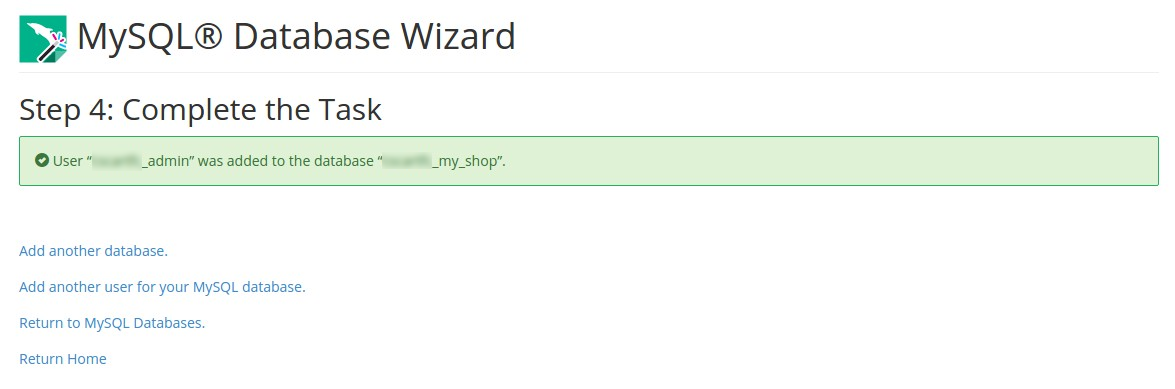
1.4. Add your newly created user to the database. Make sure to tick the All Privileges checkbox.
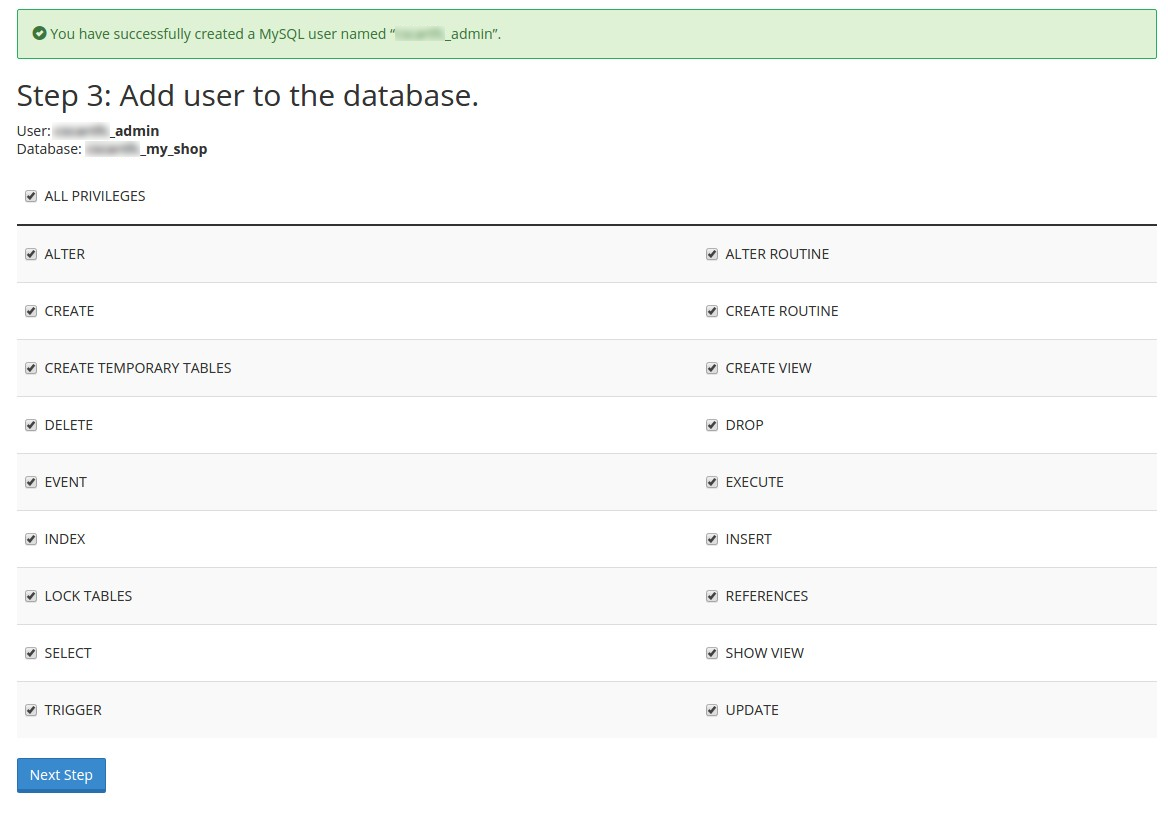
After you press the Next Step button, cPanel will offer you to create more databases and users — just press Return Home. If you want to see the newly created database, press Return to MySQL Databases.
Step 2. Upload CS-Cart to the Server
2.1. Download the latest version of CS-Cart or Multi-Vendor. Then go to cPanel → Files → File Manager.
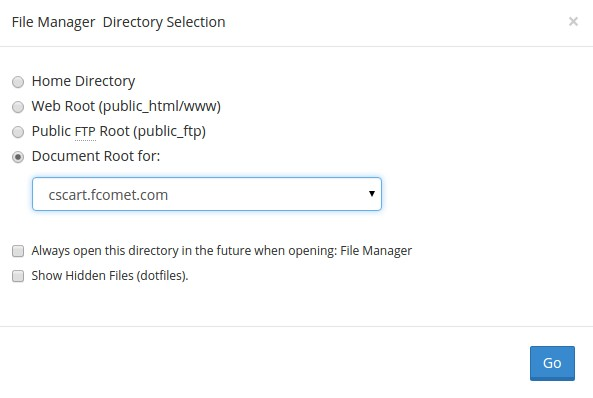
2.2. Select the directory for the File Manager to upload CS-Cart to. Choose Document Root for and select your domain name from the dropdown menu. In our case, it’s cscart.fcomet.com.
Important
You need to associate a domain name with your host’s IP first: find out what name servers your host uses for your domain, then use your domain registrar’s control panel to associate your domain name with the name servers. We suggest you read this article to learn more.
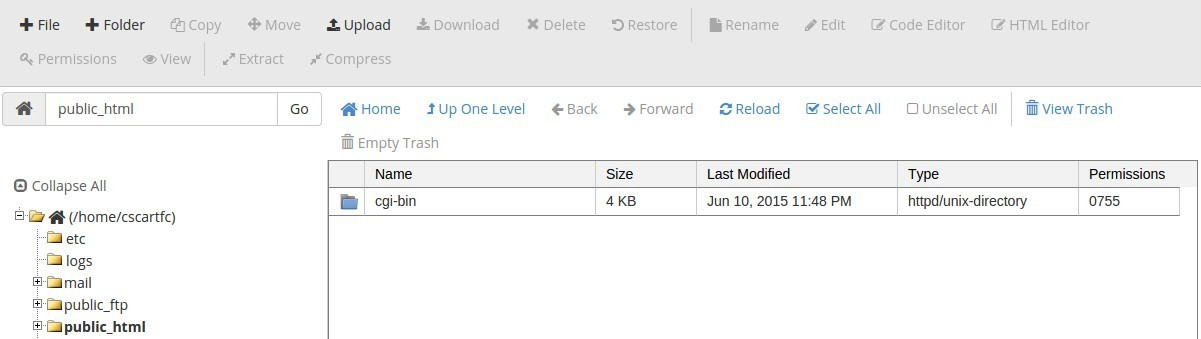
2.3. It’s time to upload the CS-Cart archive (the file you got in Step 2.1) to the server. Press the Upload button and select the cscart_v4.x.x.zip archive that you got earlier.
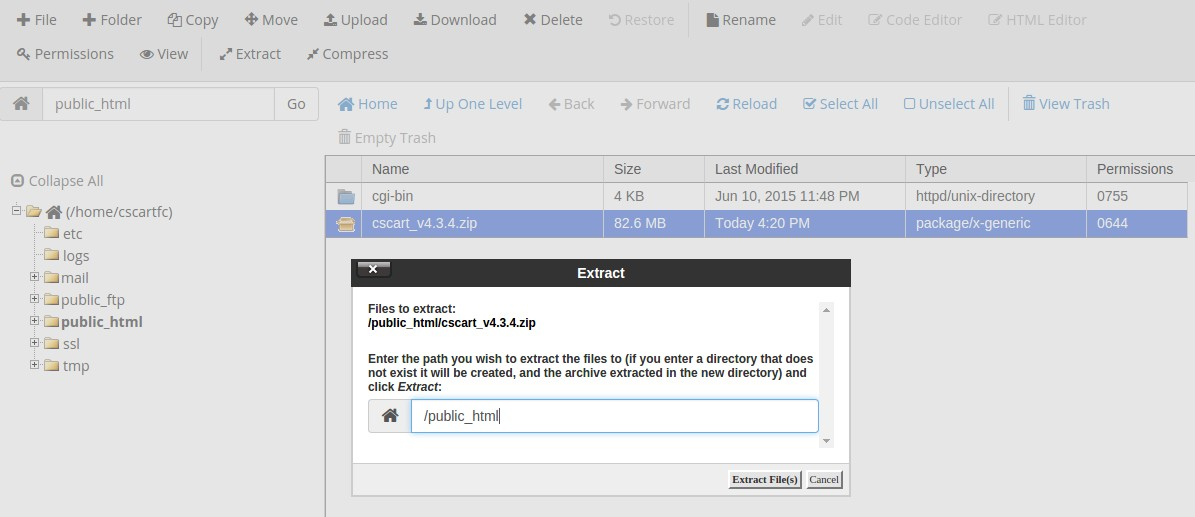
2.4. Select the uploaded file and press the Extract button.
Step 3. Install CS-Cart
3.1. Open your store’s URL in a browser. You’ll see a message that CS-Cart is not installed. Let’s fix this by clicking the [install] link.

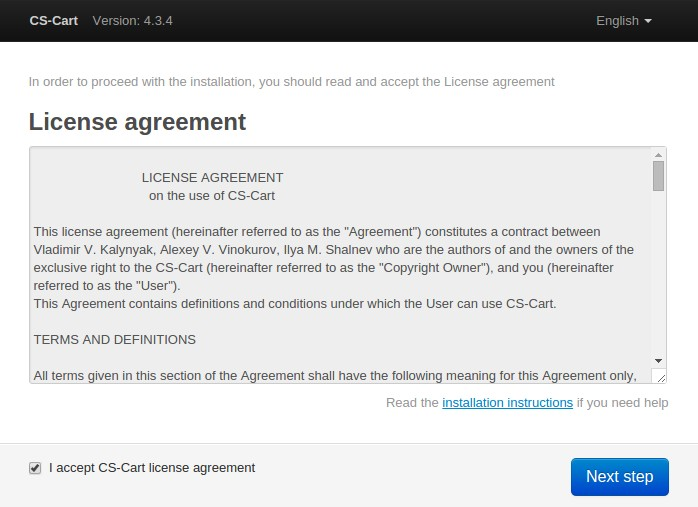
3.2. Read and accept the License Agreement in order to proceed.
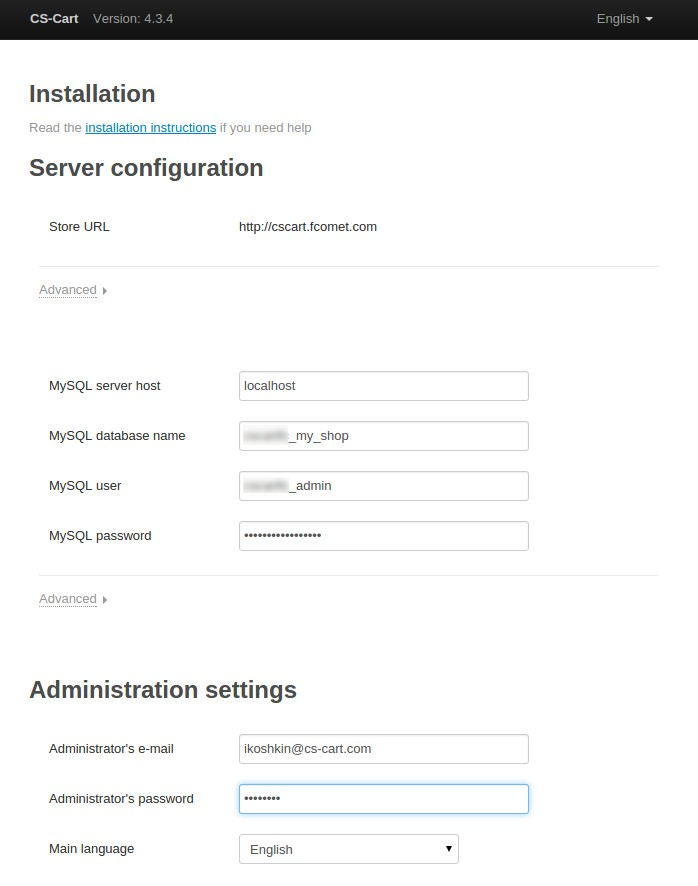
3.3. Fill in the form using the details below:
| MySQL Server Host | Enter the DNS name or IP address of your MySQL server. Usually it’s localhost (because the database and the website are stored on the same server). |
| MySQL Database Name | Enter the name of the database you created in Step 1.2. Remember that the database name includes a prefix that you also need to add. |
| MySQL User | Enter the username you created in Step 1.3. Again, remember the prefix. |
| MySQL Password | Enter the password of the MySQL user (see step 1.3). |
| Administrator’s Email | Enter your email here. CS-Cart will use it to notify you about new orders, call requests, and other important events in your store. |
| Administrator’s Password | Enter the password you will use to access the CS-Cart administration panel. |
| Main Language | English (or any language of your choice). |
Note
Additional languages are available under the Advanced tab of Administration settings. You can enable or disable them now or later.
3.4. If this is your first time with CS-Cart and you want to see what your store will look like once you add the details about your products, fill your store with demo products, orders, and banners.
To do that, tick the Install demo data checkbox. You can always remove demo data later. We’d appreciate it if you helped us make CS-Cart better. Tick the Help us improve CS-Cart checkbox to send anonymous usage statistics.
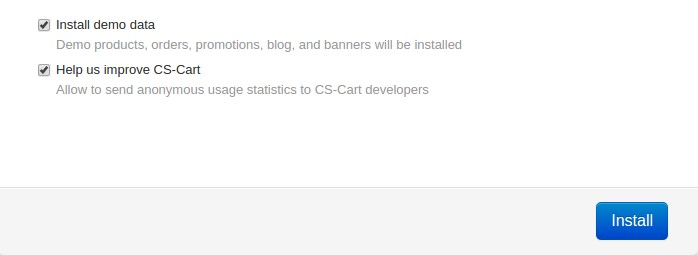
3.5. After you press Install you’ll see the progress bar running. Please, don’t close the page during the installation. This is when CS-Cart settles in on your server and unpacks various themes and add-ons. Don’t worry, it won’t be long before your new store is good to go!

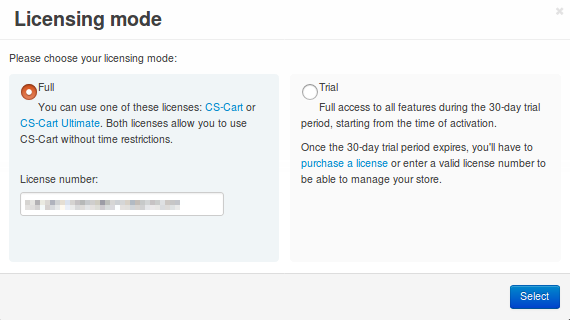
Step 4. Choose Your Licensing Mode
The next step is to choose your licensing mode. You have 2 options:
Enter your license number to enable the Full mode, that gives you unrestricted access to all CS-Cart features, i.e. several dozens of add-ons, multiple languages and currencies, unlimited number of product filters on the storefront, and more. You can purchase a license any time.
Note
You can enter your CS-Cart or CS-Cart Ultimate license number in this field.
If you don’t have a license yet, we offer a free 30-day trial with full access to all CS-Cart features. After the end of your trial period you’ll need to enter your license number to continue managing your store.
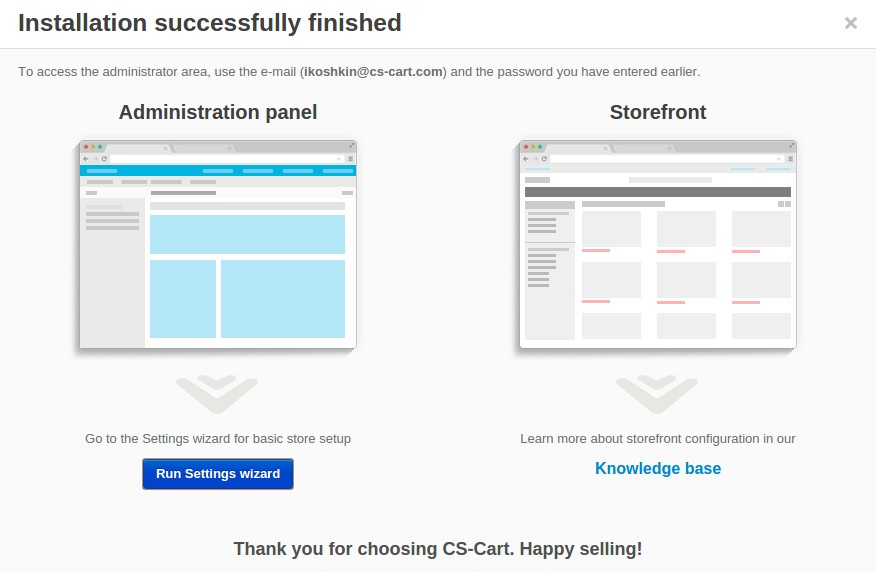
Once you choose your licensing mode, your online store is all set! Now you can go to the Storefront to view your store, or to the Administration panel to manage it.
Questions & Feedback
Have any questions that weren't answered here? Need help with solving a problem in your online store? Want to report a bug in our software? Find out how to contact us.