How To: Restrict Access to Administration Panel
In the Administration panel, go to Add-ons → Manage add-ons.
Make sure that the add-on is installed and activated.
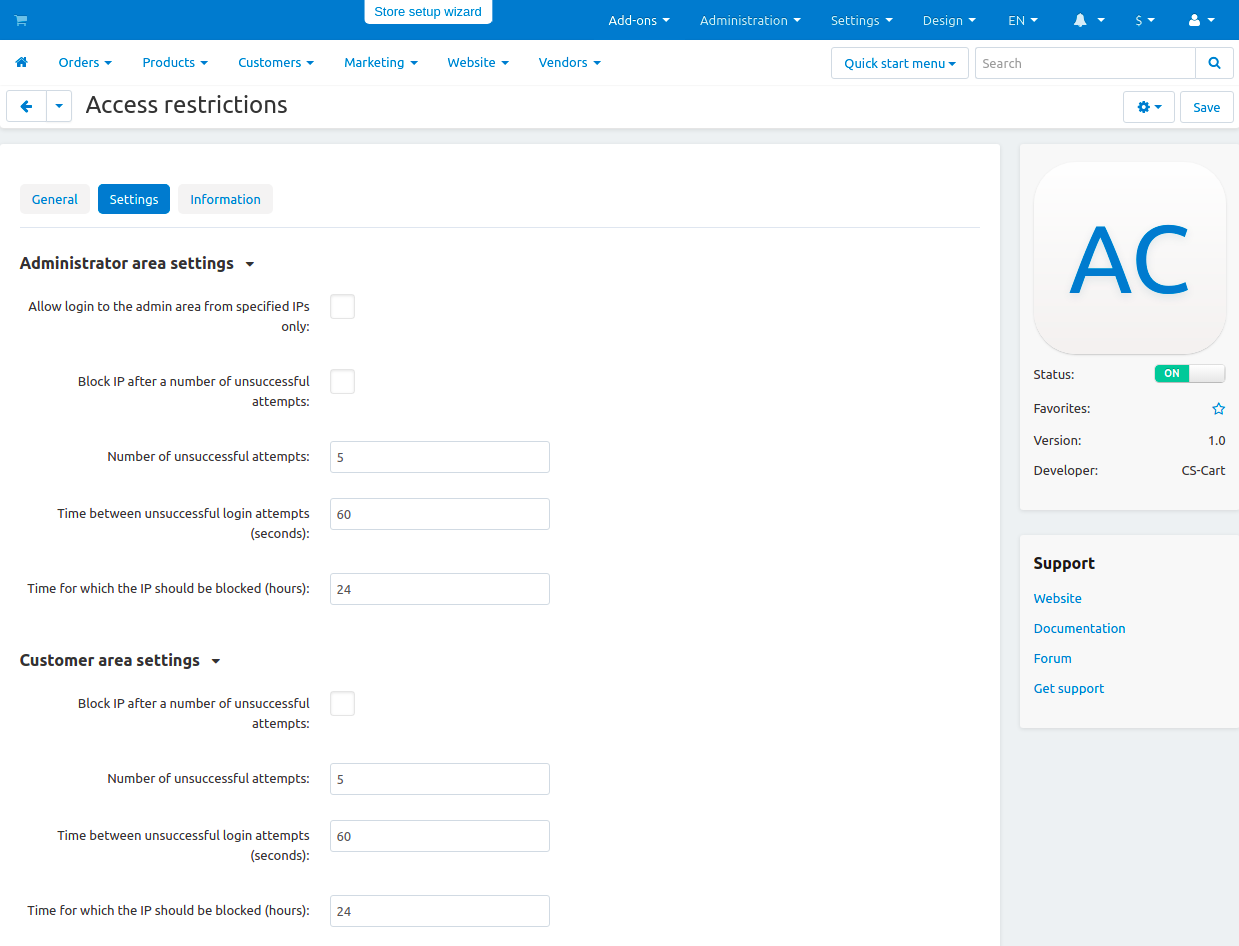
Click on the name of the add-on and open the Settings tab.
Tick the Allow login to the admin area from specified IPs only checkbox in the Administrator area settings section and click Save.
To specify the IPs:
Go to Administration → Access restrictions, and open the Administration panel tab.
Click the + button on the right to add IPs.
In the IP from and IP to fields enter the first and the last IP addresses of the interval of IPs, for which access to the administration panel will be allowed/restricted.
Set the Status field to Disable if you want to allow access to the admin panel for the specified interval of IPs. The Active status means that access will be denied for the specified IP addresses.
Important
The administrator IP is saved automatically in the Administration panel section.
Go to Add-ons → Manage add-ons and click on the name of the Access restrictions add-on to continue its editing.
Block IP after a number of unsuccessful attempts — tick if you want to deny any further attempts to login.
Note
The number of possible attempts should be specified below and the attempts have to be made within the period set in the Time between unsuccessful login attempts field.
Number of unsuccessful attempts — define how many unsuccessful attempts to login can be made before user’s IP address will be blocked.
Time between unsuccessful login attempts — specify the period within which attempts to login can be made.
Time for which the IP should be blocked — specify how long the IP address will be blocked after unsuccessful attempts to login.
Click Save.
Questions & Feedback
Have any questions that weren't answered here? Need help with solving a problem in your online store? Want to report a bug in our software? Find out how to contact us.