How To: Create a Blog
To create a built-in blog in your store:
Install the Blog add-on (if it is not installed yet):
- In the Administration panel of your store, go to Add-ons → Manage add-ons.
- Find the Blog add-on and click the Install button.
- Activate the add-on changing its status to Active.
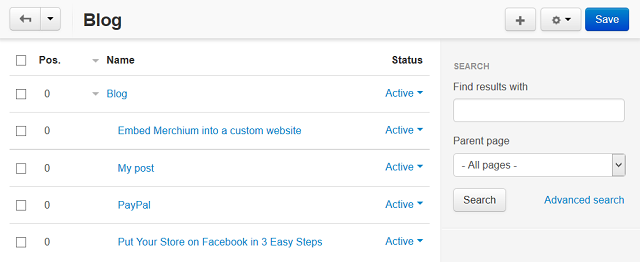
Create your blog posts:
- Go to the Website → Blog section.
- Click the + button in the top right corner of the page.
- Fill in the fields of the given form:
- Choose the parent page of a post. Leave it Root level page if you want this post to be displayed as the main page of a blog.
- Complete the Name field. It will be a blog post header.
- Place your blog post contents to the Post description field.
- Fill in other fields. Their description you can find here.
- Click Create and close. Your post will appear in the Website → Blog section.
- Choose you newly created post by clicking on its name. You will see two additional tabs on the post editing page: Comments (if the Comments and Rewiews add-on is enabled in your store) and Layouts.
- Manage settings in these tabs, if you wish. Their description you can find here.
- Save the changes.
- Create other posts of your blog in the same manner.
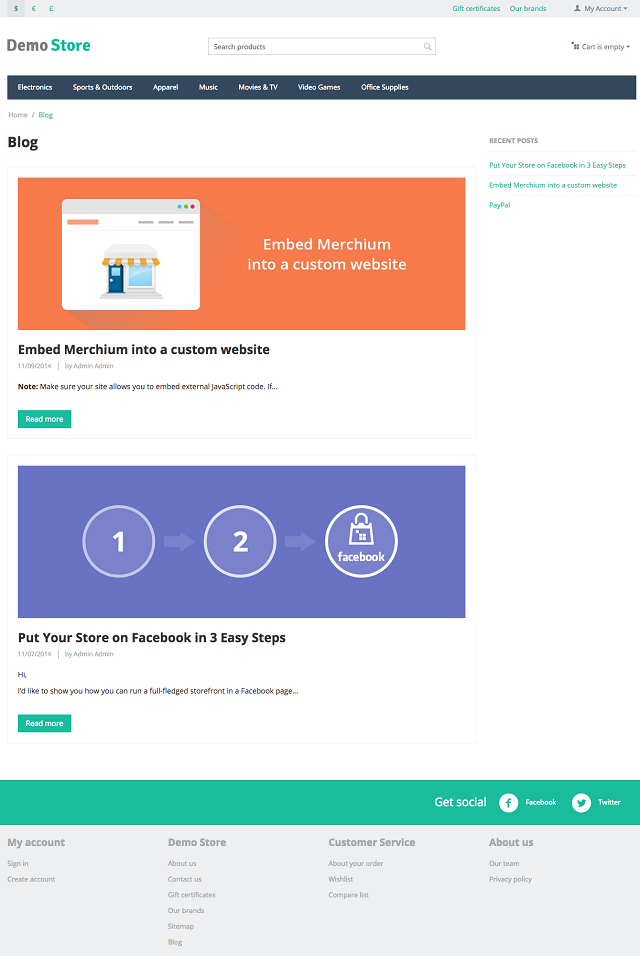
This is an example of how your blog page will look like in the storefront:
Note
To customize all blog pages appearance, go to the Design → Layouts section and choose the Blog layout page.
Hint
How to add the Recent posts section to your storefront you can read here.
Questions & Feedback
Have any questions that weren't answered here? Need help with solving a problem in your online store? Want to report a bug in our software? Find out how to contact us.