How To: Add a Tag Cloud
- In the Administration panel, go to Add-ons → Manage add-ons.
- Enable the Tags add-on (change its status to Active).
- Click on the name of the add-on.
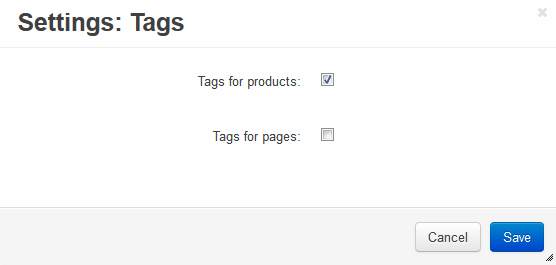
- Select the desired options:
- Tags for products – If selected, the functionality to add tags to product pages appears in the store.
- Tags for pages – If selected, the functionality to add tags to static content appears in the store.
- Click the Save button.

Set up tags for products:
- Go to Products → Products and click on the name of the product for which you want to create tags.
- Open the Tags tab on the page, in the Tags input field enter tag names one by one. Click the Tab button on your keyboard to create new tags.
- Click the Save and close button.

Add the Tag cloud section to the storefront:
- Go to Design → Layouts.
- Choose the layout page where you want to display the tag cloud. For example, click Homepage.
- Click the + button in a container where you want to display the tag cloud and choose Add block. Open the Create New Block tab, and choose Tags.
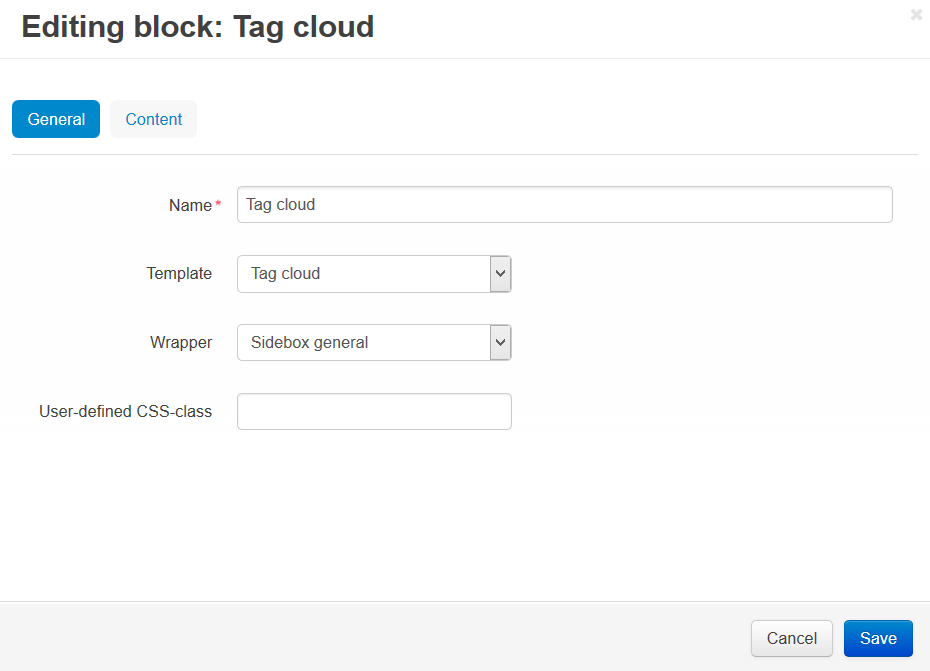
- In the opened window specify the block Name (e.g. Tag Cloud). In the Template select box select Tag cloud and click the Create button.
- Click on the gear icon of the created block:
- In the Wrapper select box select a wrapper.
- in the User-defined CSS-class input field specify the CSS-class, if needed.
- Click the Save button.

All the tags defined by the store administrator will be displayed in the Tag cloud block.
Note
After the block is created or changed, make sure it is displayed correctly. Sometimes not all wrappers are suitable for the blocks.
Questions & Feedback
Have any questions that weren't answered here? Need help with solving a problem in your online store? Want to report a bug in our software? Find out how to contact us.