How To: Import Images for Products
A product in CS-Cart and Multi-Vendor can have multiple images. To add images for a product, you normally need to open the product editing page, drag and drop the images into the special area, and save the changes. It’s a fast way, but sometimes admins need to update images for a large number of products at once. In this case they use product import. This article describes how to import images together with products.
Important
In most cases, images must be uploaded to the server of your store before you can import them.
Ways to Upload Images
Before you can import the images, you need to upload them. You can do it via:
- any FTP client of your choice;
- the built-in File editor.
File Editor
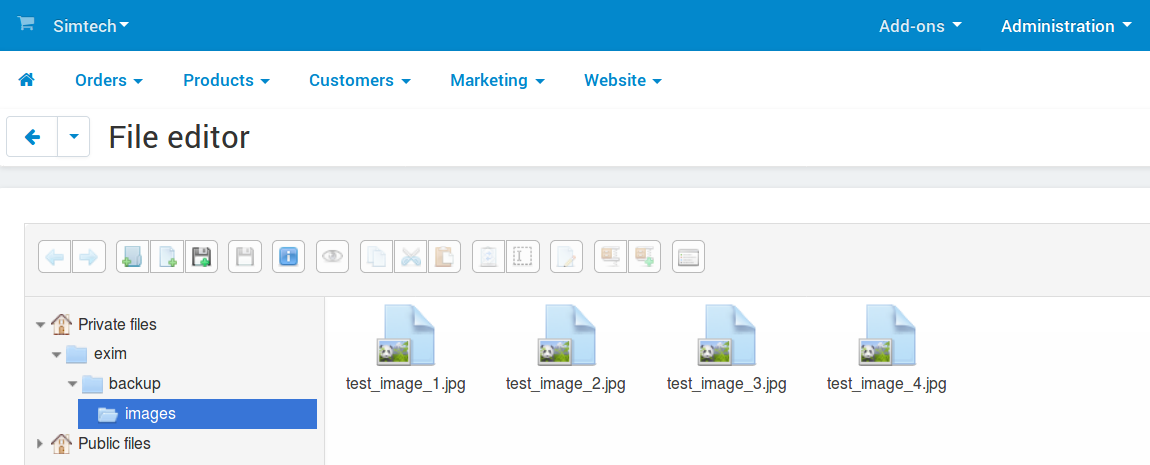
Let’s assume that we want to upload some images for products. They need to be added to the Private files section, into a special directory: exim/backup/images.
Go to Administration → Files in the admin panel of your store.
Choose the Private files section.
Go to the exim/backup/images directory; if it isn’t there, create it.
Upload your images into that directory. You can simply drag your images and drop them in the file area.
Congratulations! Our images are now located in exim/backup/images, and we can refer to them in an imported file.
FTP Client
Users of FTP clients can find the Private files directory in var/files/[number]. The [number] is determined by the ID of the store or vendor. So, if you want to add a private file for the first storefront (or if you have only one storefront), the path will be var/files/1. All you need to do is create the exim/backup/images subfolders and put the images there.
Hint
Public files are located in images/companies/[number].
Ways to Specify Images in Imported Files
There are multiple ways to specify where CS-Cart or Multi-Vendor should look for images.
Way 1. An image URL like
http://www.example.com/test_image.jpg.The URL doesn’t have to lead to your store—you can upload images to an image hosting service and use those URLs. The images will be copied to your server automatically during import.
Way 2. An absolute path from the root directory of your server to the image file. For example:
/path/to/cs-cart/var/files/1/test_image.jpg.Way 3. A relative path to the image file from the Private files section. For example:
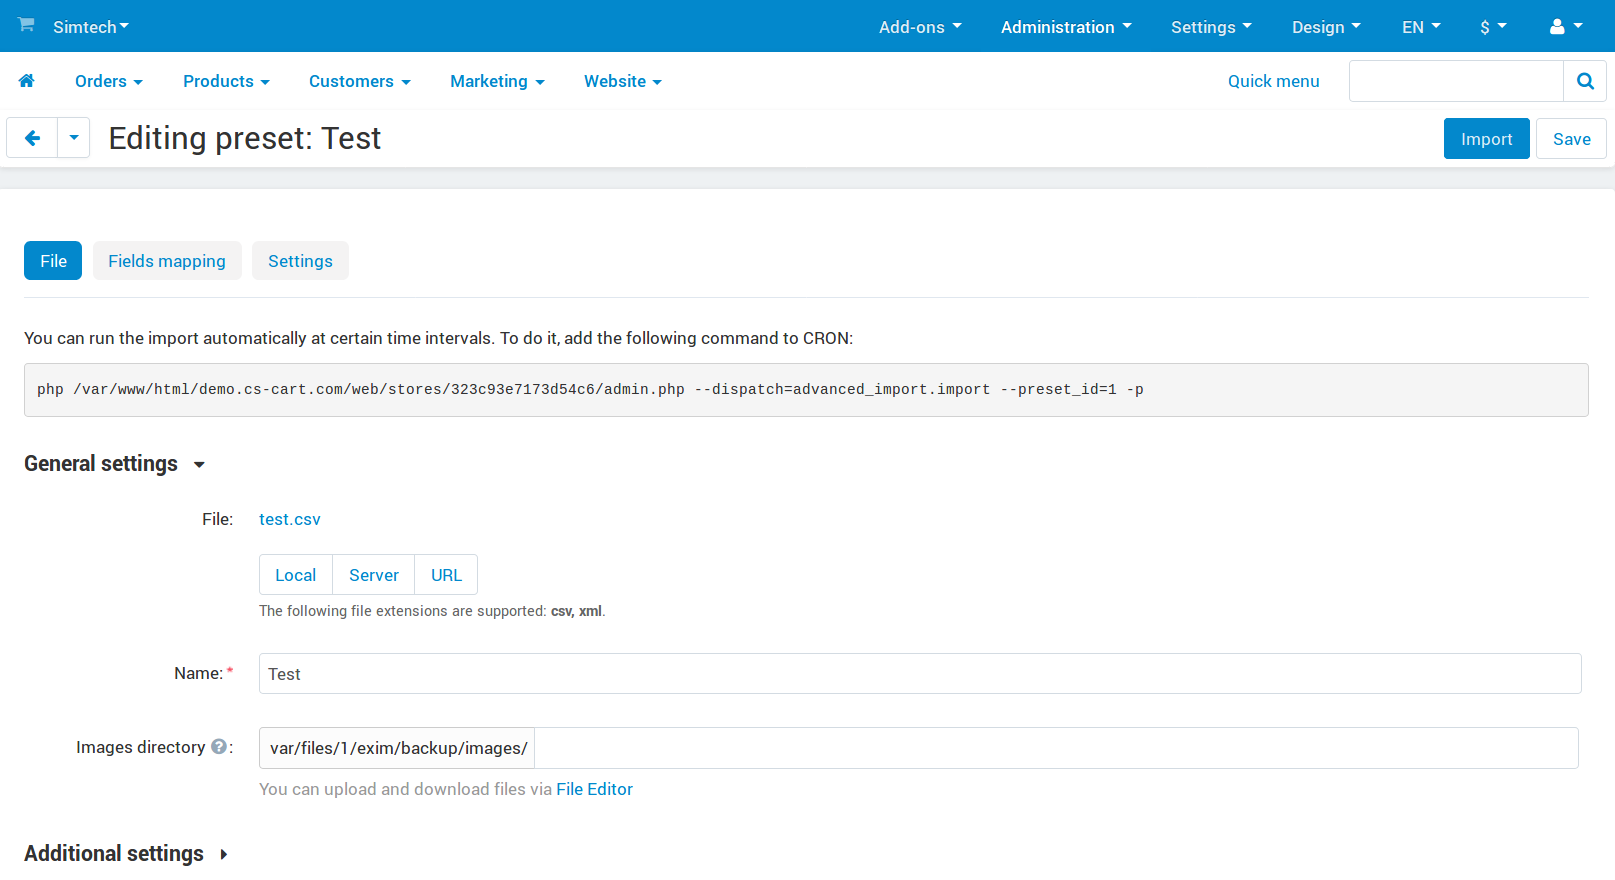
import/test_image.jpg.Way 4. Only the name of the image file:
test_image.jpg.In this case you’ll need to specify the path to image files in the CS-Cart administration panel: there is a special field called Images directory.
Note
The value of the Images directory is ignored for Ways 1 - 3.
Hint
You can also specify alternative text for images. Do it after the path or name of the image file, like
test_image.jpg#{[de]:ALT TEXT;[en]:ALT TEXT;}.
Example of Importing Images
Prepare the images and upload them where necessary. For example, let’s upload them to the exim/backup/images folder of the Private files section, as described above.
Prepare the imported file. Specify the product data in there as described in this article. For example, here is how to specify multiple images for a product.
Below you’ll find an example of the content of an imported file. You can copy this extract to an empty .txt file, change the file’s extension to .csv, and open it in a spreadsheet editor, for example LibreOffice Calc.
Product code;Language;Product name;Images
"T1";"en";"1st Test Product";"test_image_1.jpg///test_image_2.jpg"
"T2";"en";"1nd Test Product";"test_image_3.jpg///test_image_4.jpg"
Here’s what the content of the file means:
Product code—determines the product to which an image belongs. If you enter a non-existing product code in the imported file, a new product with the specified image will be created.
Hint
To update images of existing products, you need to know their product codes. Get the codes of existing products in a CSV file by exporting those products.
Language—a two-letter language code, for example,
en. This is a required field for importing products.Images—the names (and sometimes locations) of the product images.
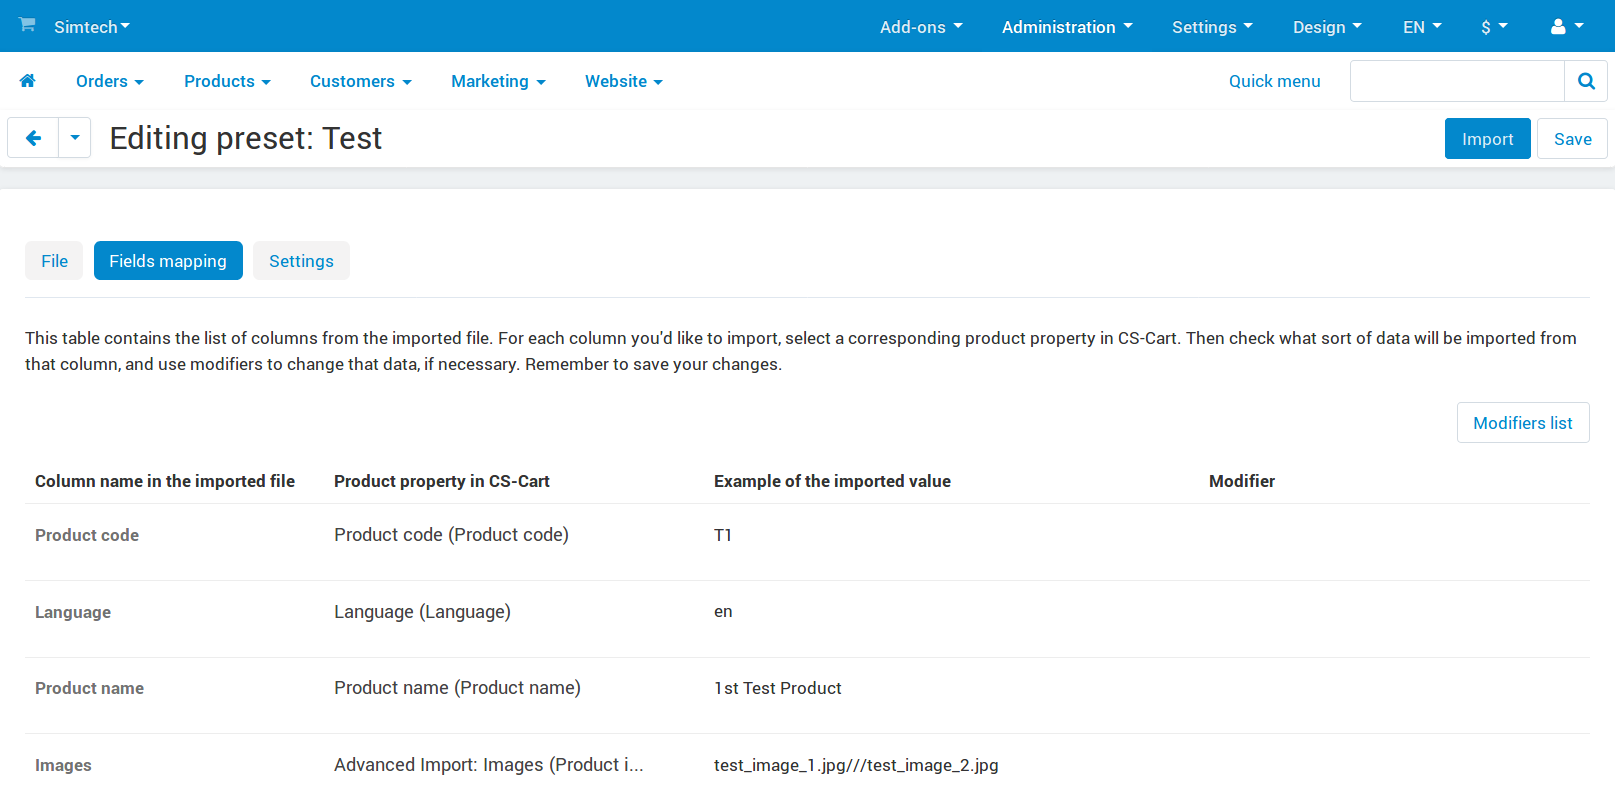
Import the products. When matching the columns on the Fields mapping tab, make sure to match each of the columns in the imported file with a product property in CS-Cart. Most of the columns have the same names as the corresponding product properties; the images column must be matched with Advanced Import: Images.
If necessary, you can also switch to the Settings tab and tick the Delete existing additional images checkbox in the additional settings. That way you’ll replace the the old images of the imported products with new ones, rather than adding the new images to existing ones.
Note
In this example, all images of a product are specified in one column and are separated from each other with the default
///image delimiter. The import preset settings allow you to enter a different delimiter. You can even specify each image in a separate column. In that case all columns with images must be matched with Advanced Import: Images.
Questions & Feedback
Have any questions that weren't answered here? Need help with solving a problem in your online store? Want to report a bug in our software? Find out how to contact us.