How To: Set up Website Payments Pro in CS-Cart
Important
The PayPal Payments Advanced add-on was renamed to Website Payments Pro in CS-Cart version 4.10.4
Note
Before you begin, make sure that the PayPal payments add-on is active and configured.
- In the Administration panel, go to Administration → Payment methods.
- Сlick the + button (Add payment method) in the top right corner of the page.
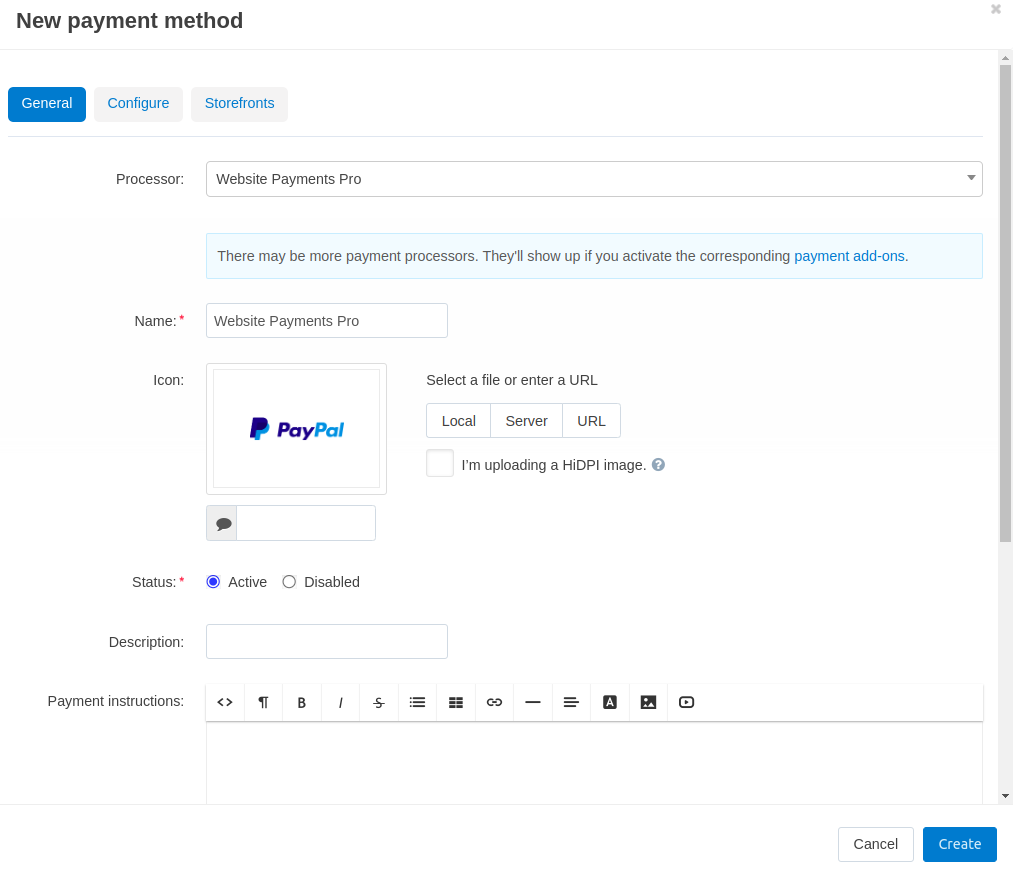
- Fill in the form:
- Select Website Payments Pro in the Processor drop-down list.
- Enter the Display name—the name of the payment method that will appear to your customers at checkout.
- Specify other settings and upload an icon for the payment method, if necessary.
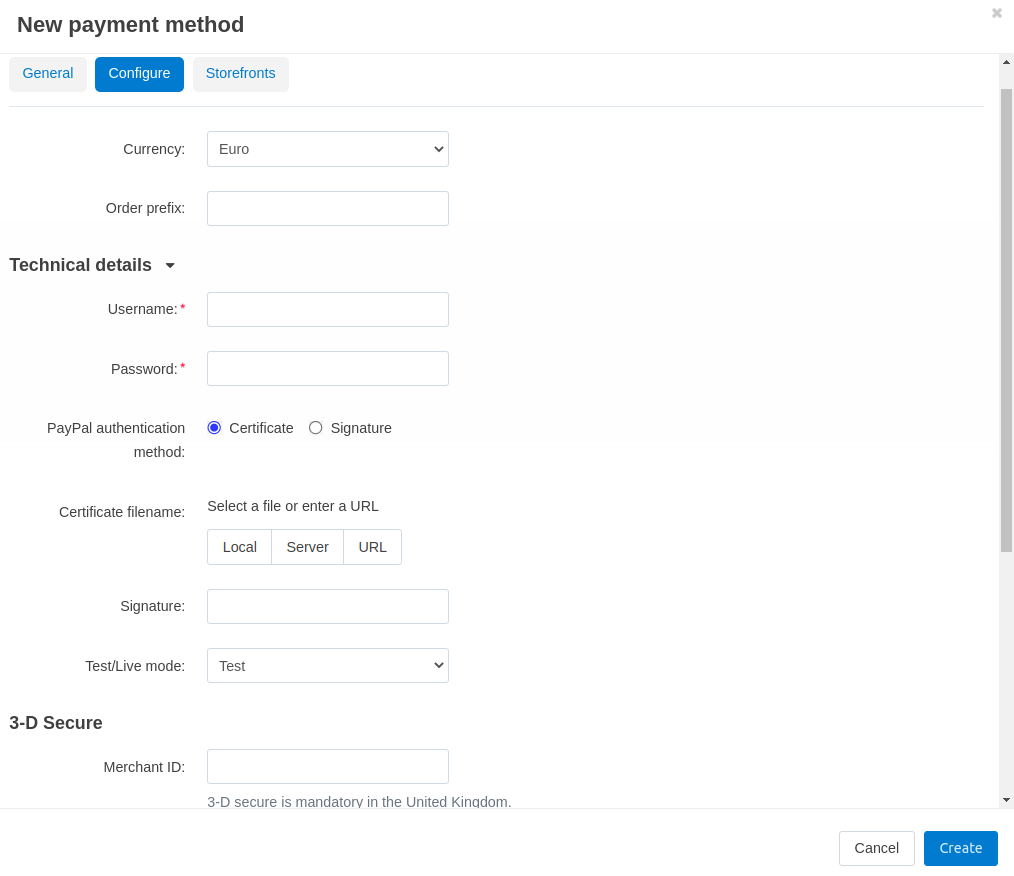
Switch to the Configure tab and specify the settings of Website Payments Pro:
Select the Currency of your PayPal account.
This currency must exist in your store and, ideally, it should be your primary currency. That is because prices are always converted to PayPal currency according to the rates you specified, before being sent to PayPal.
Choose the layout, colors, and header image of the payment page.
Make sure to fill in the Technical details:
- Merchant login
- API user
- API partner
- API password
Note
You can find this data in your Website Payments Pro account.
Set Test/Live mode to Live.
You can use the Test mode to see how the payment method works. But this mode doesn’t work with live PayPal accounts. For testing you’ll need to use test accounts from PayPal Sandbox.
Click the Create button.
Questions & Feedback
Have any questions that weren't answered here? Need help with solving a problem in your online store? Want to report a bug in our software? Find out how to contact us.