How To: Allow Customers to Become Vendors
Important
Vendors are available only in Multi-Vendor.
Step 1. Allow Customers to Apply for a Vendor Account
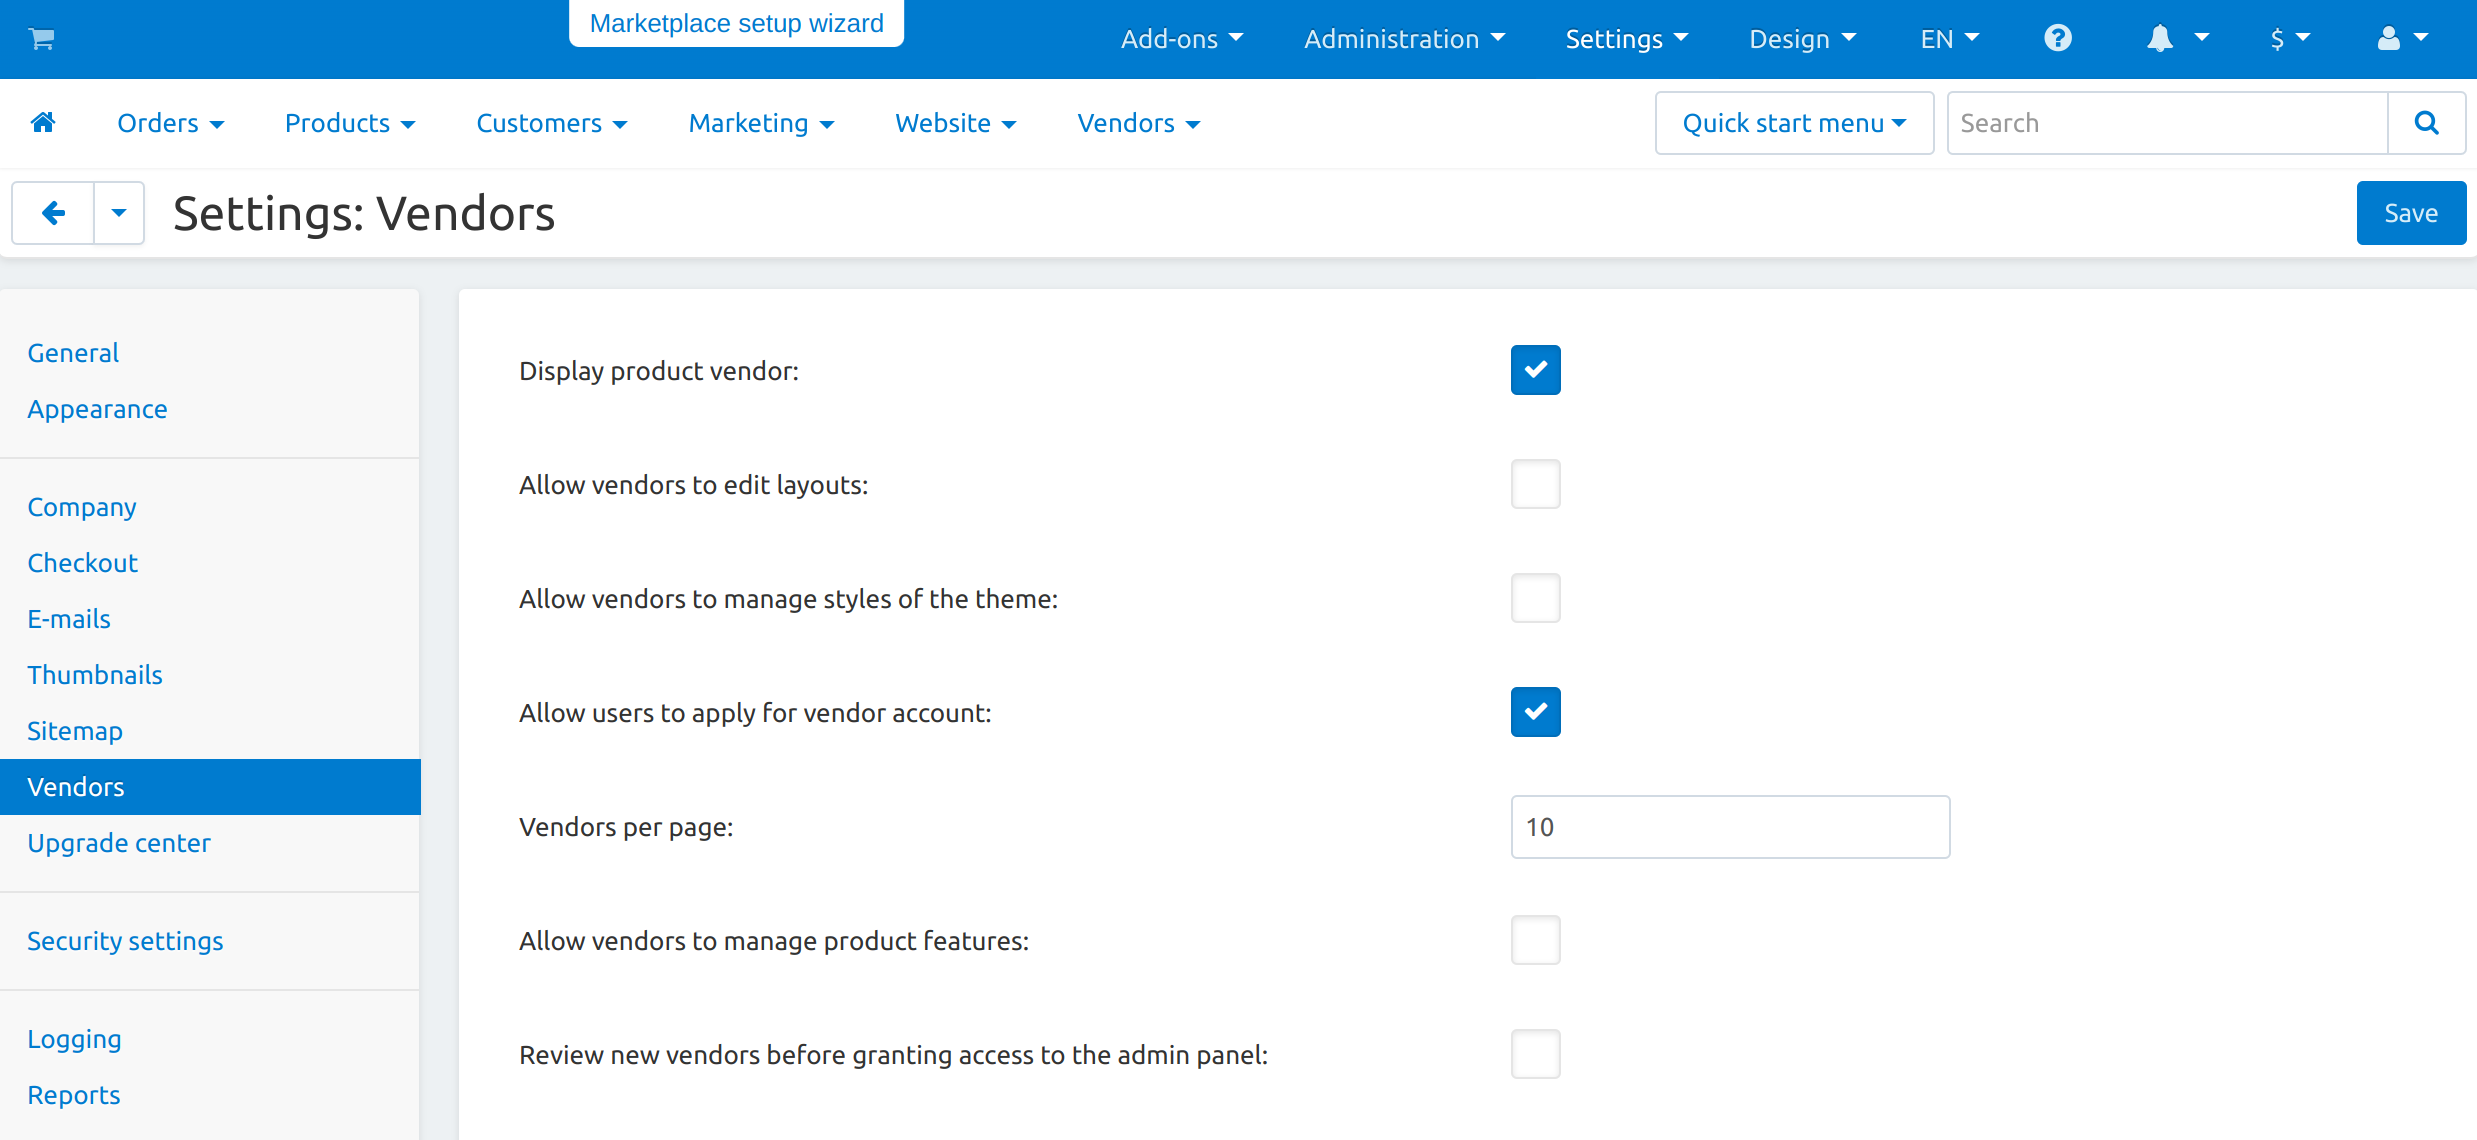
In the Administration panel, go to Settings → Vendors.
Tick the Allow users to apply for vendor account checkbox.
If necessary, allow automatic creation of vendor’s administrator accounts for approved vendors on the same page. That way you won’t need to manually create a vendors’ administrator accounts before vendors can access their admin panels.
Click the Save button.
Note
At this point, it is a good idea to set up a user group for vendors’ administrators if you want to limit what those administrators can see or do in their admin panels.
Step 2. Configure the Application Form
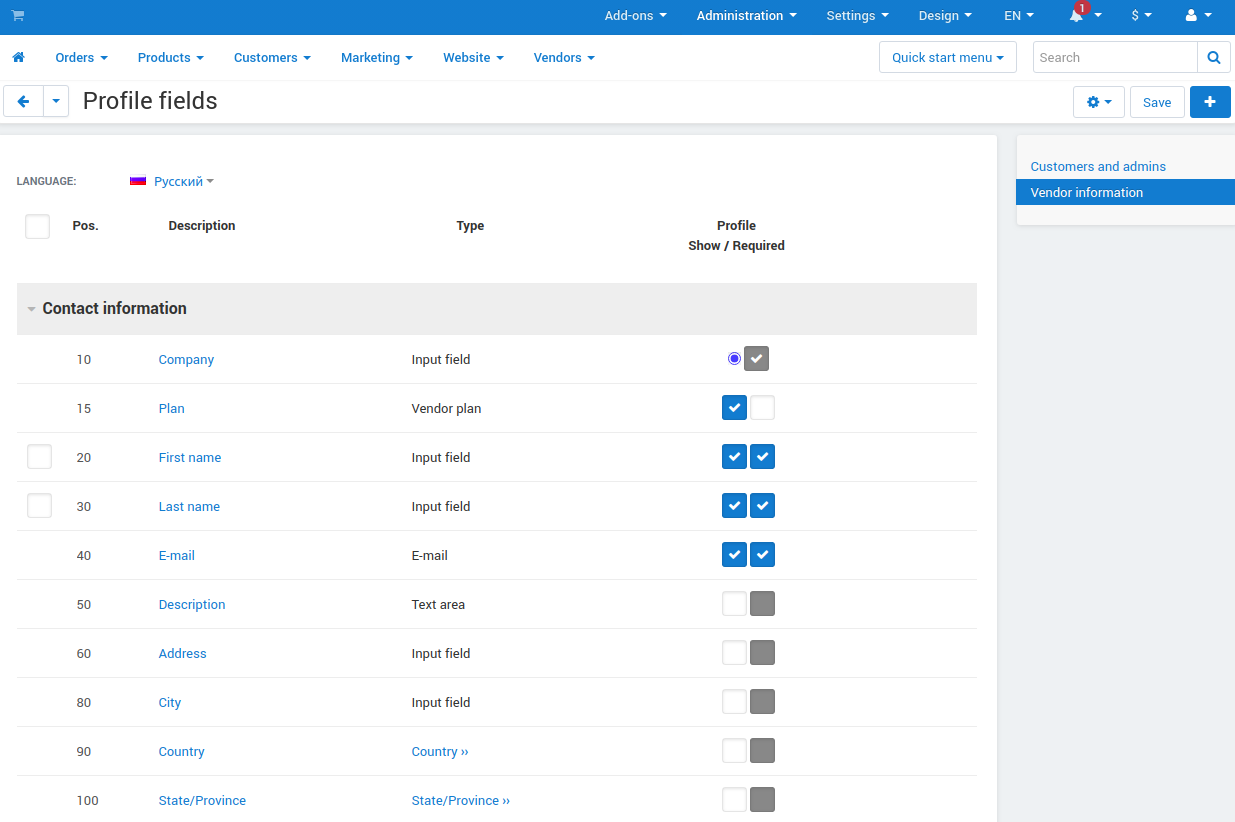
In the Administration panel, go to Administration → Profile fields.
Switch to Vendor information in the right sidebar.
Now you’ll be able to edit the vendor registration form: add or remove fields, make them required (or not required), change the order of fields, etc. This works the same way as editing the profile fields available to customers and administrators.
Hint
The form has a field with the Vendor terms and conditions type. When you edit that field, you can change the text of the agreement that vendors must accept when they register.
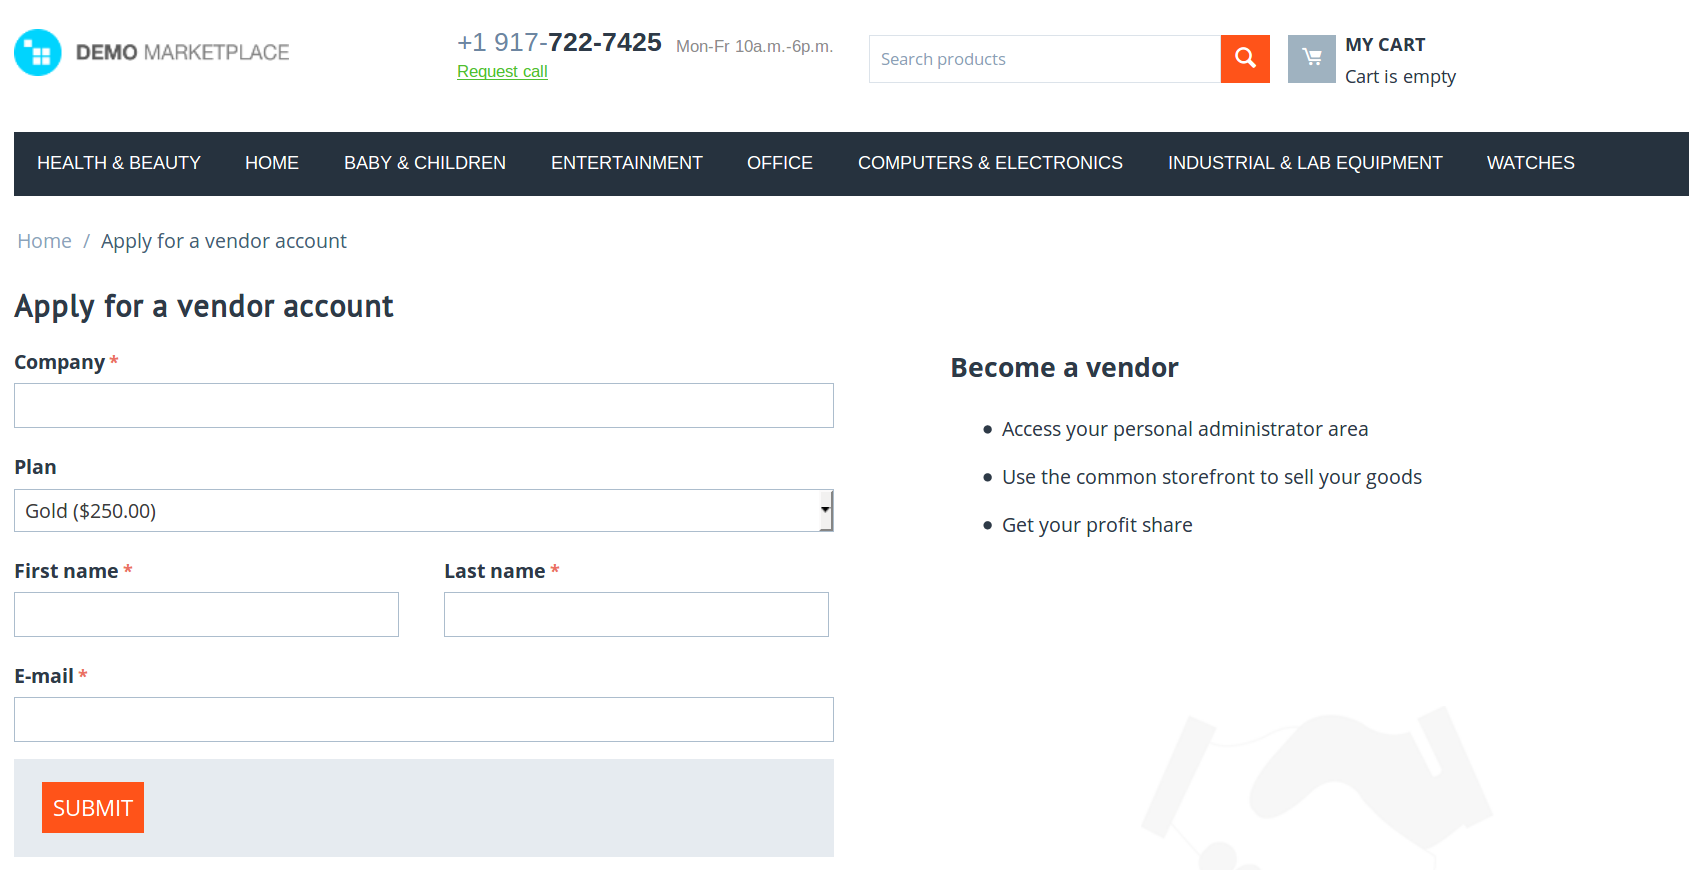
Step 3. Provide a Link to the Application Form
After you complete step 1, the vendor application form will be available via a URL like http://example.com/index.php?dispatch=companies.apply_for_vendor. You’ll only need to replace http://example.com with the actual URL of your store.
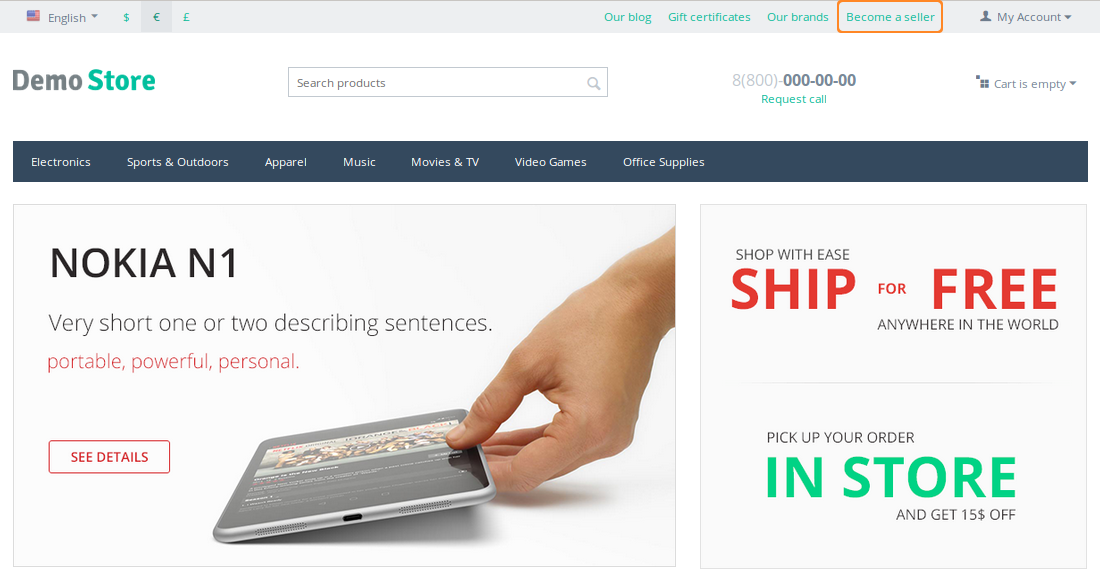
There are multiple ways to take your customers to the vendor application form. For example, Multi-Vendor demo includes the Quick Links menu with the Become a seller link. You can create your own menu item that would lead to the application form. The menu item must have the following URL: dispatch=companies.apply_for_vendor.
Hint
Here’s more info on how to work with menus and menu items.
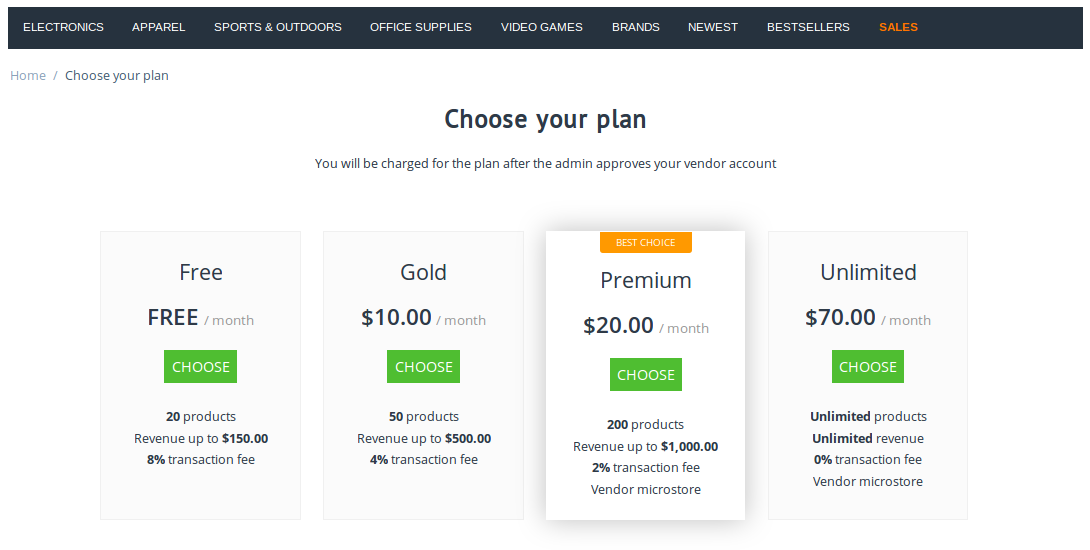
The Vendor Plans add-on also provides the list of available plans. That list appears on a separate page that has the following URL: dispatch=companies.vendor_plans. Customers choose the plan and get redirected to the application form.
Step 4. Grant a New Vendor Access to Vendor’s Admin Panel
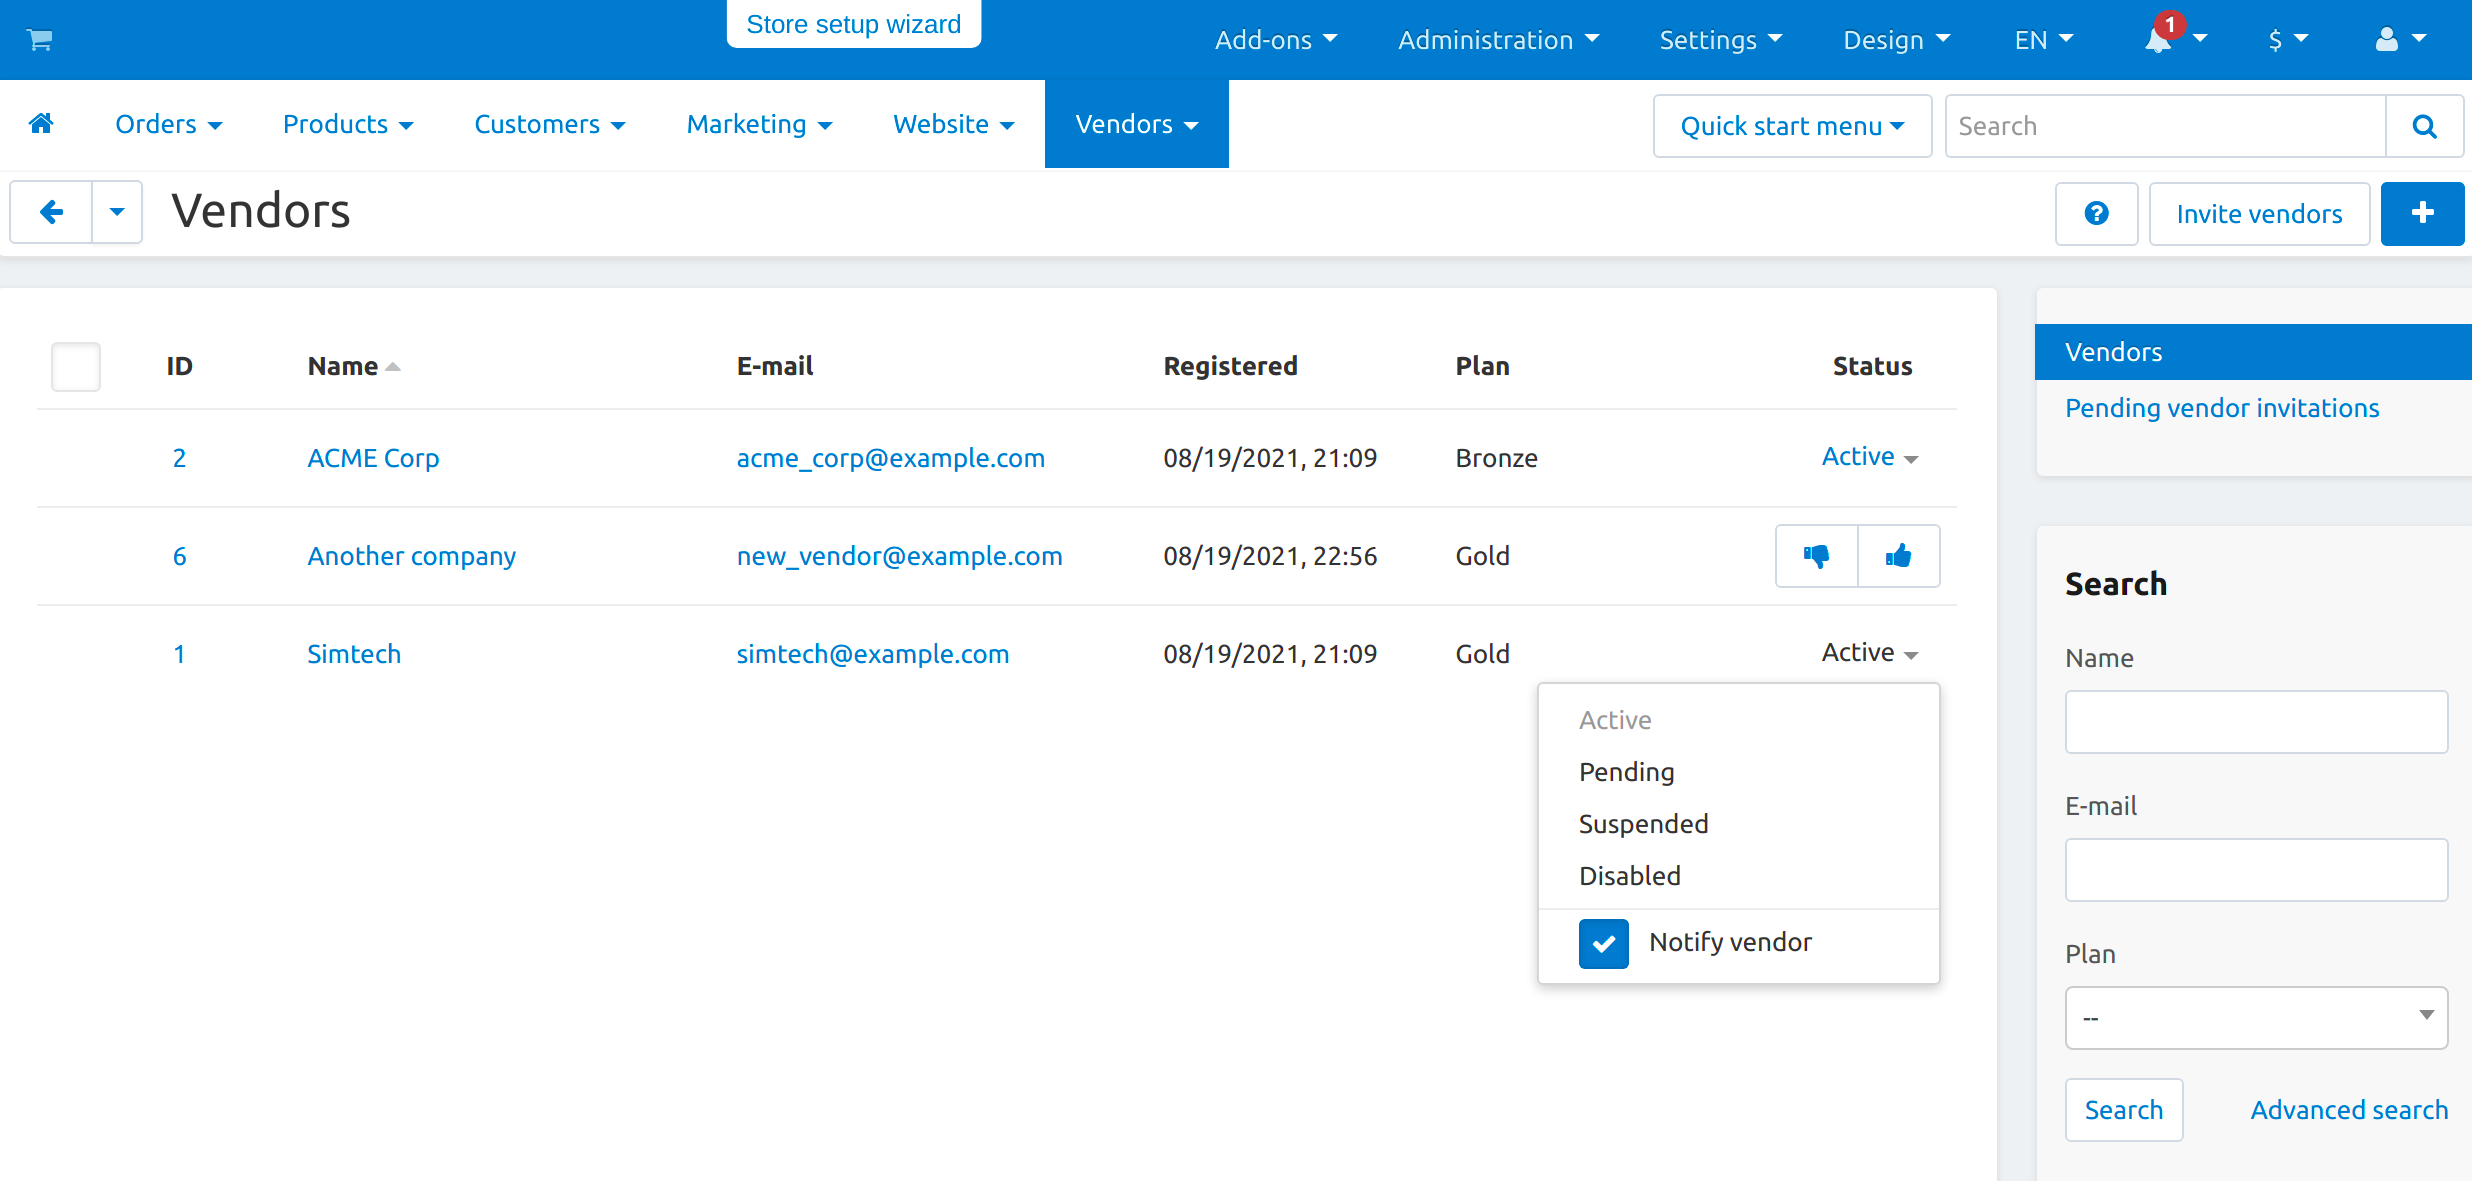
Go to Vendors → Vendors.
Find the vendor you want to activate. The vendor accounts that haven’t been activated yet have the Approve (thumbs up) and Disapprove (thumbs down) buttons next to their names.
Click the Approve button. The status of the desired account will be automatically changed to Active.
Hint
You can manually change a new vendor’s status to Pending. Pending vendors can access the administration panel and manage their products. However, customers won’t be able to see those vendors and their products on the storefront. Learn more about vendor statuses.
Once you approve the vendor, he will receive an email notification, and vendor’s administrators will be able to sign in to vendor’s administration panel. The content of the notification depends on what you did in step 1.3:
If you allowed automatic creation of a vendor’s administrator account, the email notification will include all the necessary information for signing in.
If you didn’t allow automatic creation of a vendor’s administrator account, the new vendor will simply be notified that the application for a vendor account has been approved.
You’ll have to create a vendor’s administrator account manually. When you create the account, you can choose whether or not to send an email notification with all the necessary information for signing in.
Questions & Feedback
Have any questions that weren't answered here? Need help with solving a problem in your online store? Want to report a bug in our software? Find out how to contact us.