How To: Create a Custom Form
Note
Tutorial Difficulty: 1 / 3
Step 1. Activate the Form Builder Add-on
1.1. In the Administration panel, go to Add-ons → Manage add-ons.
1.2. Make sure the Form Builder add-on has an Active status.
Step 2. Create a Form
2.1. Go to Website → Pages.
2.2. Click the + button and choose Add form.
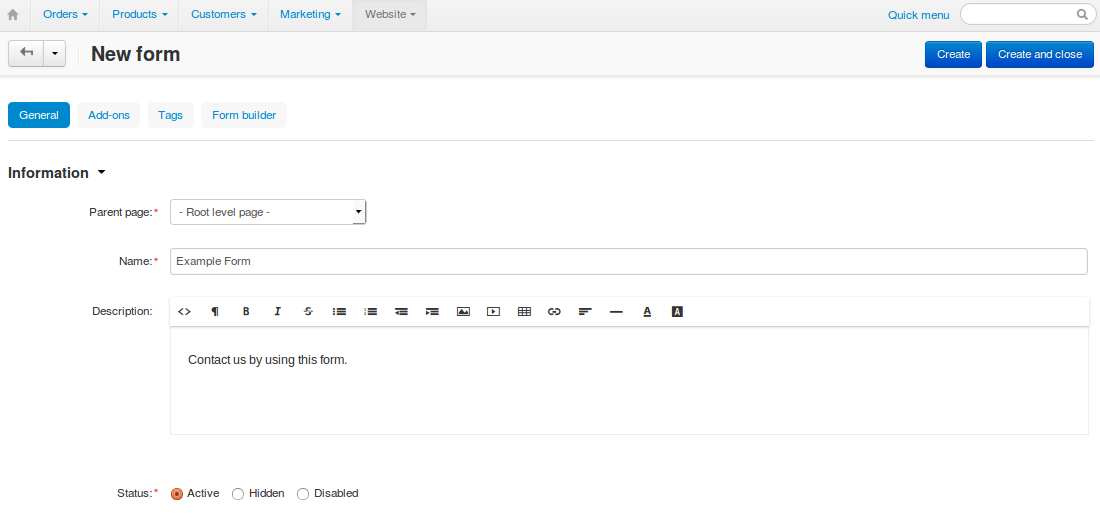
2.3. Configure the form settings on the General tab:
- Parent page—choose the parent page for the form.
- Name—enter the name of the form (e.g., Contact us).
- Speсify other fields, if necessary.
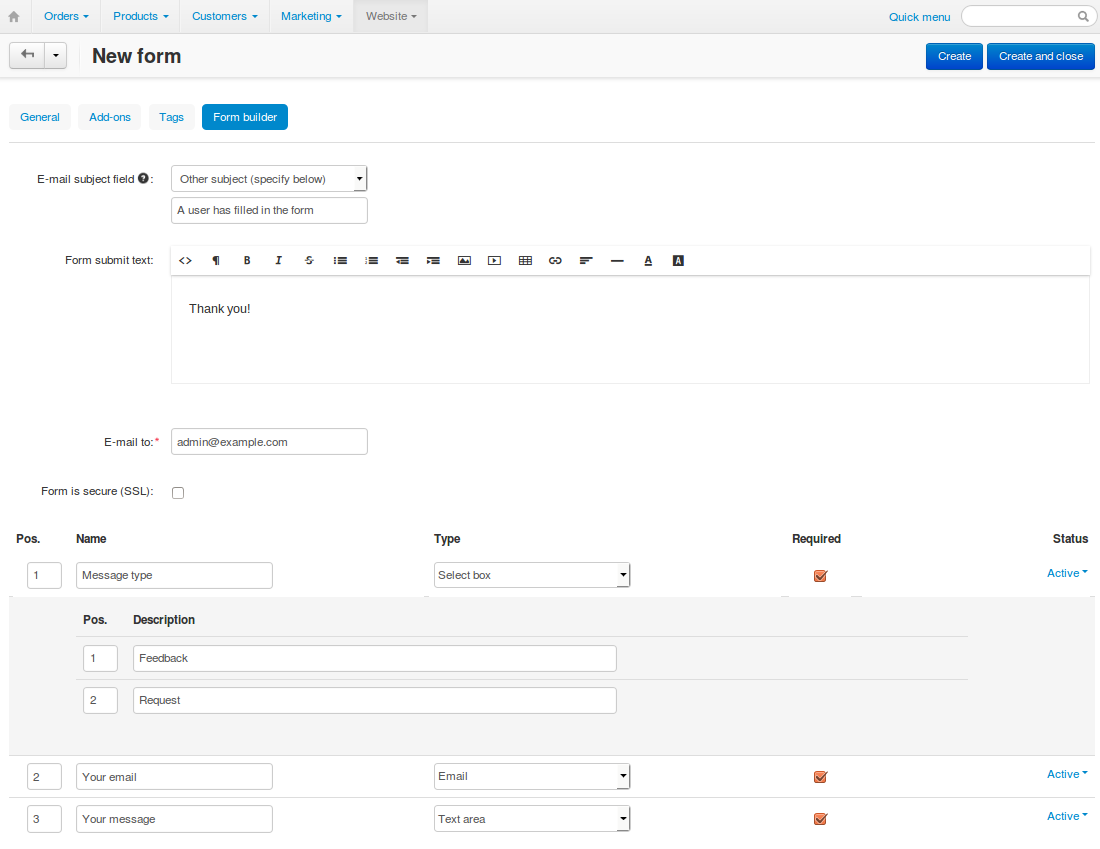
2.4. Configure the settings on the Form builder tab:
- Email subject field—a completed form is sent to a specific email address. Here you can specify the subject of the email:
- Form name—the name of the form will serve as the email subject.
- Other subject—a text field will appear below, and you’ll be able to enter the subject manually.
Note
Before version 4.3.7, the name of the form also served as the email subject. There was no Email subject field setting.
- Form submit text—enter the text that customers will see after submitting the form.
- E-mail to—enter the e-mail address where the notifications will be sent to.
- Add fields to your form. There are standard fields (select box, text area, radio group, etc.) and special fields (date, e-mail, number, phone, etc.).
Hint
You can allow users to attach files to the form—create a field and set its Type to File.
2.5. Click Create.
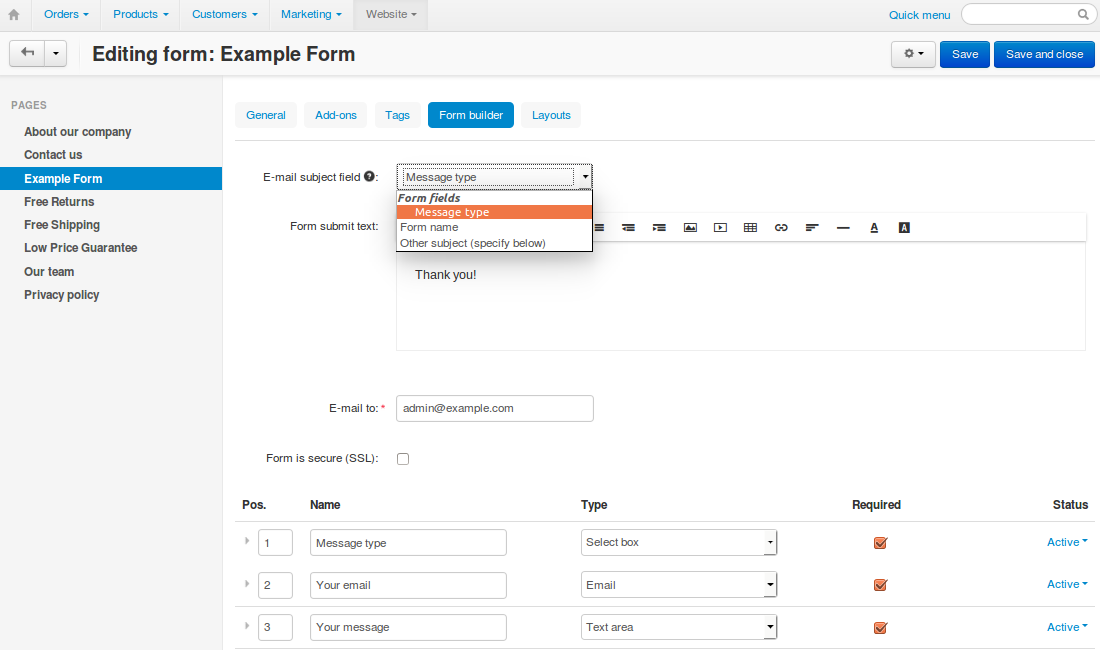
Step 3. Set a Form Field as Email Subject
Note
This is an optional step available since version 4.3.7.
When you edit a form that already exists, you can select one of the existing fields as Email subject field. This field must have one of the following types:
- Input field
- Select box
Hint
Remember to click Save once you’ve changed the form as you like.
Questions & Feedback
Have any questions that weren't answered here? Need help with solving a problem in your online store? Want to report a bug in our software? Find out how to contact us.