How To: Configure the Mobile Storefront
- Go to Add-ons → Manage add-ons.
- Find the Twigmo add-on in the list and click the gear button, choose Manage.
Note
If you do not see the Twigmo add on in the Installed add-ons tab, switch to the Browse all available add-ons tab, find the add-on, and click Install.
Switch to the Mobile Storefront tab.
Complete the storefront settings:
- Show mobile version for — select checkboxes near the device types, for which the mobile version of your store will be displayed.
- Home page content — choose the necessary content of the mobile Home page.
- Design — click the Visual Editor button to access Twigmo Visual Editor where you can customize your mobile storefront.
- Mobile Storefront logo — upload an image for the logo of the mobile storefront.
- iOS device home screen icon — use this setting, if you want to change Twigmo home screen icon for iOS device.
- Enable geolocation — if enabled, shipping and billing address fields will be populated with the address determined by a geolocation service on the registration and checkout pages.
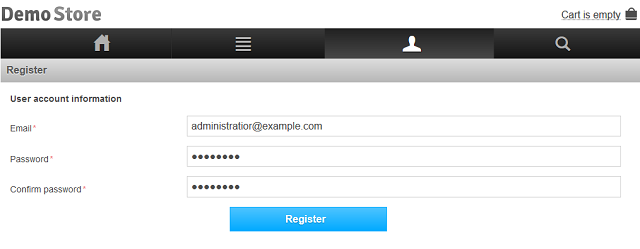
- Show only user profile fields marked as required — if enabled, only required profile fields in the account information will be shown on the Register page of the mobile version of your store.

- Show product code on product details page — if selected, product code is displayed above the price on product details page.
- Send push notifications about order status update to the mobile store app users — if selected, the users of your mobile store app receive push notifications to their mobile devices when the order thay placed changes its status.
- URL of your Facebook page/Twitter page/app on iTunes App Store/app on Google Play — enter URLs to connect your apps or pages on social networks to the mobile version of your store. Corresponding social network icons will appear on the mobile storefront.
Click the Save button.
Questions & Feedback
Have any questions that weren't answered here? Need help with solving a problem in your online store? Want to report a bug in our software? Find out how to contact us.