How To: Display Different Banners for Different Category Pages
To display a specific banner for each category page:
Step 1. Create Banners
Create all necessary banners for categories:
In the Administration panel, go to Marketing → Banners.
Important
If there is no such section, make sure that the Banners management add-on has an Active status in the Add-ons → Manage add-ons section.
Click the + button on the right. The opened page allows to create banners.
In the Name input field type the name of the banner, in the Type select box select Graphic banner and upload the necessary image.
Click the Create button.
Repeat these actions to create banners for other categories.
Step 2. Create a Block for Banners
- Go to Design → Layouts → Categories.
- Click the + button in the necessary container and click Add block.
- Open the Create New Block tab and in the opened section click the Banners button.
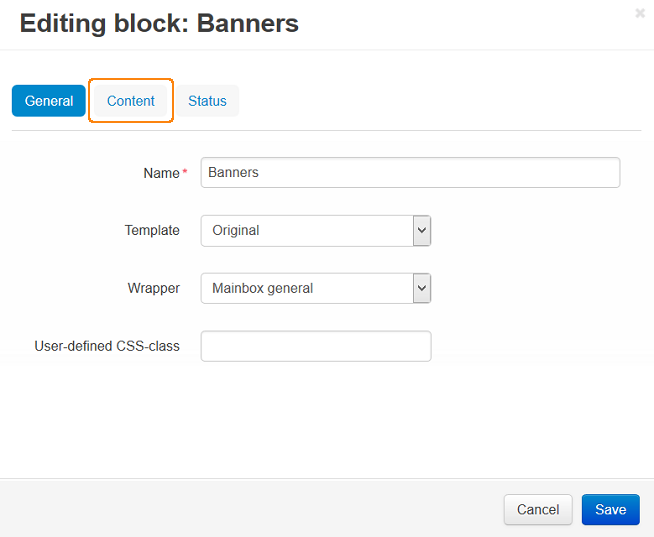
- In the opened section, specify the name of the new block (e.g. Banners) and and click the Create button. Click on the gear icon on the created block and select:
- Original in the Template select box.
- Desired wrapper in the Wrapper select box.
- Desired CSS-class in the User-defined CSS-class input field.
- Open the Content tab and select Manually in the Filling select box.
- Click the Save button.
Step 3. Add Banners to Specific Categories
- Go to Products → Categories and select the desired category.
- Open the Layouts tab on the category details page.
- Make sure that the Banners block is active.
- Click on the gear icon to see the block options and open the Content tab.
- Click the Add banners button, select the desired banners, and click the Add banners and close button.
- Click the Save button.

- Repeat these points for other categories.
Note
After the block is created or changed, make sure it is displayed correctly. Sometimes not all wrappers are suitable for the blocks.
Questions & Feedback
Have any questions that weren't answered here? Need help with solving a problem in your online store? Want to report a bug in our software? Find out how to contact us.