How To: Add a New Menu to the Storefront
Warning
This article may no longer be relevant or up to date. Please return to the main page of the section.
- In the Administration panel, go to Design → Menus.
- Click the + button to add a menu.
- In the appeared window, specify the Name of the menu (e.g. New menu).
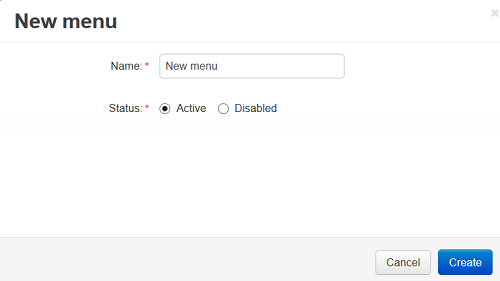
Click the Create button.
Click the gear button next to the created menu, choose Manage items, and in the opened window click the + button.
In the appeared window specify:
Parent item - Select the necessary parent level.
Name - Type the name of your item (e.g. New Item).
Pos. - Specify the link position.
URL - Enter the URL of the page which will open when the link is clicked on (e.g. index.php?dispatch=categories.catalog).
Activate menu item for dispatch - Specify the pages on which to display the tab as active (e.g. sitemap.view).
Note
If you use two or more pages, leave this field empty.
Generate submenu - Select whether submenu containing child elements of the selected object (None = no submenu; Category = subcategories of the selected category; Page = child pages of the selected page) should be generated.
User-defined CSS class - User-defined CSS class will be added to the menu item, so this will allow to define the menu item with its own CSS style.
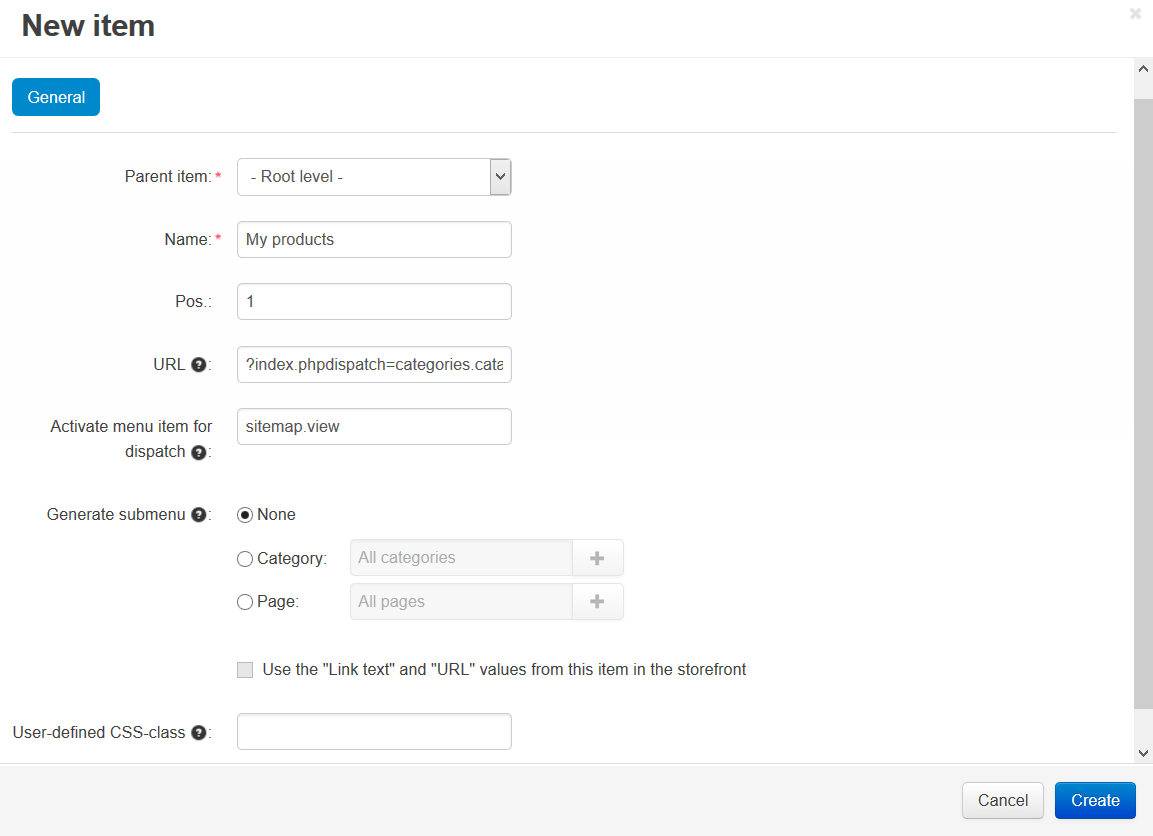
- Click the Create button.
Questions & Feedback
Have any questions that weren't answered here? Need help with solving a problem in your online store? Want to report a bug in our software? Find out how to contact us.