Remarketing Tag
Overview
Remarketing Tag is an instrument that allows you to add the remarketing tag to your website to show ads to customers who visited your online store. The tag is a short snippet of code that adds your website visitors to remarketing lists. You can then target these lists with your ads.
The Remarketing Tag add-on integrates Remarketing Tag into your website so that you won’t have to add the remarketing tag to each page manually. It saves your time and reduces errors. All you need to do is just follow the simple instructions below.
To learn more about Remarketing Tag, watch this video:
Compatibility
The add-on is compatible with CS-Cart and Multi-Vendor 4.10 and above, but only versions 4.12.x and above are supported. Minimum required PHP version is 5.6.
See more information about compatibility of our add-ons here.
Note
The Remarketing Tag add-on requires the Google Analytics, Google Export, Data Feeds add-ons to be installed.
Support
You are guaranteed a quality add-on supported by future versions. If you need help, please contact us via our help desk system.
Demo
Check out the Remarketing Tag add-on in our demo store.
Note
Every half an hour the demo store is reset to the default state.
Managing in the Admin Panel
Installing the Add-on
Install the Remarketing Tag add-on on the add-ons list page (“Add-ons” → ”Manage add-ons”). Click the + button in the top right corner, select an archive, and click Upload & Install. You can now find the installed add-on in the list of installed add-ons, just make sure it is set to Active.
Note
For correct operation of the Remarketing Tag add-on, make sure that the Google Analytics, Google Export, Data Feeds add-ons are set to Active on the add-ons list page.
Inserting a Hook for Versions 4.0-4.3.6
If you use CS-Cart 4.0-4.3.6, insert a hook into the code of your website:
In the admin panel, go to Design - Templates, open responsive > templates > index.tpl.
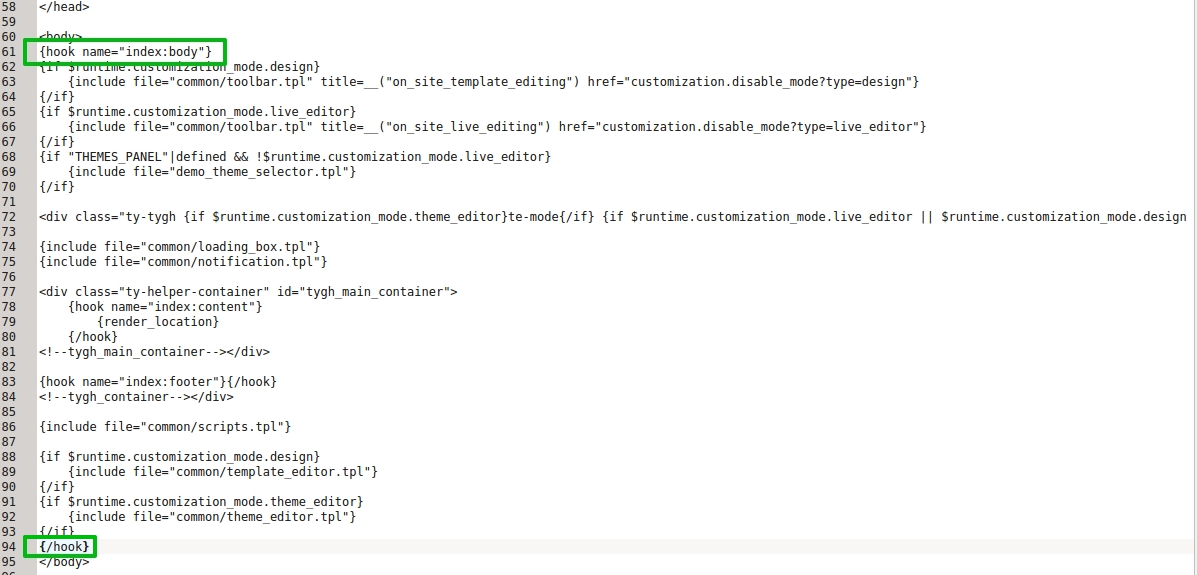
Right after the <body> tag insert this line:
{hook name="index:body"}Next, before the </body> tag, insert this line:
{/hook}Click Save changes.
The code should look like this:
Setting up the Add-on
Here are available settings of the add-on:
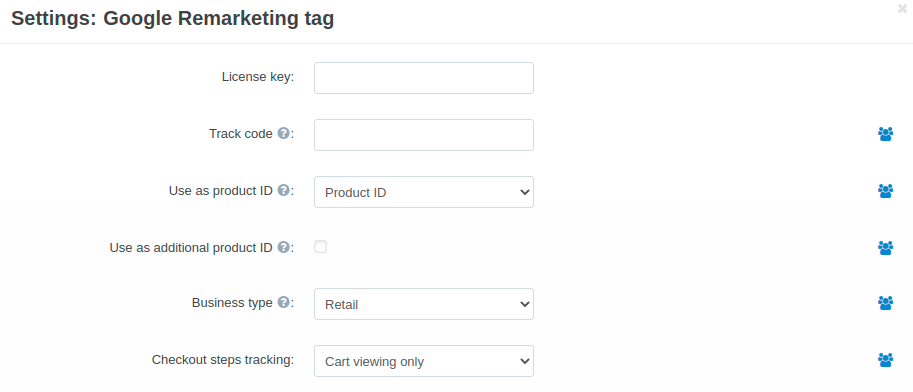
- License key—Enter the license key to activate the add-on. You will receive this key in the order confirmation email. You can also see license keys for all your purchased add-ons in your HelpDesk account. Log in to HelpDesk, and navigate to the Licenses section:
- Track code—Enter the Conversion ID from your AdWords account. Find more information on how to get it here: Getting Conversion ID.
- Use as Product ID—Define the parameter that will be used as a product identifier in Google Analytics: unique product ID from CS-Cart ot Product Code (SKU). If you use products with options, the code of the corresponding option combination will be used as the unique identifier. If the code is not defined for the option combination, the code of the main store will be used.
- Use as additional product ID—Additional identifier
dynx_itemid2is used only for the Custom variant. As an additional product identifier, Google Analytics will use a unique product ID or product code from CS-Cart, depending on which identifier is selected as the main one. If you use products with options, the code of the corresponding option combination will be used as the unique identifier. If the code is not defined for the option combination, the code of the main store will be used.- Business type—Select Retail or Other. Retail shows ads with product details, such as product images and prices. Custom shows ads with products or service details, such as descriptions and prices.
- Checkout steps tracking—Define what events you want to track: cart view, checkout, or both.
Tip
All settings (except for License key) can be defined separately for different storefronts of CS-Cart Ultimate.
Parameters Added by the Add-on
The Remarketing Tag add-on adds necessary parameters to such pages as home, category, product, cart, search results, purchase, and others.
The Retail business type adds the following parameters:
ecomm_prodid—ID allows the dynamic ad to show people the exact product they viewed.ecomm_pagetype—Page type indicates which pages people visited.ecomm_totalvalue—Total value is the value of the product (price). On “cart” pages with multiple products, total value is the sum of all items.ecomm_category—This parameter contains a string specifying the category of the currently viewed product or category pages. The string can be any value and does not need to conform to any specific naming convention.The Custom business type adds the following parameters:
dynx_itemid—This parameter is the ID of the product being viewed on searchresults, offerdetail, conversionintent, and conversion page types. It allows the dynamic ad to show people the exact item they viewed.dynx_itemid2—Optional second ID allows the dynamic ad to show people the exact item they viewed.dynx_pagetype—Page type that indicates the type of page that the tag is on. Valid values: conversionintent. It is used on the cart/checkout pages.dynx_totalvalue—Total value is the value of the item (price). On “conversion” pages with multiple items, the total value is the sum of all items.You can find more information about Dynamic Remarketing Parameters here.
Google Merchant Center
In order to use the Remarketing Tag add-on, you need a Google Merchant Center account. The product data from your store will be stored there as feeds. This feed will be pulled from your Merchant Center to be used in dynamic remarketing ads.
Creating an Account
If you do not have a Google Merchant Center account, create it on the official website and click Create your account. Fill in all the required information and complete account creation.
Preparing a Feed
To work with Merchant Center, prepare the feed with information about products in the CS-Cart admin panel. Navigate to Add-ons > Data feeds and configure the feed.
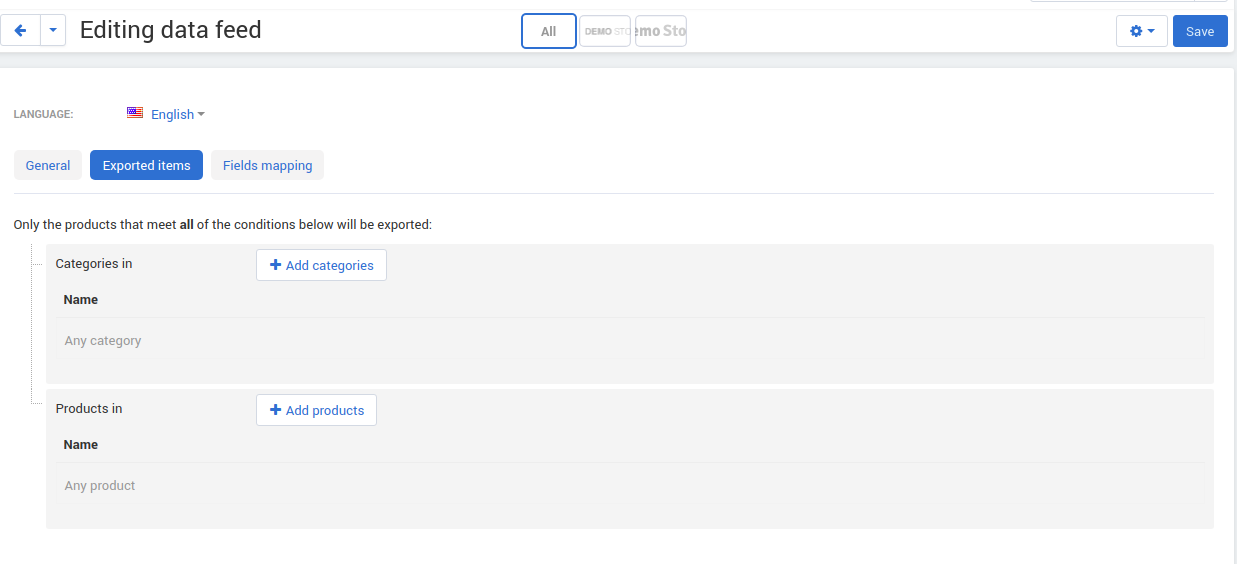
The add-on adds an example of the feed
Sd_remarketing_code. It is just an example. You can use it or prepare your own.Specify products and categories you would like to export on the Exported Items tab.
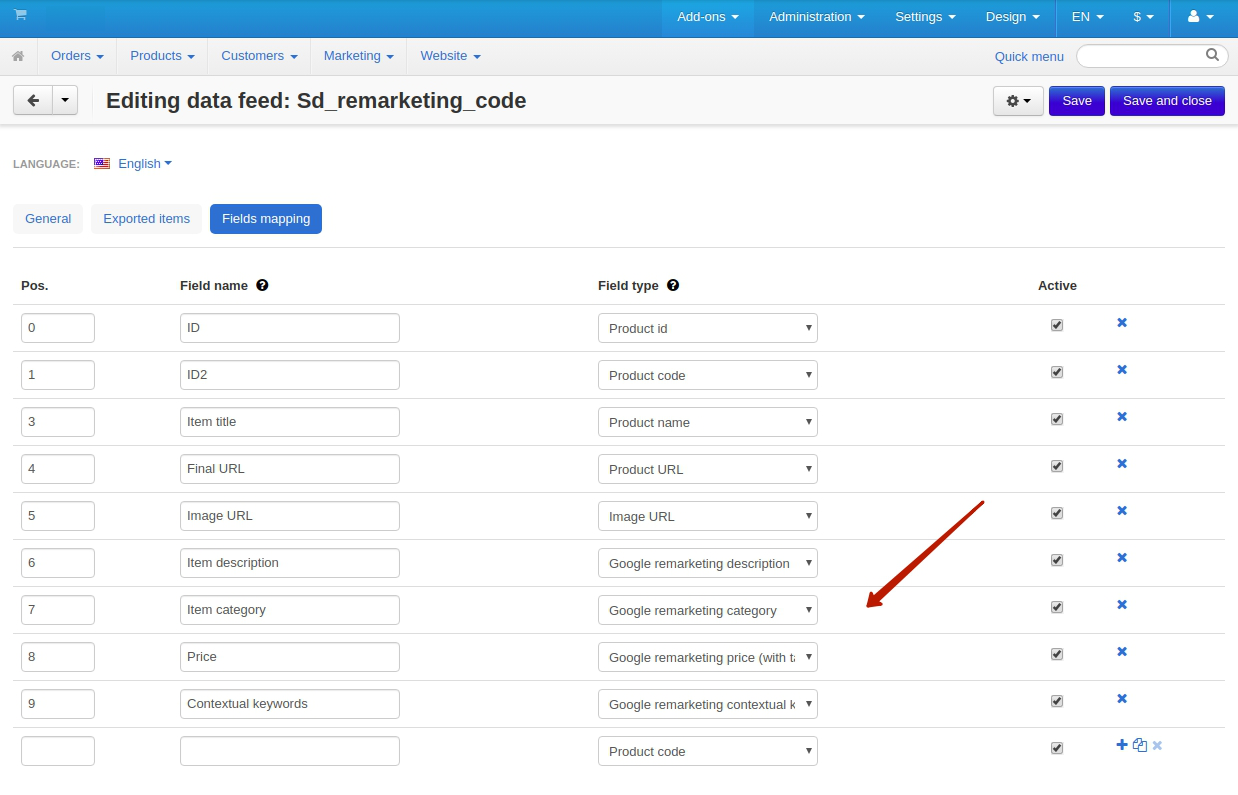
The add-on adds new field types on the Fields mapping tab of the feed: Google remarketing price (with tax included), Google remarketing description, Google remarketing contextual keywords, Google remarketing category. They are necessary for prices and product description uploading for remarketing.
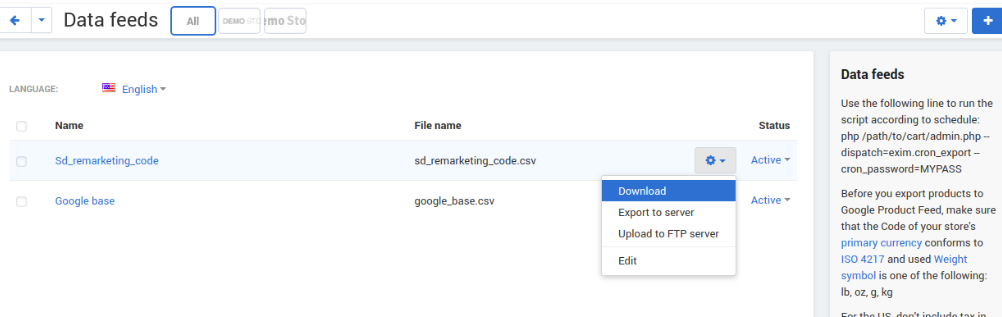
Then download the file containing the product data feed (hover over the file name and click on the appeared gear button and select Download).
Managing Feeds in Merchant Center
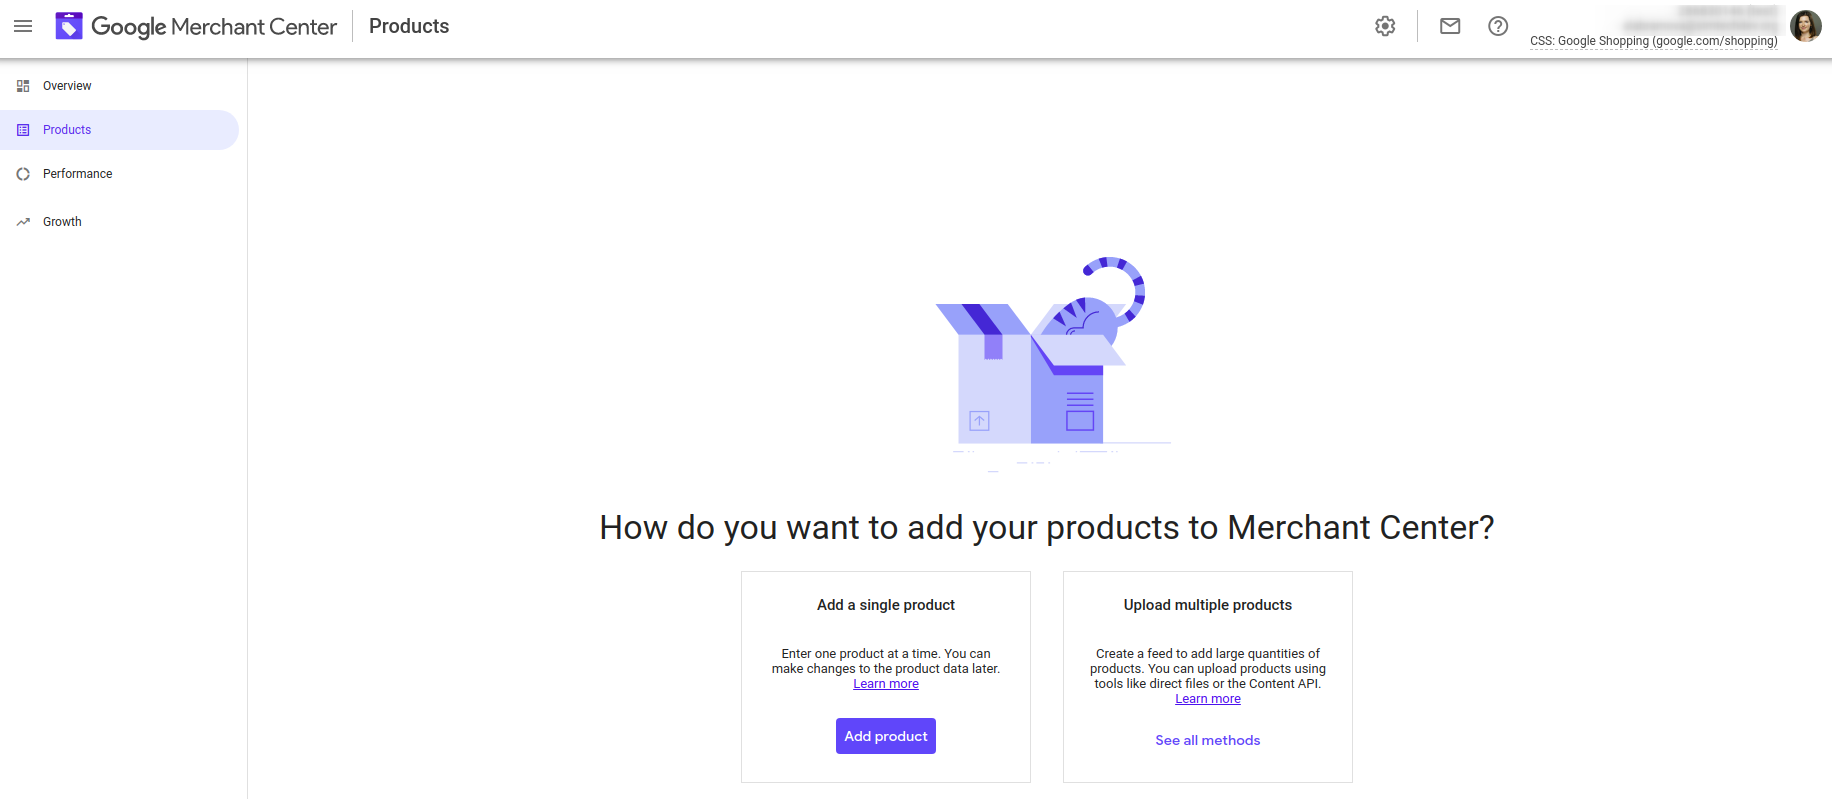
Get back to In the created profile, navigate to the Products section and choose Upload muliple products. Here, you add feeds that will contain products from your store.
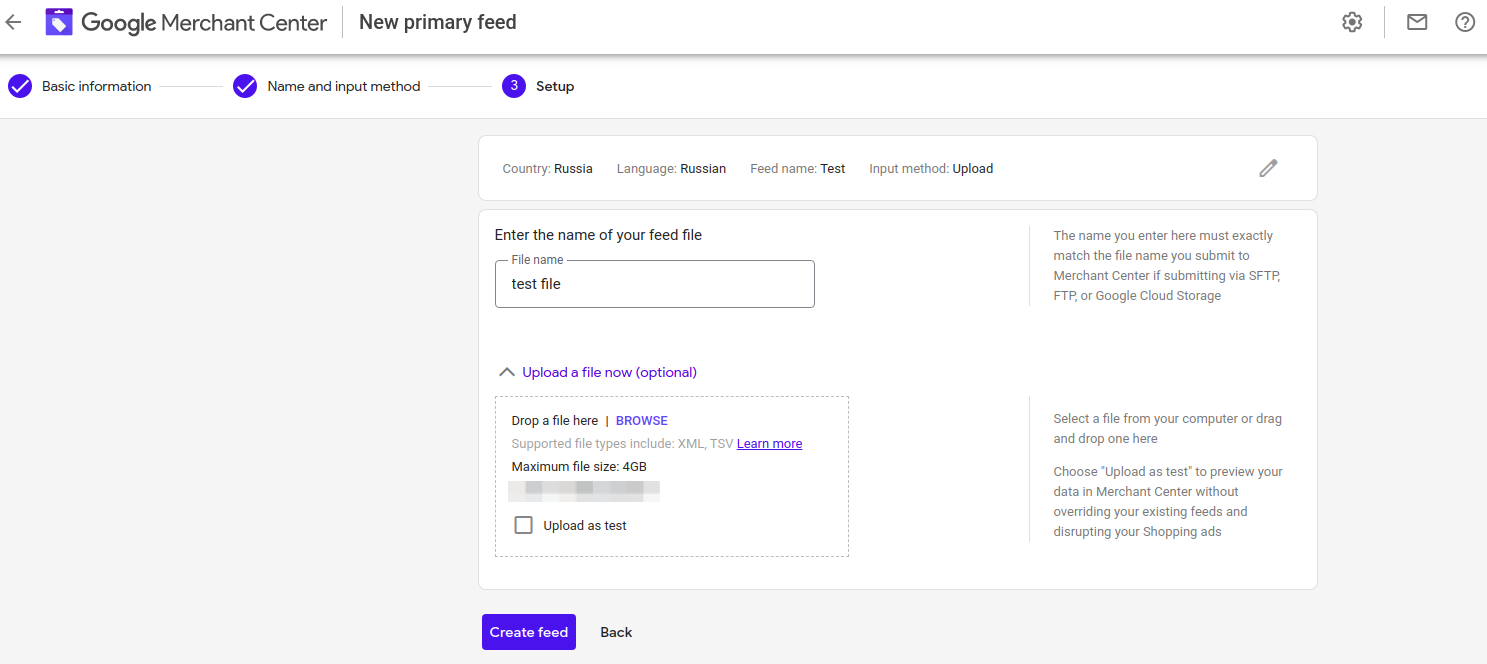
To add a new feed, simply follow the three steps and enter the required information. Upload the CSV file with feed and click Create feed button.
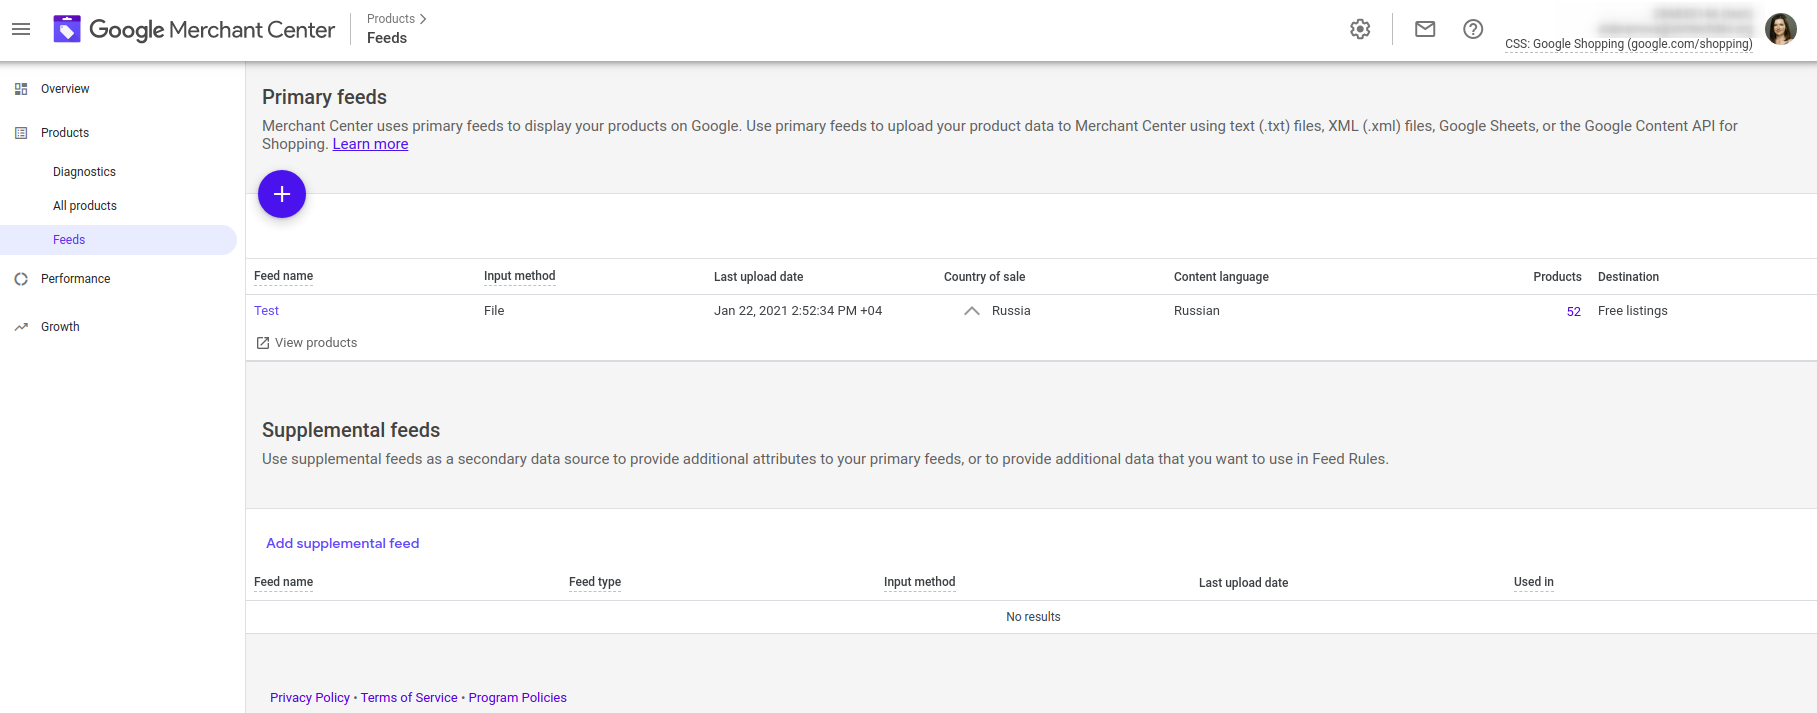
You can see all your feeds in the Feeds section of your profile. You can set them to be updated automatically after you add new products to your store, or you can update them manually.
Google AdWords Panel
With Google AdWords, you can tag your website for remarketing. You can launch remarketing campaigns in your AdWords account with customized dynamic ads based on the pages customers visited and actions they took on your site.
Creating an Account
If you don’t have an account in Google AdWords, create it on the Google AdWords website.
Getting Conversion ID
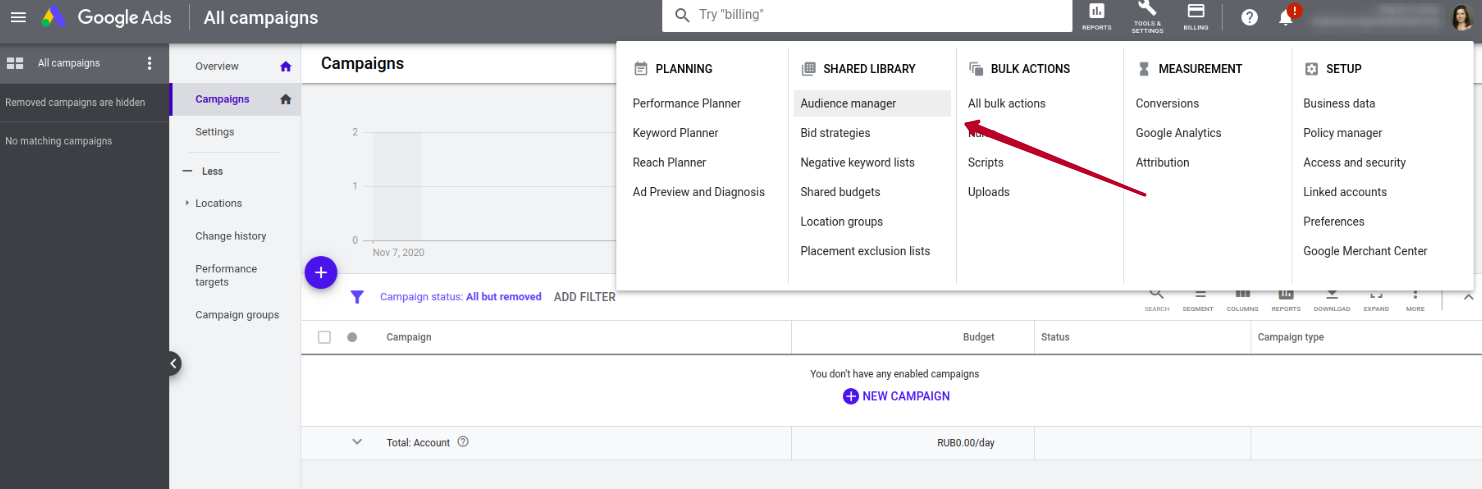
In your AdWords profile, click the tools icon and select Audience manager.
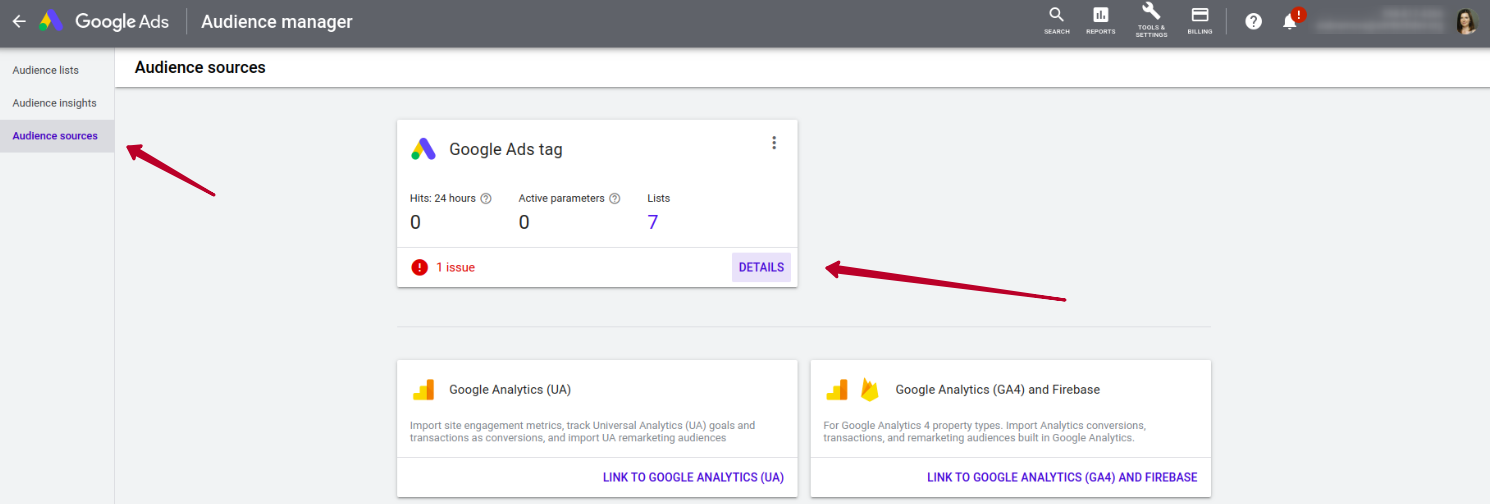
On the opened page, select Audience sources and in the Google Ads tag box click Details.
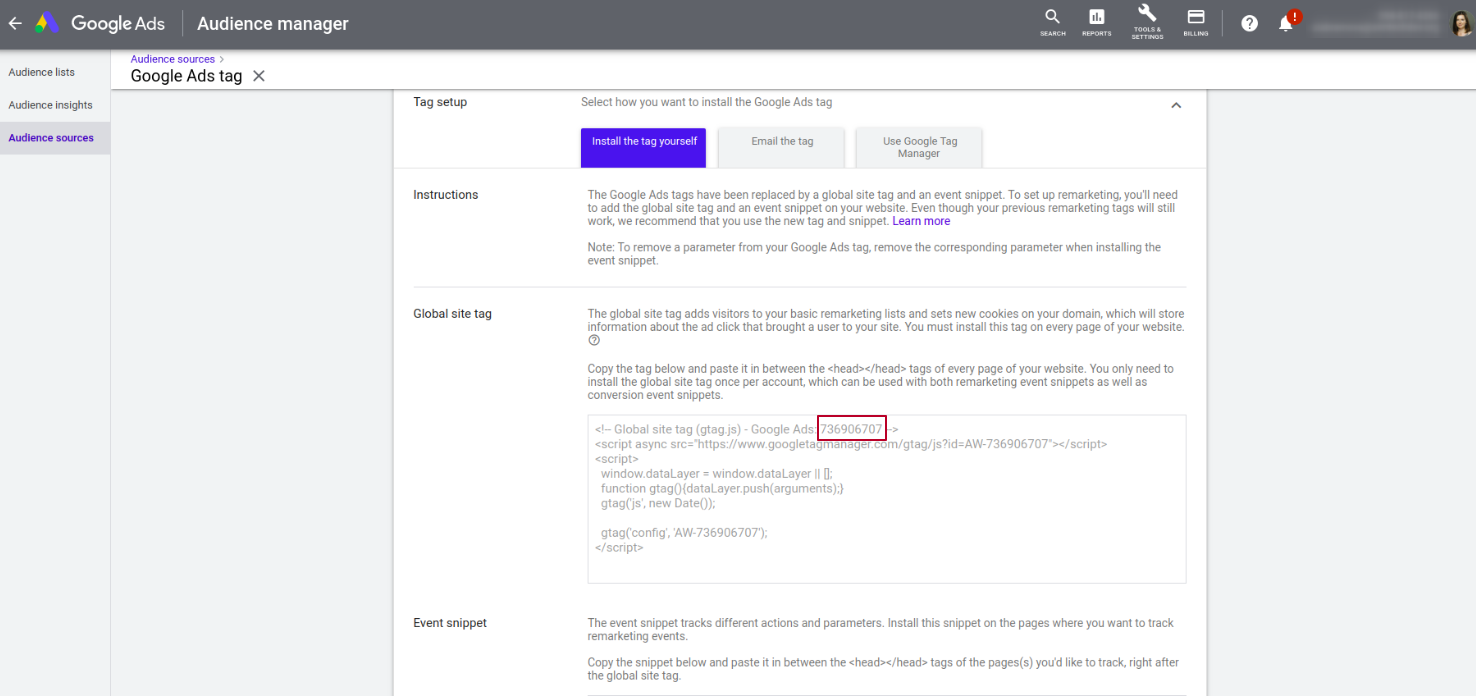
Expend the tag settings and choose Install the tag yourself.

In the box containing code, find the Conversion ID. Copy it.
Once you have the track code ID, you need to go to the admin panel of your store and enter this code in the add-on settings. Go to the Add-ons list page, find the Remarketing Tag add-on and click it. Paste the ID number into the Track code field.
You can specify different tracking codes for different storefronts.
FAQ
How do I start my first ads campaign?
The add-on implements remarketing tag on your website to transfer the data for remarketing campaigns to your Google Ads account, but launching the ads relates to the Google Ads service itself. Configuring the Google Ads account might be challenging. Please, seek assistance of a marketing specialist or Google Ads support. For more details, refer to AdWords Help.
The tracking status in my account is ‘Unverified’ or ‘No Recent Conversions’. How do I fix that?
This issue is related to Google services. Please, contact Google Ads support.
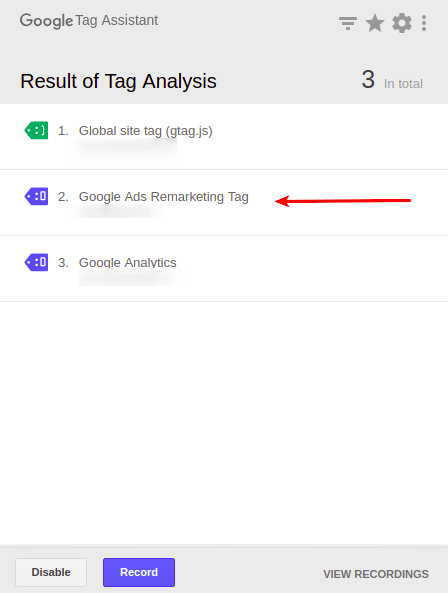
How do I check that the code is implemented correctly?
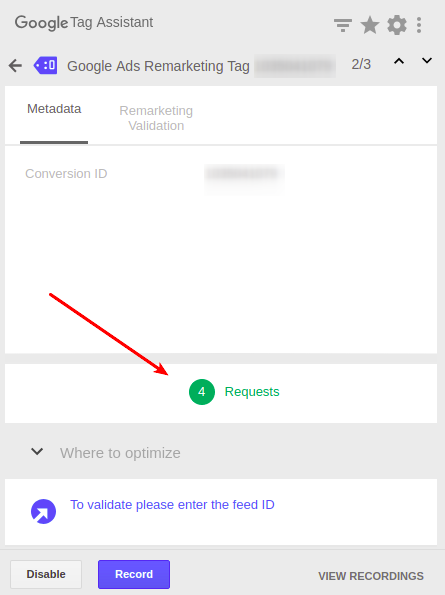
Use the Tag Assistant extension. Open the page of your website and check the Tag Assistant. Choose the Google Ads Remarketing Tag option.
Click Requests.
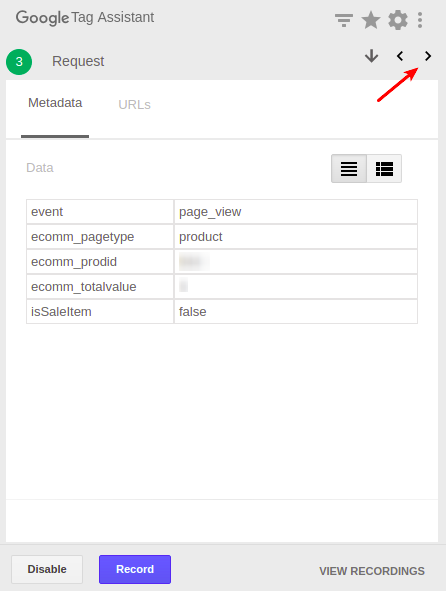
Scroll requests by clicking on the arrows.
Questions & Feedback
Have any questions that weren't answered here? Need help with solving a problem in your online store? Want to report a bug in our software? Find out how to contact us.