QuickBooks Online
Overview
Quickbooks online is a cloud accounting service developed by the authors of the most popular solution for the small business accounting in the USA. Quickbooks plays a big part in conducting e-commerce and more than 30 millions users all over the world proves its effectiveness.
The QBO Integration add-on is meant for synchronization of products, orders and users with the QBO service.
Tasks carried out by the add-on:
- Transferring to QBO the new client data, update of the client data that already are present in QBO.
- Transferring to QBO the new order data, update of the order data that already are present in QBO.
- Transferring to QBO the new product data, update of the product data that already are present in QBO.
Tasks that are NOT carried out by the add-on:
- Exporting the pack of customers/orders to QBO
- Data transferring from QBO to CS-Cart and possible information duplication due to lack of two-way synchronization
The add-on is based on the QuickBooks PHP SDK
Creation of QBO Test Account
Check the work of Quickbooks Online System and add-on by creating a Quickbooks test account:
- Register test account on Quickbooks website.
- Oserve the QBO pricing policy here.
Note
Simple start rate plan is not relevant as it doesn’t include an inventory support
- Fill in the nesserary fields and perform the primary settings to create the QBO test account.
Creation of the new QBO developers account
Create the Developer account
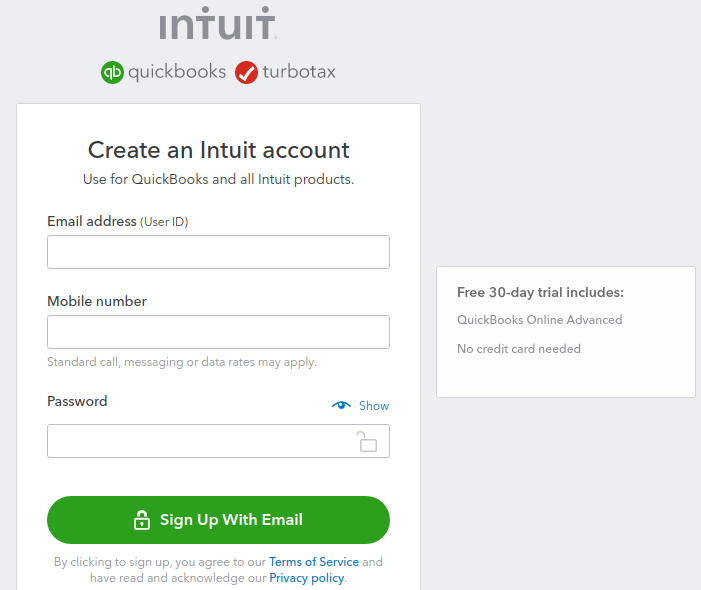
Create the new account.
On Inuit homepage the suggestion to create the QBO developer account will appear.
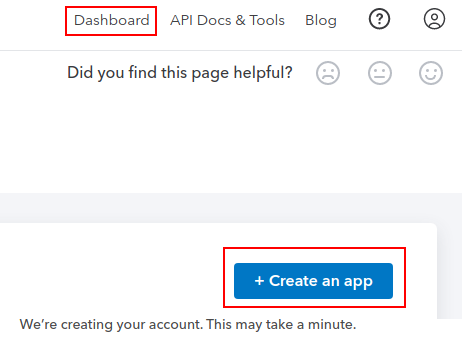
Open the Dashboard and create an app.
In order to use the production application, all conditions from Dashboard->Production->Keys & OAths must be fulfilled.
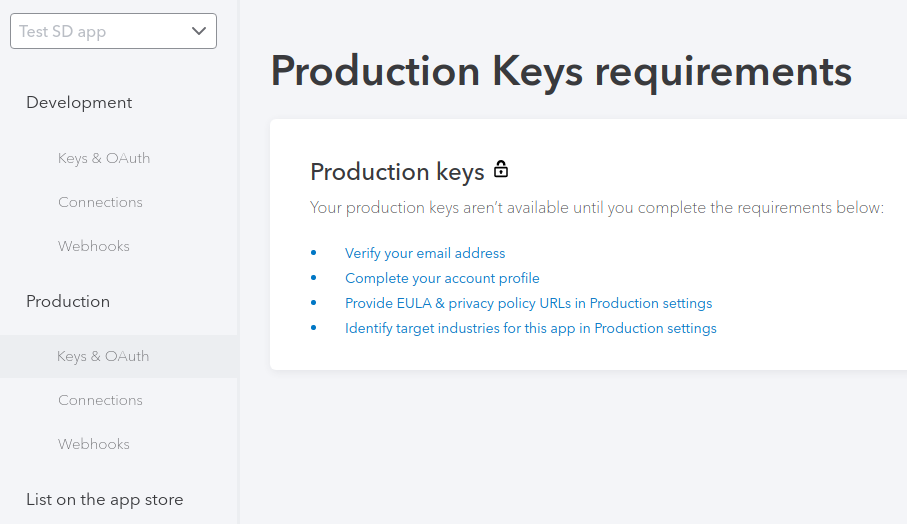
Confirm your e-mail. Click the “Resend Verification Email” then open the Sign in & security page. Click the Verify button in the Email address field.

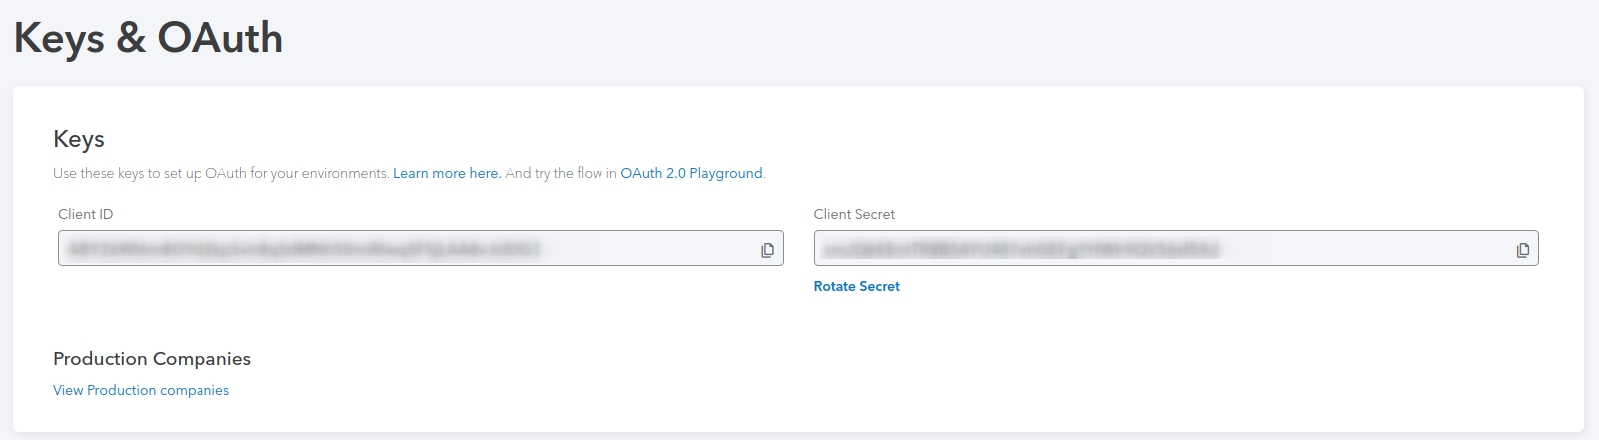
When all conditions are complete, Client ID and Client Secret will be available for production.
Compatibility
The add-on is compatible with CS-Cart and Multi-Vendor 4.9 and above, but only versions 4.12.x and above are supported. Minimum required PHP version is 5.6.
See more information about compatibility of our add-ons here.
Support
You are guaranteed a quality add-on supported by the future versions. If you need help, please contact us via our help desk system.
Managing in the admin panel
Installing the add-on
Install Quickbooks Integration add-on on the add-ons list page (Add-ons → Manage add-ons). Click the + button in the top right corner, select an archive and click Upload & install. You can now find the installed add-on in the list of installed add-ons, just make sure it is set to Active.
Setting up the add-on
When the Developer Account is created and the add-on is installed, the necessary settings are available.
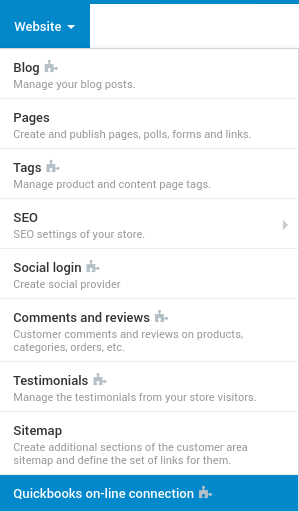
- Open the Website tab on the cs-cart admin panel and click on QuickBooks Online connection.
- In the Connection Settings tab insert the following data:
2.1 Client ID from QBO Developers (Dashboard->{app}->Production-> Keys & OAuth)
2.2 Client Secret From QBO Developers (Dashboard->{app}->Production-> Keys & OAuth)
2.3 Accounting Base URL

2.4 QBO ID for better interaction with the product (the products are written off incorrectly from the storage if the QBO Code is used)
- Copy the Redirect URL from the Token tab and insert it into Production > Keys & OAuth :: Redirect URIs
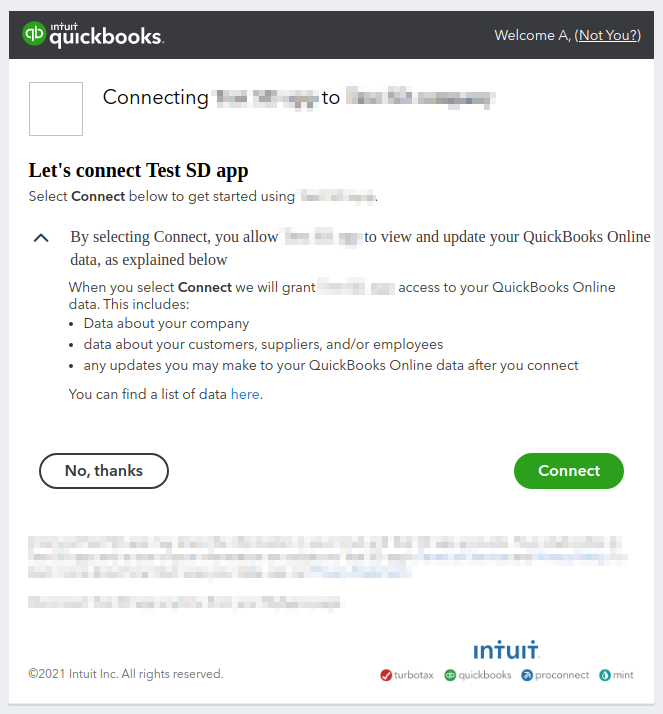
- Then acquire the token manually (Token tab)
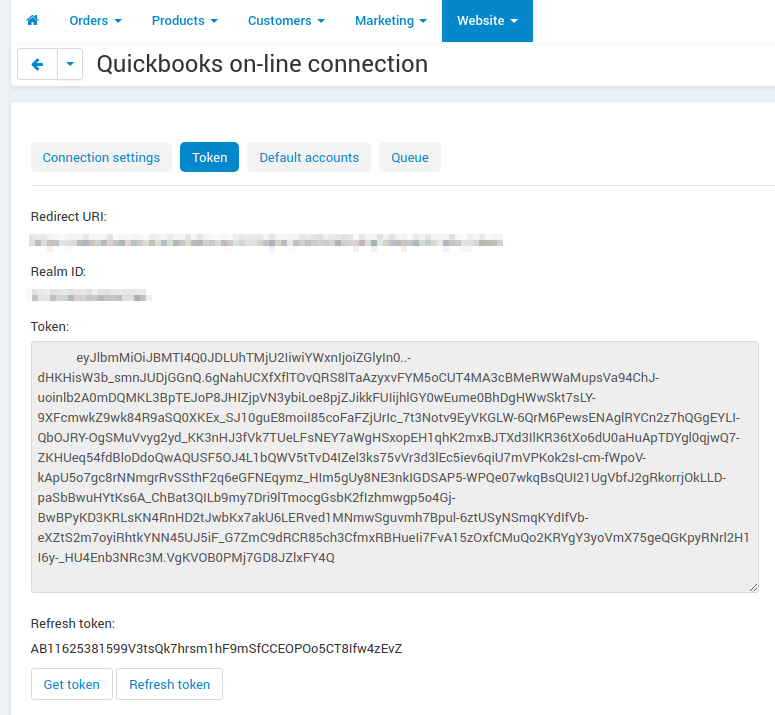
As the steps above are successfully completed, the Token tab in cs-cart admin panel should look like this:
Note
Set up the cron to get the new tokens automatically as the tokes is valid for 60 minutes only (such Cron is present in the add-on settings)
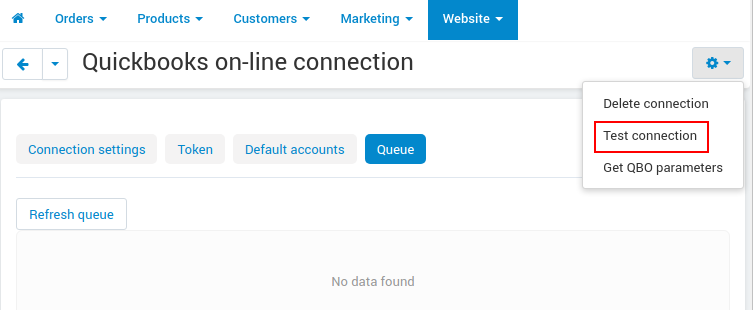
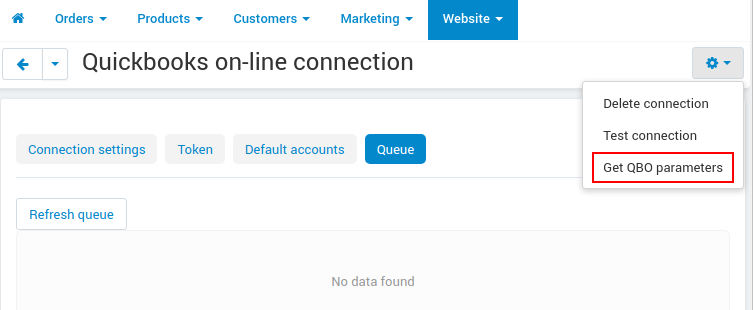
- Check the connection with QBO (Test connection) prior to getting the accounts.
- Then acquire the QBO accounts on the Queue tab.
Insert the Accounts, Payment methods, Taxes data on the Default accounts tab.
7.1 Create the new QBO account if necessary.
7.2 Create the QBO account of the particular type for it to appear in the list to select if none.
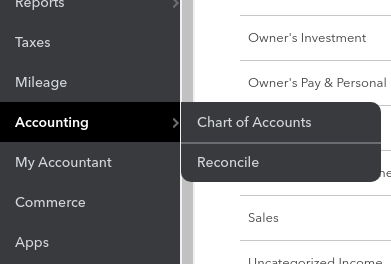
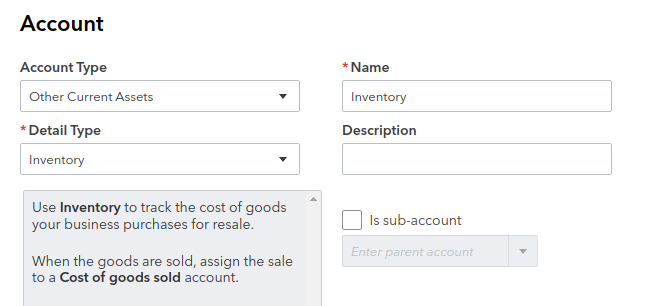
7.2.1 Default Inventory Asset Account - create the new one, if necessary (at QBO Accounting > Chart of accounts)
If necessary, than:
Account Type = Other Current Asset
Detail type = Inventory
7.2.2 Default Income Account - create the new one, if necessary
If necessary, than:
Account Type = Income
Detail type = Sales Of Product Incomes
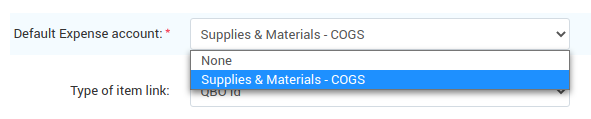
7.2.3 Default Expense Account - create the new one if necessary (at QBO Accounting > Chart of accounts)
If necessary, than:
Account Type = Cost of Product Sold
Detail type = Supplies & Materials - COGS
After that all new users, products and paid invoices will be added to the line (it can be set up by cron or started manually (dispatch=qbo.read_queue))
Note
Beside the token update cron, the line reading cron can also be set up (cron is located in the add-on setting)
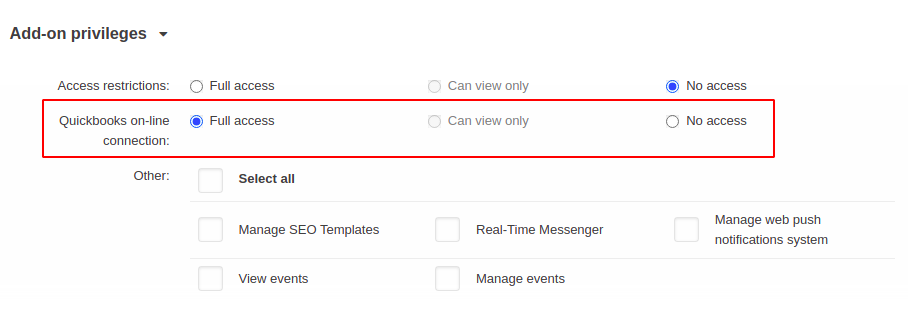
In order to allow vendors to conduct QuickBooks Online settings, the relative access must be provided via Vendors Priveleges add-on.
Working with queue
Adding a row to the queue to create or update an entity for sending to QBO happens when you create or update an entity in CS-Cart. For example, you have created or updated an product, after saving it, a row will be added to the queue for create or update the entity in QBO. Also queue rows are added when an order is moved to a status specified in Quickbooks connection settings in the “Connection settings” tab, in this case queue rows will be added for all entities related to the order (user, categories, products and the order itself).
For entities products, orders and users, there is a queue to delete them in Quickbooks, when deleting an entity in CS-Cart store.
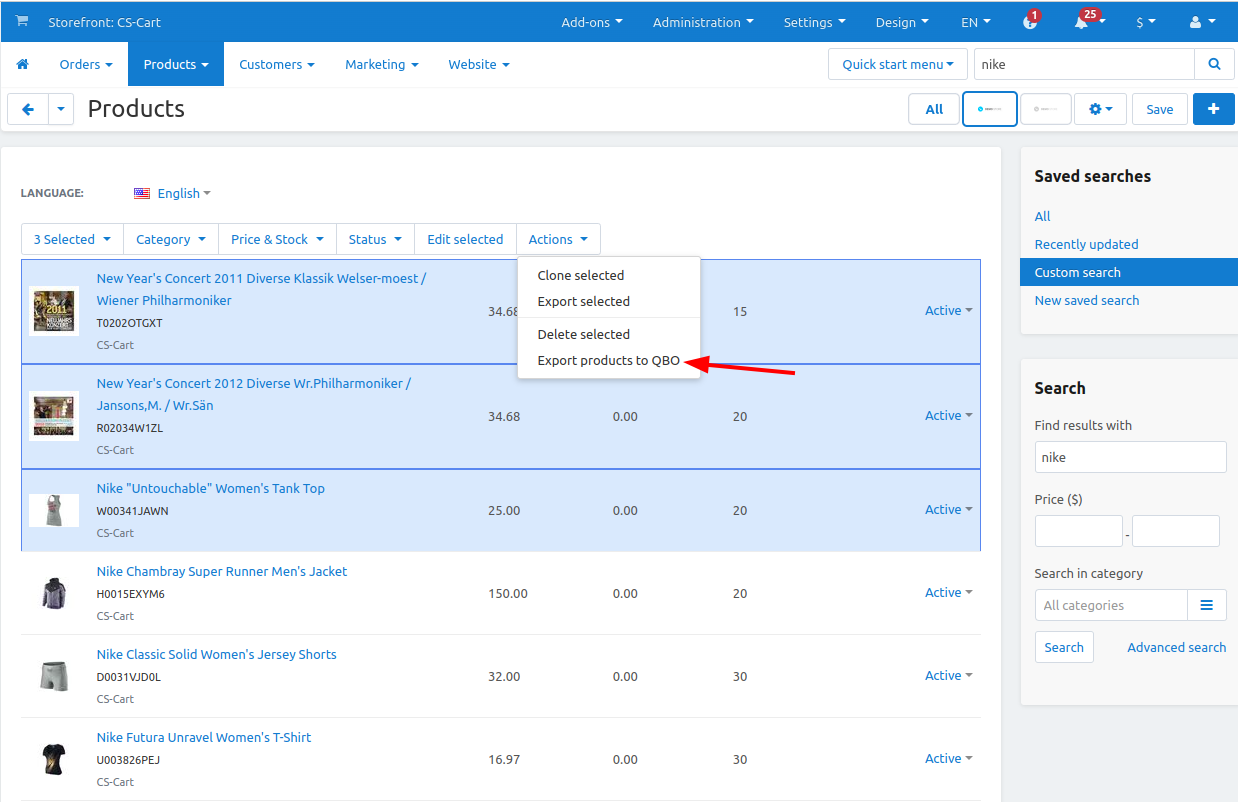
For entities products and users, in addition to the automatic trigger after updating/creating an entity or transferring an order to a certain status, there is an option to manually add a queue for creating or updating an entity (on the entity list page):
The “Queue” tab contains buttons for working with the queue:
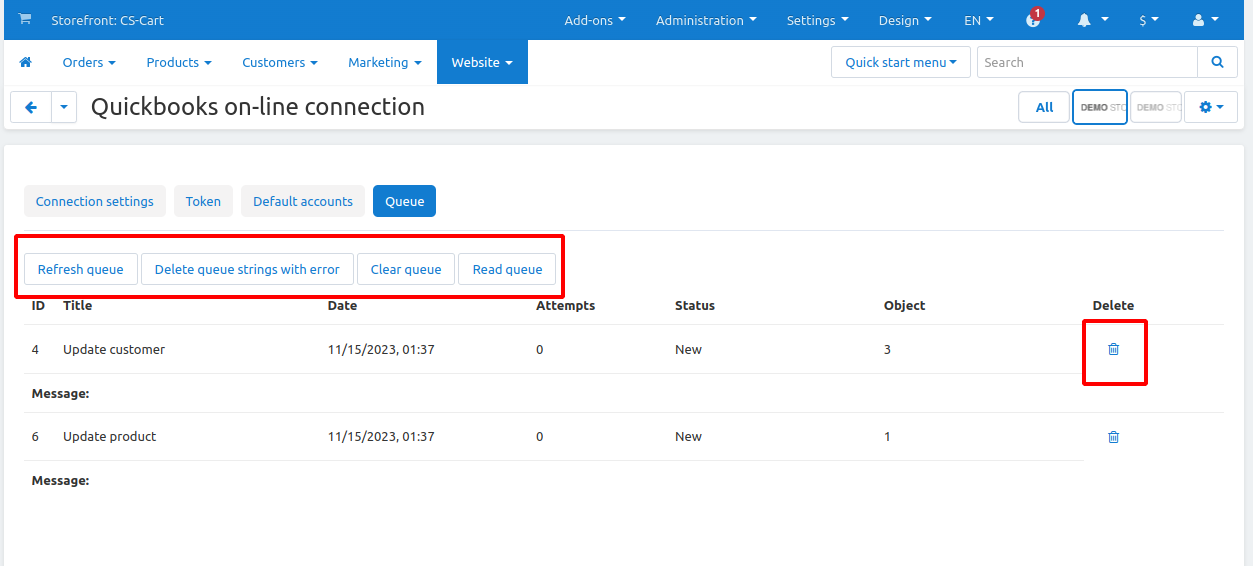
- The information in the queue can be updated by clicking on the “Refresh queue” button
- To delete all queue strings with errors, use the “Delete queue strings with error” button. You can also delete each queue string by using the trash bin icon placed in each queue string
- You can clear the queue completely using the “Clear queue” button
- The queue can be read both in background mode using the cron command placed in the module settings, and manually using the “Read queue” button
Manual linking
The add-on does not automatically synchronize entities from Quickbooks, but you can link the entities Orders, Categories, Users and Products manually. On the edit page of each entity, there is a “Quickbooks Online” tab where you can add the QBO ID of an entity, wich you know in your Quickbooks account.
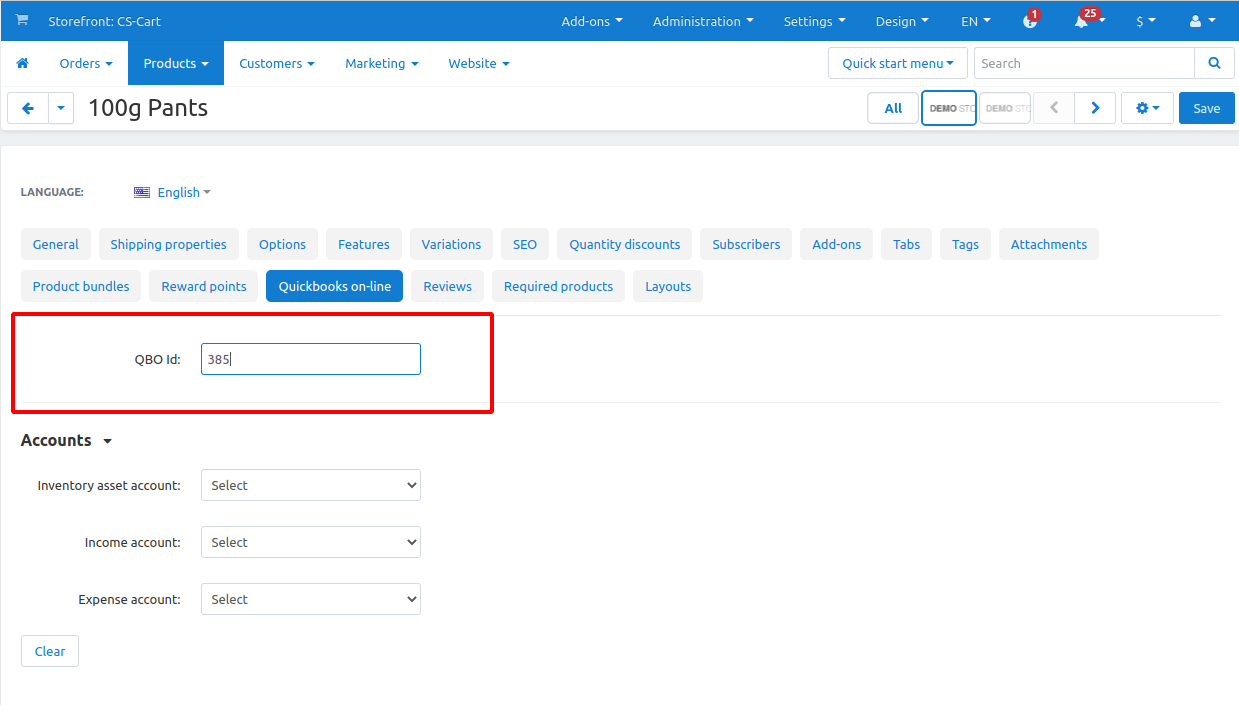
After adding the QBO ID, the entity will be considered to be linked with Quickbooks at the add-on level. However, the data exchange is still one-way, i.e. the add-on does not receive information from Quickbooks to update the entity in CS-Cart, it can only send data from CS-Cart to update it in Quickbooks.
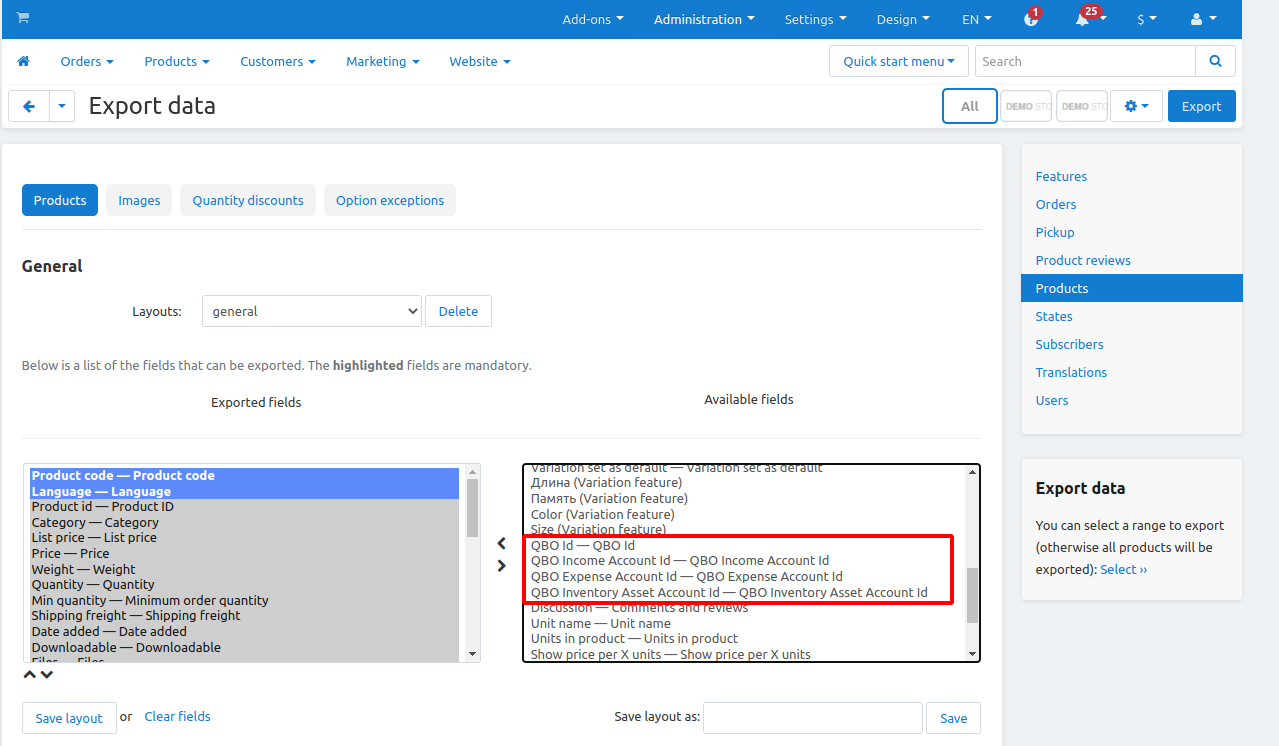
We have also added QBO ID fields for importing and exporting product, order and user data, so you can import and export linked entities without data loss.
Questions & Feedback
Have any questions that weren't answered here? Need help with solving a problem in your online store? Want to report a bug in our software? Find out how to contact us.