User Groups
User groups act as membership levels: they allow you to grant different rights to different users.
- Customer groups determine access to products and categories, shipping and payment methods. Products can also have different prices for members of different customer groups.
- Administrator groups determine what administrators can see or do in the admin panel. Use that to create accounts with limited permissions for your staff.
- Vendor groups work just like administrator groups, but for vendors’ administrators in Multi-Vendor.
Hint
To manage user groups, go to Customers → User Groups.
Adding a User Group
- In the Administration panel, go to Customers → User groups.
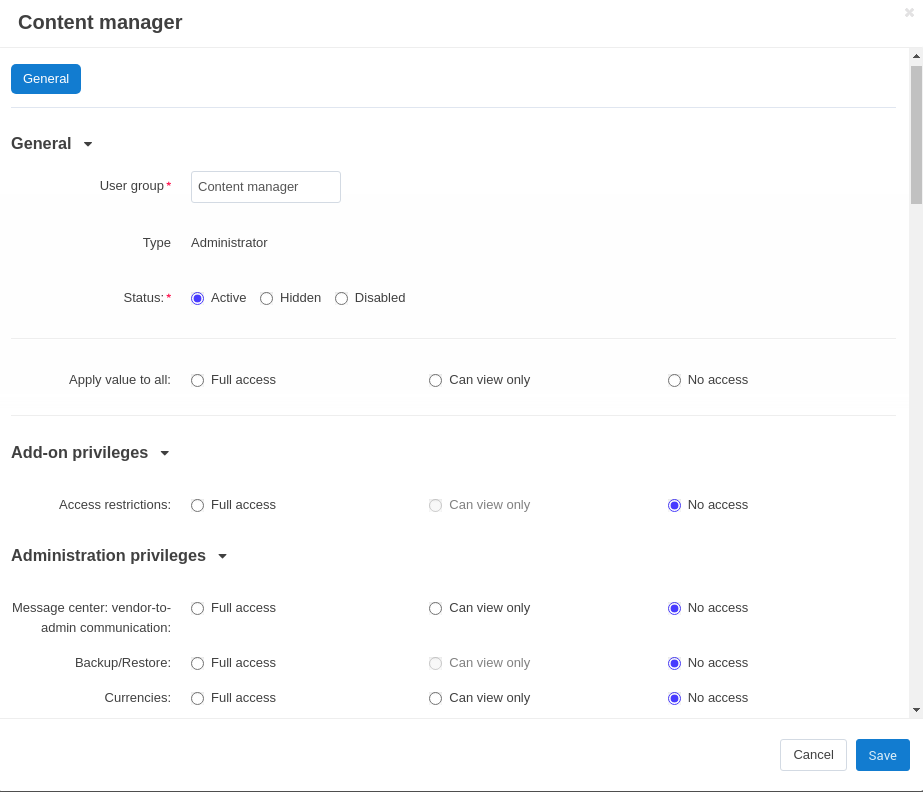
- Click the + button. This will open a form with the group options.
- Fill in the form.
- User group—the name of the group.
- Type—the type of users that will be a part of the group (customers, administrators, vendors).
- Status—the initial status of the group:
- Active—the user group works. If it is a customer group, it will appear on the storefront, and customers will be able to request to join this group.
- Hidden—the user group works, but isn’t visible on the storefront (therefore, customers can’t apply for this group).
- Disabled—the user group doesn’t appear anywhere and doesn’t affect the rights of users in any way.
- Click the Create button. The new group will appear among the other user groups.
Managing Membership Requests
Customers can apply for a user group by clicking on the Join link on the storefront (Profile details → User groups tab). The store administrator can either approve or decline the request.
Important
You must log in as the root administrator to do this.
To process a request, complete the following steps:
Go to Customers → User groups in the Administration panel of your store.
Click on the gear button and choose the User group requests tab to open a list of pending requests.

Tick the checkboxes next to the requests you want to process, click the gear button in the top right corner. and choose either Approve selected or Decline selected. You can also change the status of a particular request in the drop-down menu on the right.
Configuring Administrator Permissions
For each administrator or vendors’ administrator group you can specify what the members of that group can or cannot do:
Go to Customers → User groups.
Click the name of the administrator group on the list.
Select the privileges you want to give to the members of the group.
Click the Save button to apply the changes.

Questions & Feedback
Have any questions that weren't answered here? Need help with solving a problem in your online store? Want to report a bug in our software? Find out how to contact us.