Payeezy
Overview
The CS-Cart Payeezy add-on lets you accept payments via Payeezy Gateway. Offer your customers a great experience on your website with high security, features and easy integration. Payeezy accepts major credit cards and lets your customers pay in many local currencies. Payments are processed directly in the store, the customer is not redirected to the payment gateway site.
To learn more about Payeezy, have a look at the frequently asked questions.
Compatibility
The add-on is compatible with CS-Cart and Multi-Vendor 4.5 and above, but only versions 4.12.x and above are supported. Minimum required PHP version is 5.6. The add-on does not support PHP 8.x yet.
See more information about compatibility of our add-ons here.
Features
- Accept payments via Payeezy Gateway
- Offer more payment options
- Process payments directly on your site
- Enjoy impressive security features
- Accept payments in 50+ currencies
- Accept all major credit card types: Visa, Mastercard, American Express, Discover, JCB, Diners Club, and more
Support
You are guaranteed a quality add-on supported by the future versions. If you need help, please contact us via our help desk system.
Demo
You can check out the Payeezy Gateway in our demo store.
Start selling with Payeezy
Details of creating a Payeezy account will be described in this section. You will also learn how to get API Key, API Secret, and Token required at creating the Payeezy payment method.
Log into Payeezy or create a new account.

Then you will receive an email with the link to set a password.
Add a new API.
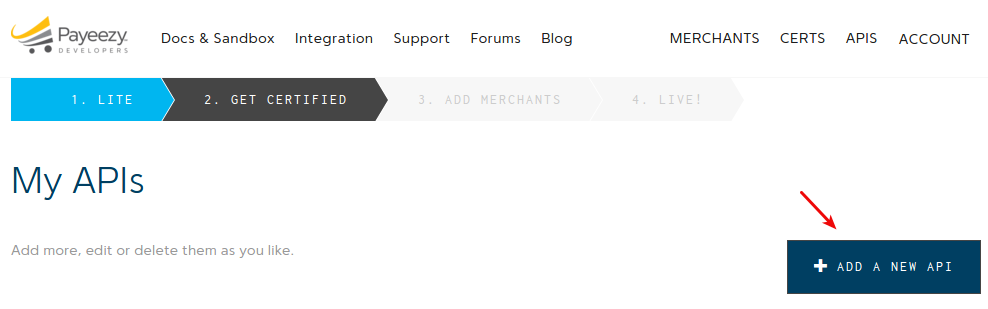
Now that you’ve created an API, API credentials should get available to you.
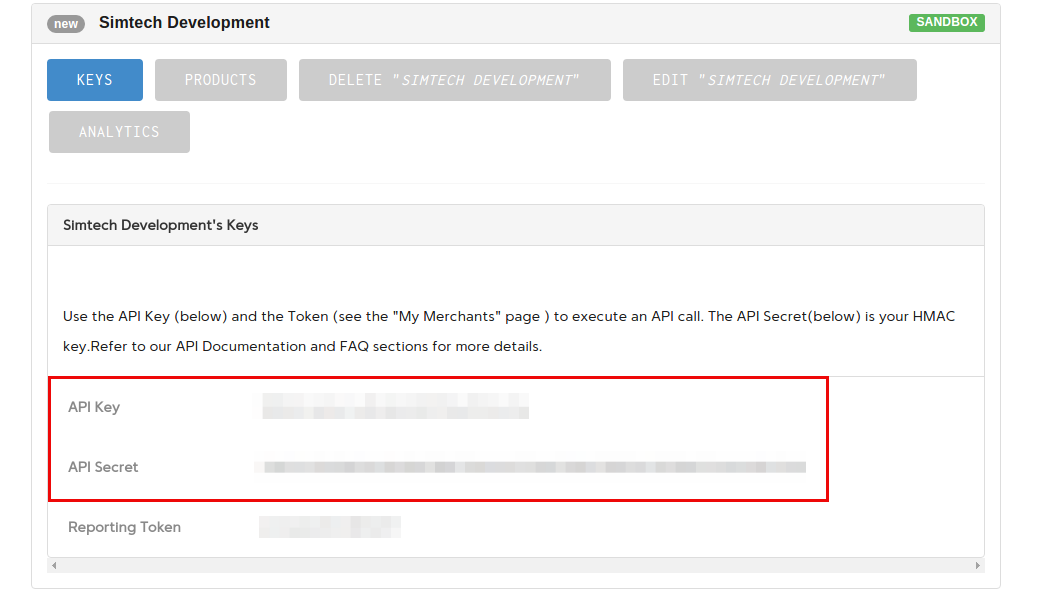
Getting API Key and API Secret
To get API Key and API Secret, select your API and open the Keys tab:
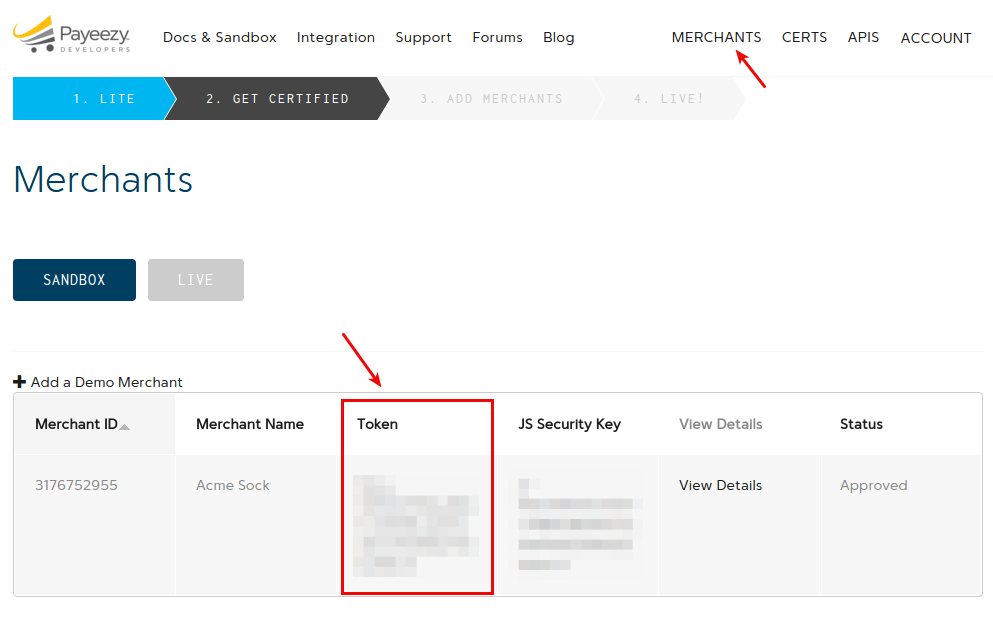
Getting Token
To get Token, click Merchants in the top right and you should see the generated Token:
Managing in the admin area
Installing the add-on
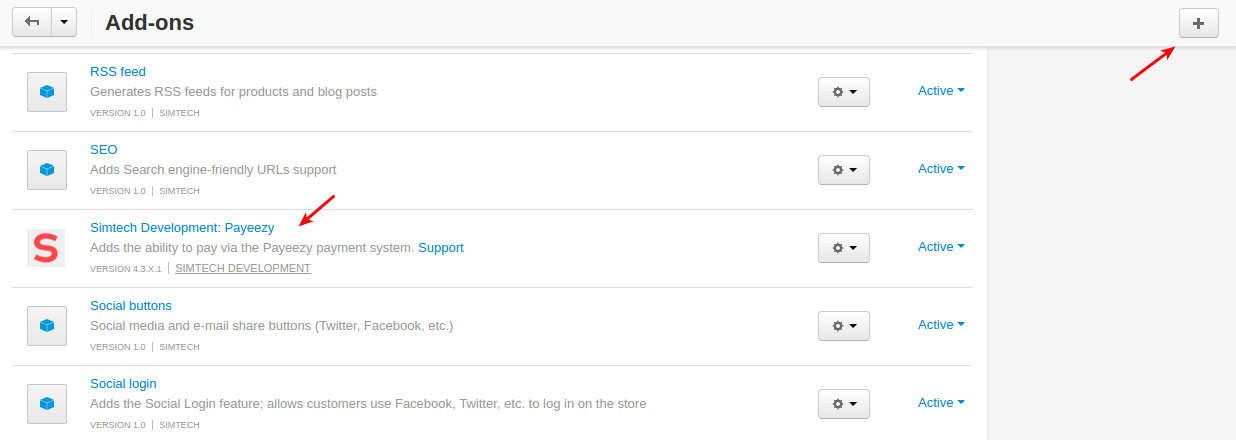
Install the Payeezy add-on on the add-ons list page (Add-ons → Manage add-ons). Click the + button in the top right corner, select an archive and click Upload & install. You can now find the installed add-on in the list of installed add-ons, just make sure it is set to Active.
Setting up the add-on
To set up the add-on, you’ll want to select statuses for Processed and Failed orders:

- Processed order status—The status that will be assigned to the order if the transaction has been successful.
- Failed order status—The status that will be assigned to the order if the transaction has been failed.
Creating a payment method
A payment method is created on the payment methods list page (Administration → Payment methods).
Please use this button

to create a new payment method.
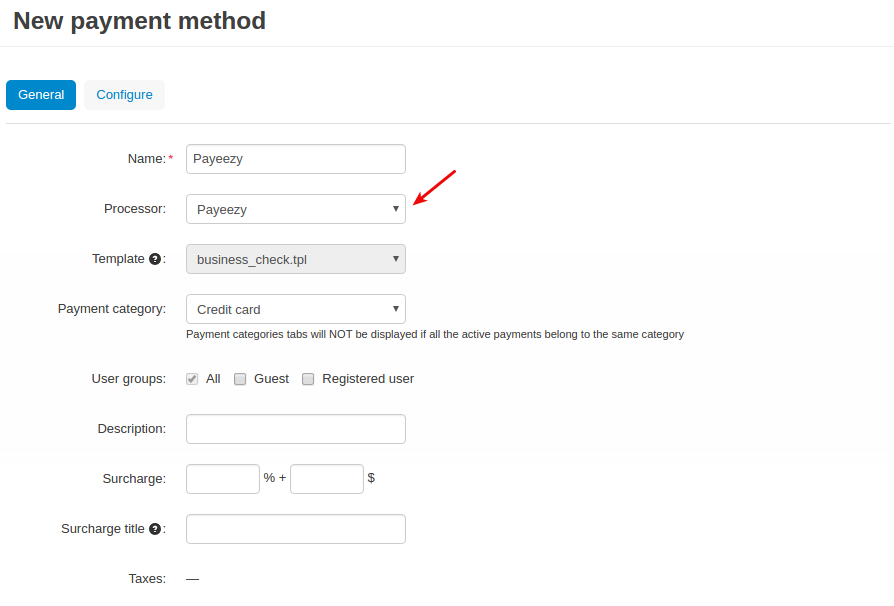
To use the Payeezy Gateway, it is necessary to select the appropriate value in the Processor field in the General tab.
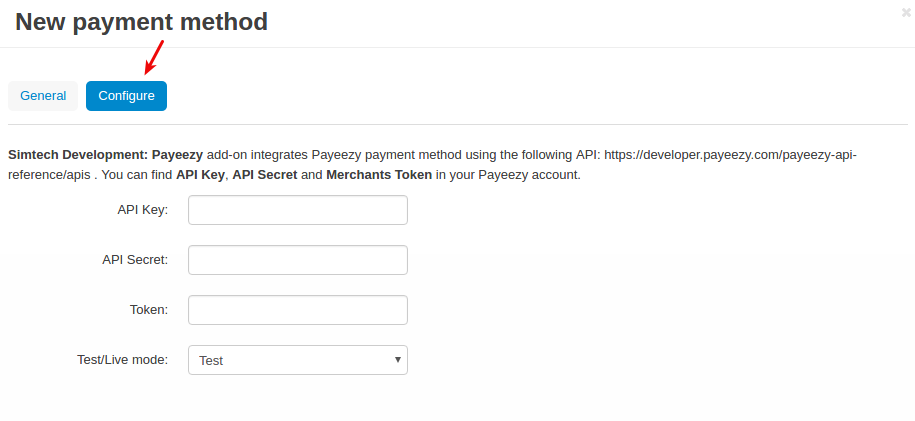
In the Configure tab, the store administrator should enter the data of their Payeezy account: API Key, API Secret, and Token. To get these credentials, have a look at the Getting API Key and API Secret and Getting Token sections.
What the customer will see
Once you’ve set up the Payeezy Gateway in the store, it will get available to your customers.
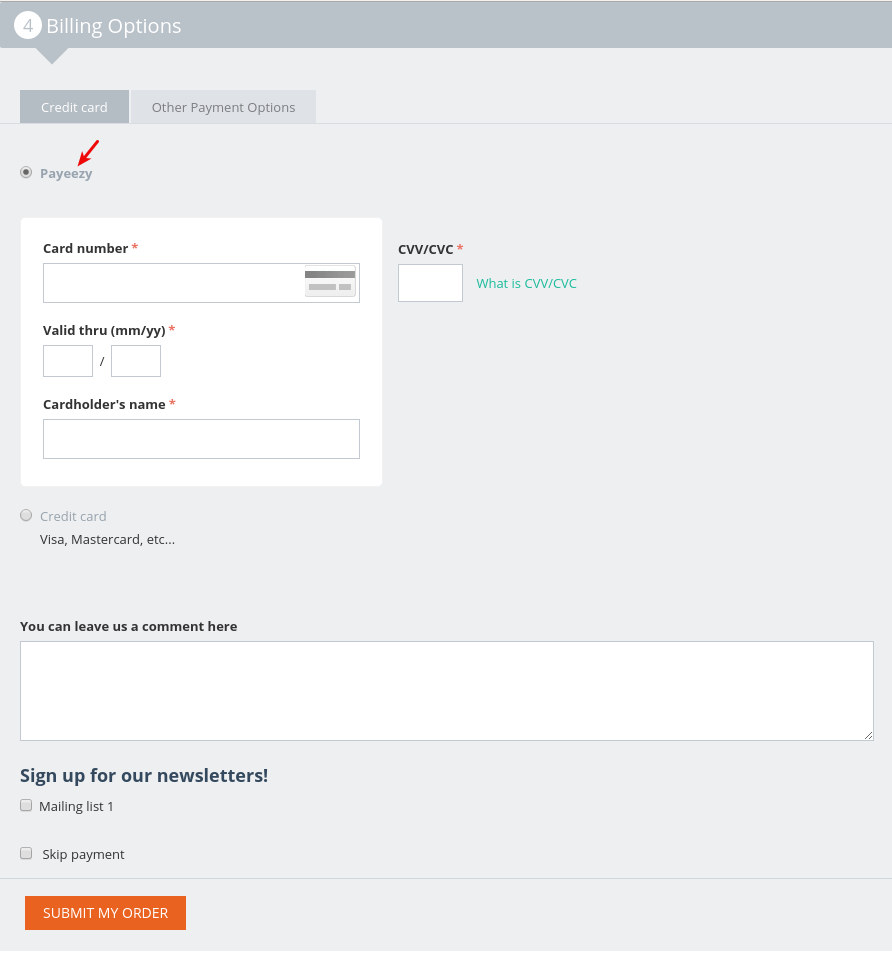
So the customer adds products to cart and proceeds to checkout. At the Billing Options step, they will see the Payeezy payment method available.
To pay for the order via Payeezy, the customer should enter the credit card details:
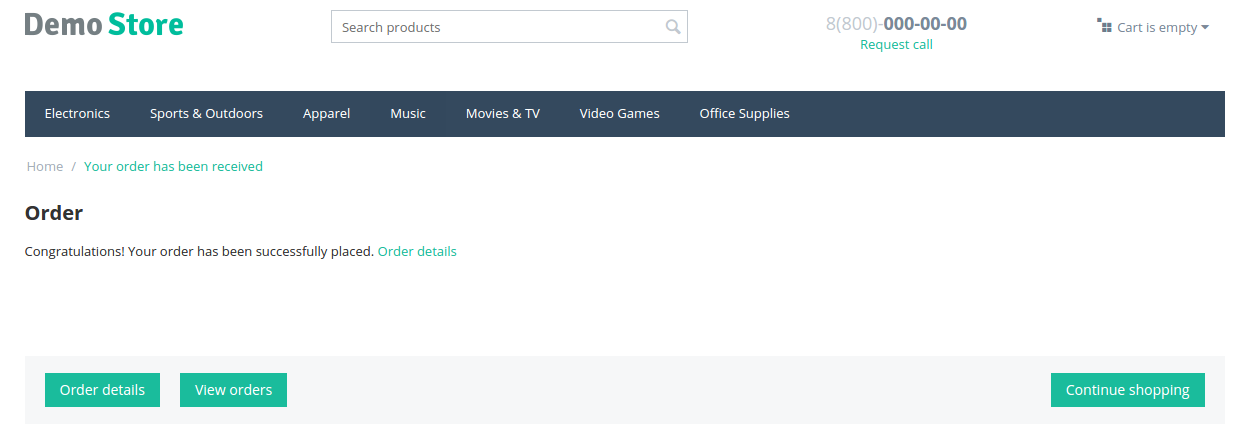
Once the payment is made successfully, the customer will see the following notification:
In the backend, the admin will see new parameters on the order details page (Orders - View orders):
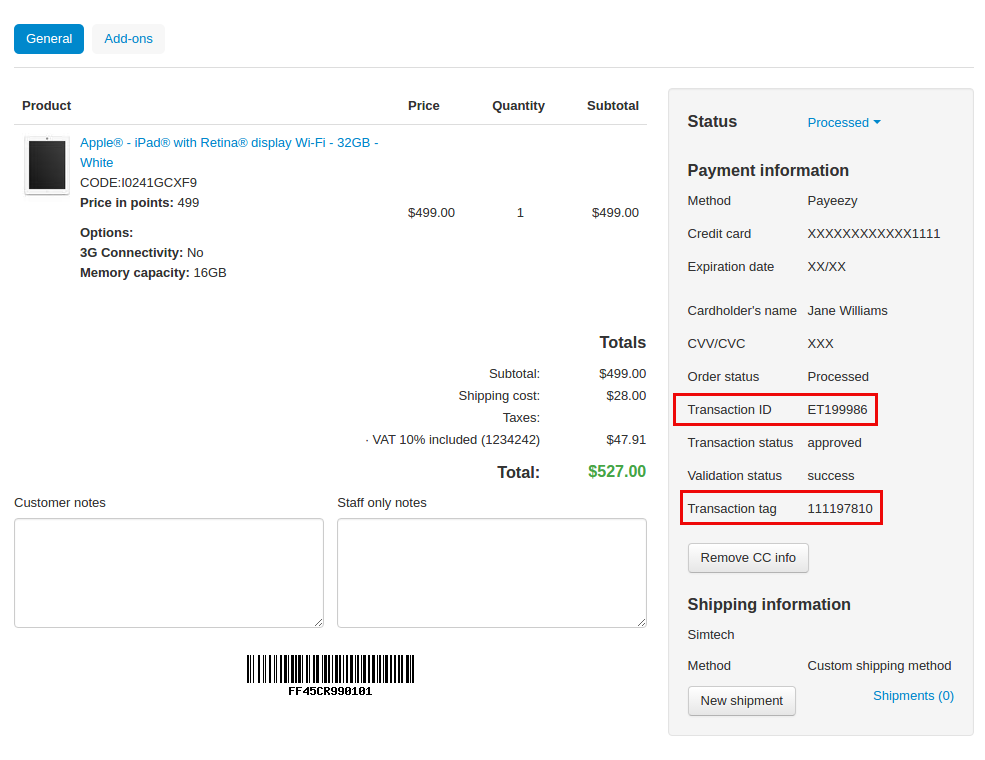
These parameters are necessary to identify orders on the Payeezy end.
Questions & Feedback
Have any questions that weren't answered here? Need help with solving a problem in your online store? Want to report a bug in our software? Find out how to contact us.