How To: Create a Custom Form
Step 1. Activate the Form Builder Add-on
1.1. In the Administration panel, go to Add-ons → Manage add-ons.
1.2. Make sure the Form Builder add-on has an Active status.
Step 2. Create a Form
2.1. Go to Website → Pages.
2.2. Click the + button and choose Add form.
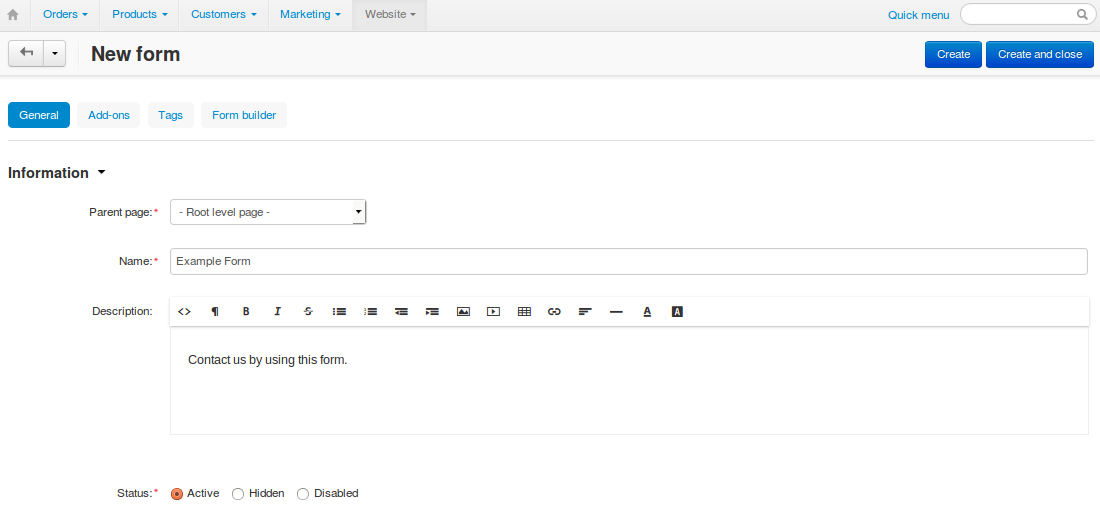
2.3. Configure the form settings on the General tab:
- Parent page—choose the parent page for the form.
- Name—enter the name of the form (e.g., Contact us).
- Speсify other fields, if necessary.
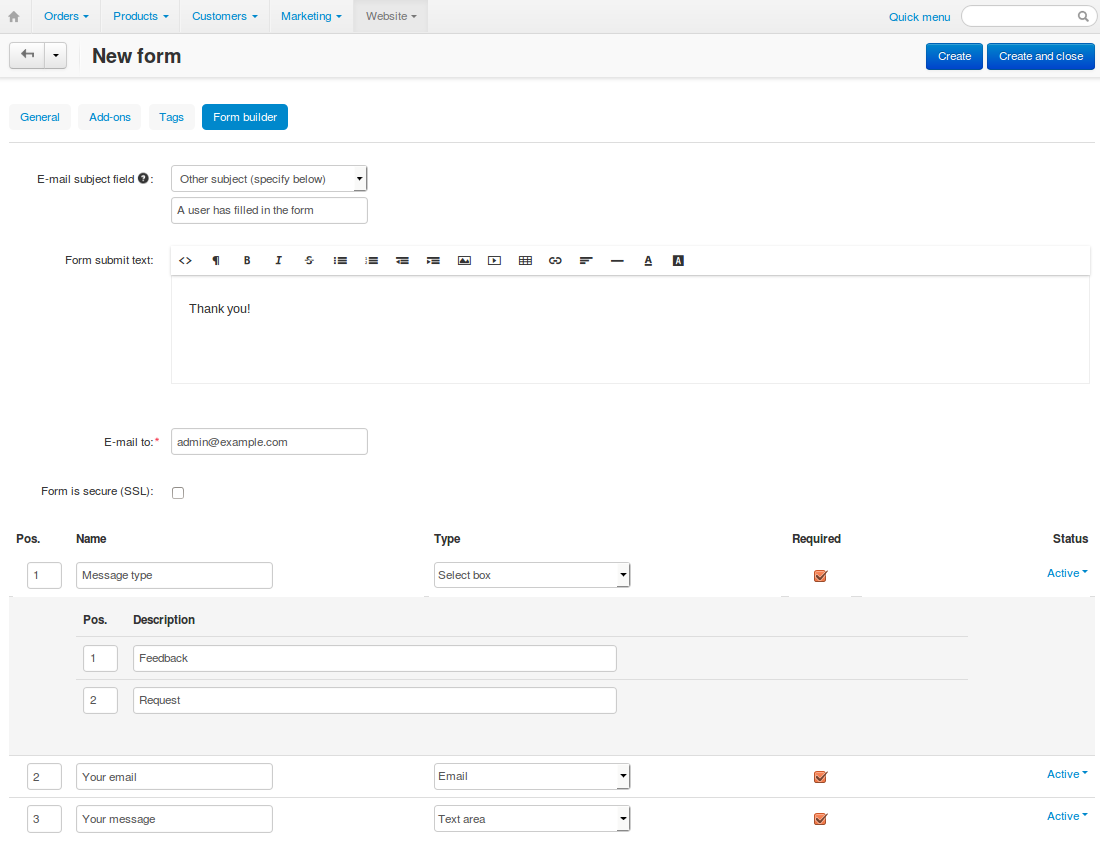
2.4. Configure the settings on the Form builder tab:
- Email subject field—a completed form is sent to a specific email address. Here you can specify the subject of the email:
- Form name—the name of the form will serve as the email subject.
- Other subject—a text field will appear below, and you’ll be able to enter the subject manually.
- Form submit text—enter the text that customers will see after submitting the form.
- E-mail to—enter the e-mail address where the notifications will be sent to.
- Add fields to your form. There are standard fields (select box, text area, radio group, etc.) and special fields (date, e-mail, number, phone, etc.).
Hint
You can allow users to attach files to the form—create a field and set its Type to File.
2.5. Click Create.
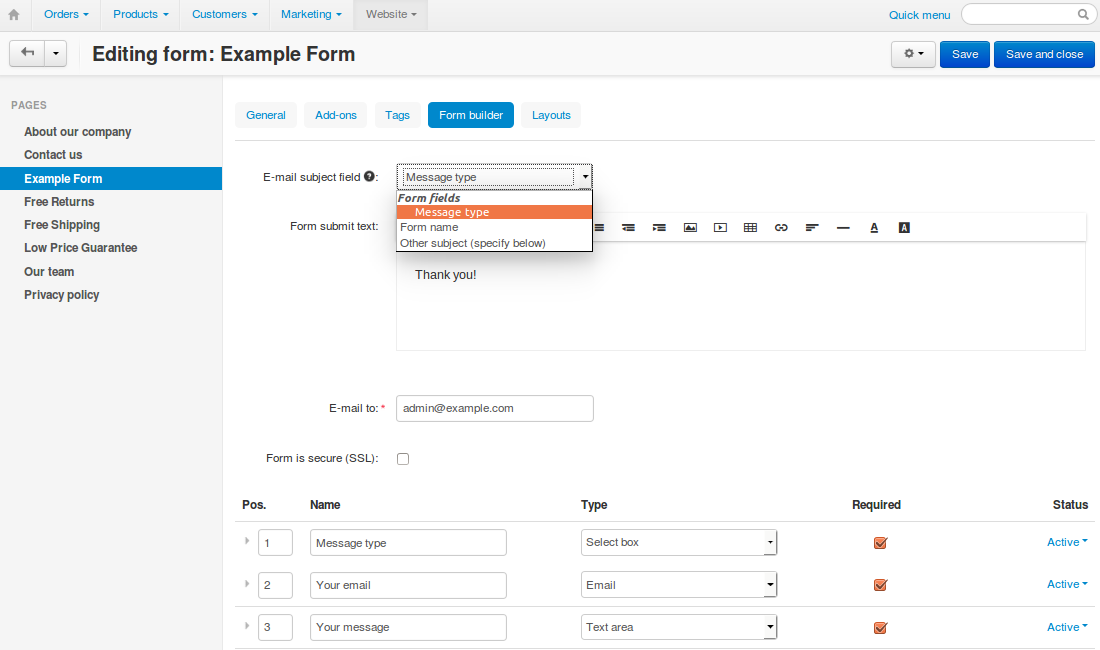
Step 3. Set a Form Field as Email Subject
Note
This is an optional step available since version 4.3.7.
When you edit a form that already exists, you can select one of the existing fields as Email subject field. This field must have one of the following types:
- Input field
- Select box
Hint
Remember to click Save once you’ve changed the form as you like.
Questions & Feedback
Have any questions that weren't answered here? Need help with solving a problem in your online store? Want to report a bug in our software? Find out how to contact us.