How To: Manage Profile Fields
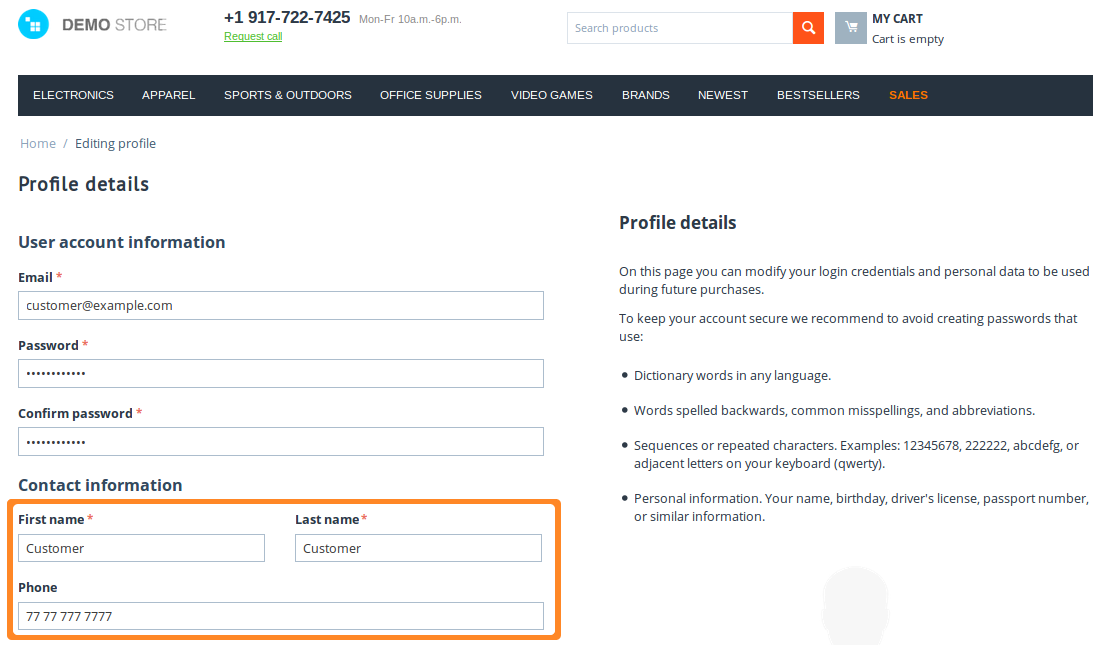
Profile fields contain various information about a user. Users can fill in those fields when registering an account, in their profile, or at checkout. Some fields can be made mandatory.
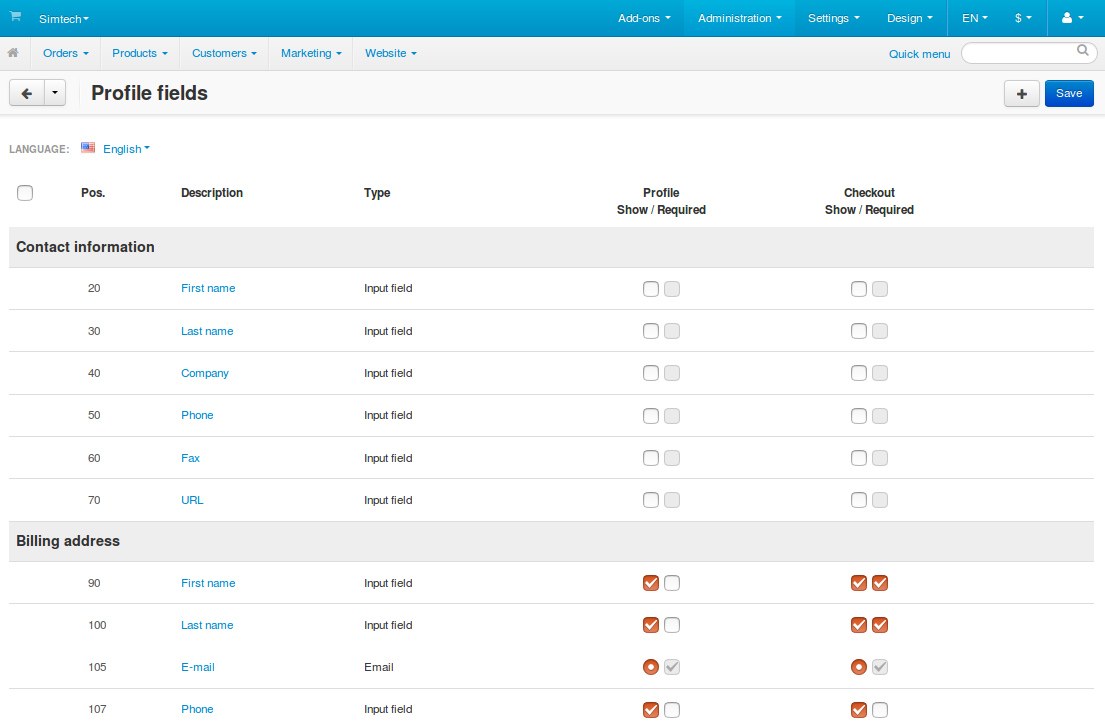
The list of profile fields is available under Administration → Profile fields. On that page you can:
Add/Edit Profile Fields
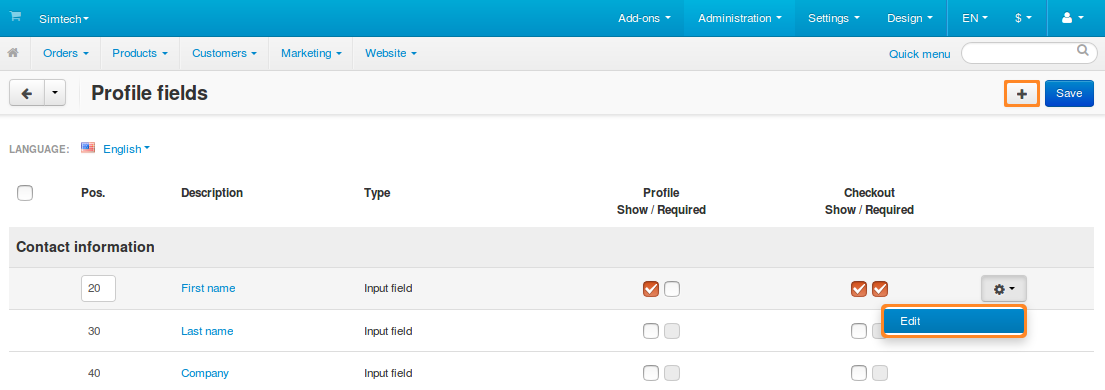
- To add a profile field, click the + button in the top right corner. To edit an existing profile field, click the gear button next to the desired field and choose Edit.
You’ll see a window where you’ll be able to specify the properties of the profile field:
Description—the name of the field as it appears to customers and administrators.
Field name—the character sequence unique for each profile field. It serves to identify the field and can be used as a variable in the document editor.
Position—the position of this profile field on the list relative to other fields.
Type—the type of the profile field. It determines what kind of values can be entered or selected in the field. If you choose Radio group or Select box, you’ll have to specify the possible variants on the Variants tab.
Important
Once you create a profile field, you won’t be able to change the type of that field.
Section—determines whether this field is a part of user’s contact information or billing/shipping address. If you choose Billing/Shipping address, the field will be created both for billing and shipping address. However, you’ll be able to hide fields or make them required separately for each address type.
User-defined CSS class—allows you to assign a custom CSS class to this field.
Profile (Show/Required)— ticking the first checkbox will make this field appear during profile creation or editing. Ticking the second checkbox will make this field required—a user won’t be able to create or update a profile without filling in this field.
Checkout (Show/Required)—ticking the first checkbox will make this field appear at checkout. Ticking the second checkbox will make this field required—a user won’t be able to complete checkout without filling in this field.
Once you’ve specified everything you needed, click Create (or Save, if you’re editing an existing field).

Hide Fields or Make Them Required
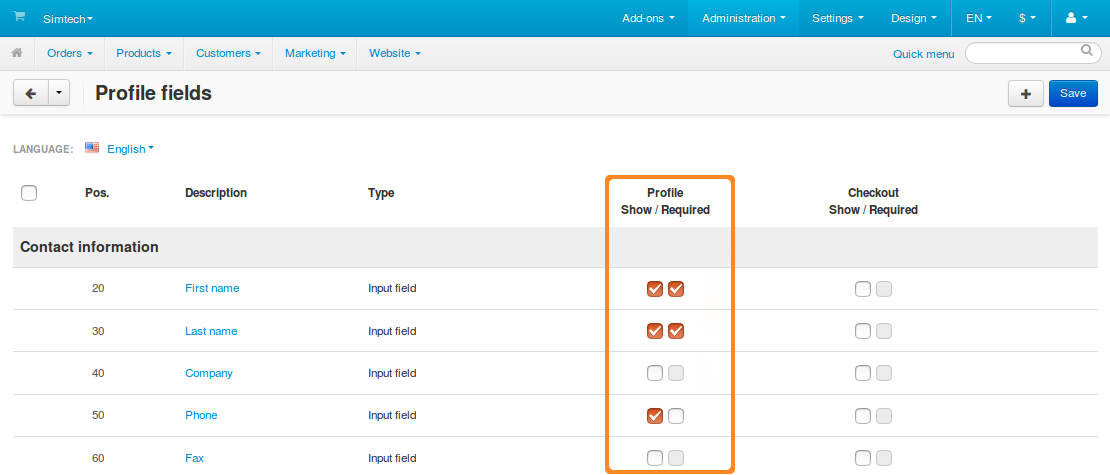
The profile field list has two columns that determine the areas where a field should appear: Profile and Checkout.
Each area has two checkboxes:
Show—if you tick this checkbox, the field will appear in the corresponding area.
Hint
If you want to hide a certain field without deleting it entirely, just untick the Show checkboxes for both Profile and Checkout.
Required—if you tick this checkbox, the field will have to be filled in. Otherwise, depending on the area where the field is required, a user won’t be able to register a new account, save changes in the edited account, or submit an order.
Once you configure the visibility of the profile fields, click Save in the top right corner. After that the changes should take effect.
Important
If you don’t click Save, your changes will be lost when you leave the page.
Use Profile Fields in Document Editor
Starting with version 4.4.1, CS-Cart and Multi-Vendor come with the document editor that allows to customize invoices, packing slips, and other documents.
If a profile field appears at checkout, its identifier from the Field name property will also appear in the document editor among other variables. The field can be found in the user group of variables. Simply click on the field name, and it will be added to the place where you last left the cursor in the document template.
Important
If the field belongs to the Billing/Shipping address section, it will be represented by 2 variables with different prefixes: b_ (billing address) and s_ (shipping address).
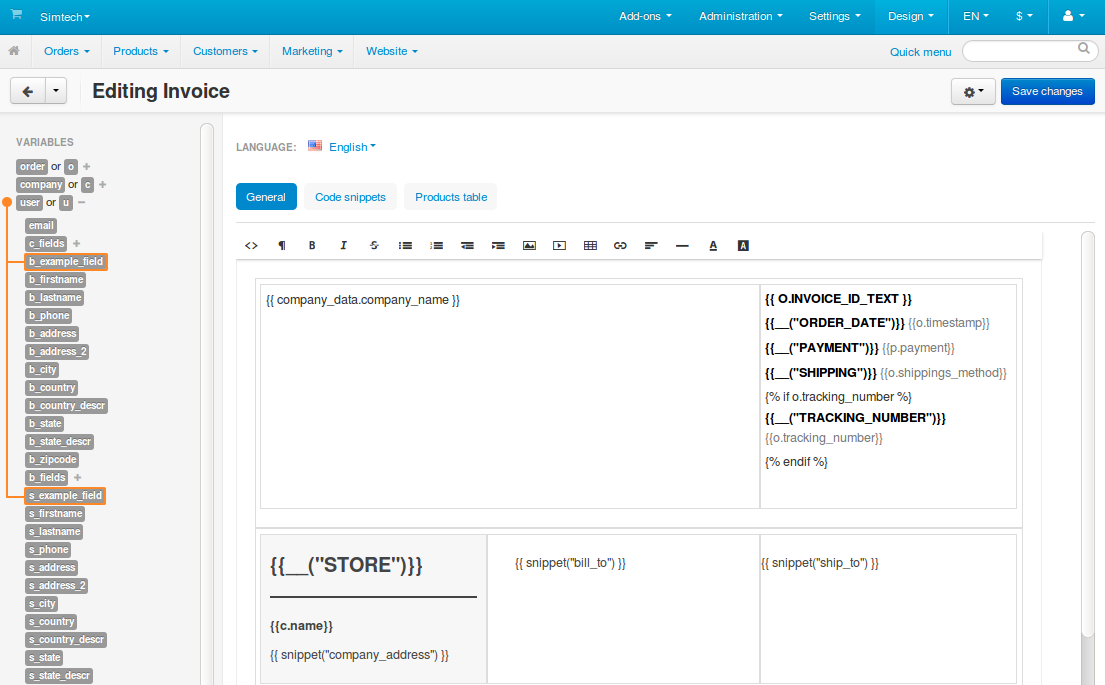
You can also refer to that profile field by its name manually. For example, if the field name is s_example_field, put {{ u.s_example_field }} to where you want the content of the field to appear in the document.
Hint
In this case u stands for users.
Delete Profile Fields
Warning
Deleting a profile field will also delete the data that users entered in that profile field earlier. If you don’t want that, just hide the profile field as described above.
Fields that exist by default can’t be deleted. You can only delete custom profile fields:
- To delete one profile field, hover over it, click the gear button, and choose Delete.
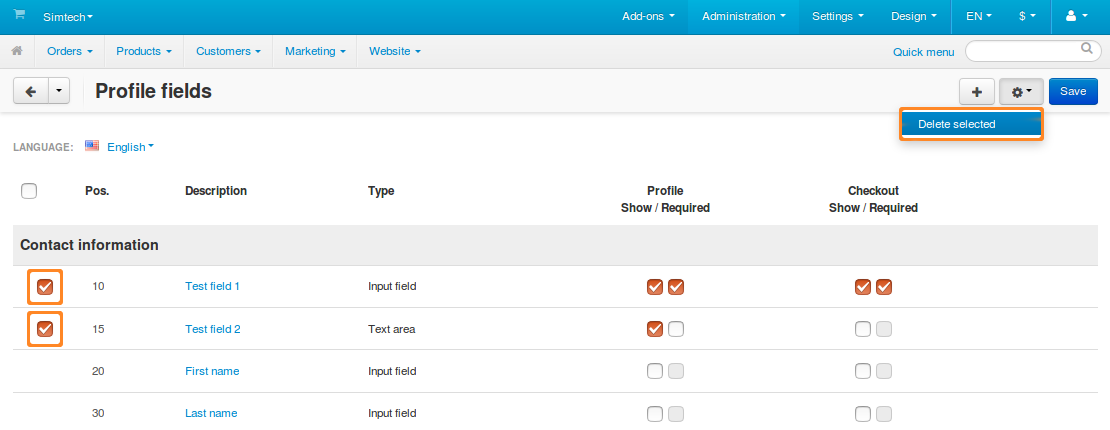
- To delete multiple profile fields:
- Tick the checkboxes next to the fields you want to delete.
- Click the gear button in the top right corner.
- Choose Delete selected.
Important
If a profile field belongs to the Billing/Shipping address section, then the checkboxes and the Delete action will only appear under Shipping address. A field deleted from shipping address also gets deleted from billing address.
Questions & Feedback
Have any questions that weren't answered here? Need help with solving a problem in your online store? Want to report a bug in our software? Find out how to contact us.