How To: Create a New User Group for Customers
Customers can be split into different user groups with various privileges. For example, you can set different product prices for members of different groups. You can also determine what shipping methods, payment methods and discounts are available to different user groups.
Hint
To set different product prices for different user groups, go to Products → Products, click on the name of the desired product, and switch to the Quantity discounts tab.
Step 1. Create a User Group
1.1. In the Administration panel go to Customers → User groups.
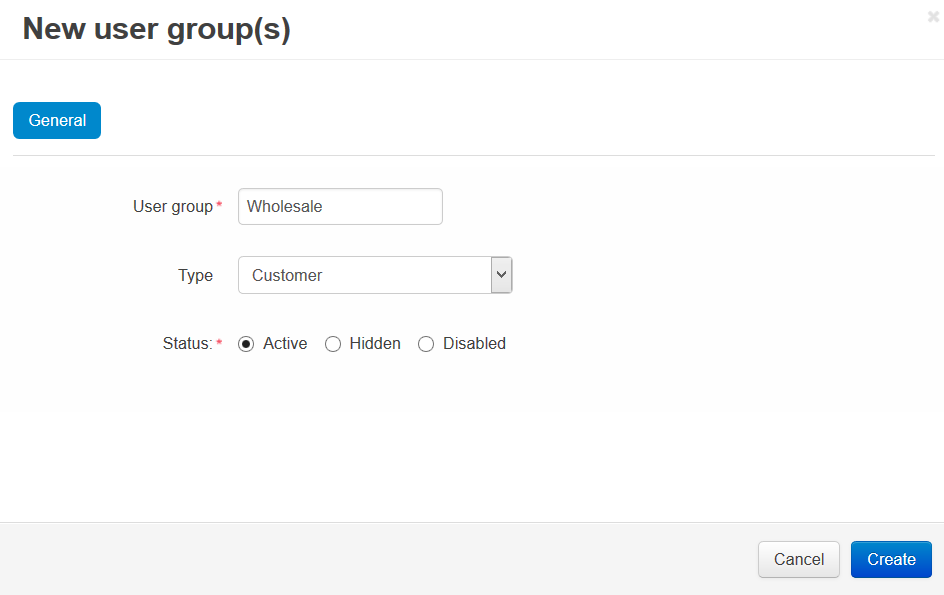
1.2. Click the + button on the right.
1.3. Enter the name your user group in the User group field.
1.4. Set the Type to Customer.
1.5. Click the Create button.
Step 2. Add Customers to the Group
2.1. Go to Customers → Customers.
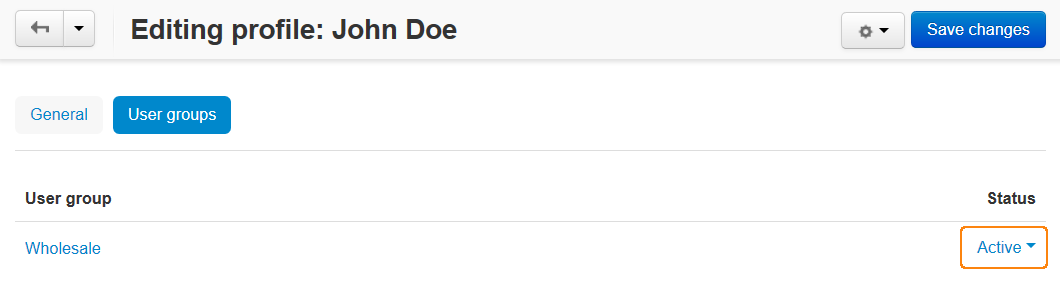
2.2. Click the desired name to open the profile.
2.3. Switch to the User groups tab.
2.4. Set the status to Active for the group you’ve just created.
Important
Customers will see prices of the corresponding user group only if they are a part of the group and are logged in to their accounts.
Questions & Feedback
Have any questions that weren't answered here? Need help with solving a problem in your online store? Want to report a bug in our software? Find out how to contact us.