How To: Manage Blocks
You can re-arrange blocks in the frame, add and remove blocks, edit block properties, activate and disable blocks, assign blocks to specific items/pages.
When you need to perform an action on the blocks, go to Design → Layouts and select the layout page where the necessary block appears or should appear.
Note
For blocks that refer to the Top panel, Footer or Header container, make sure to select the Default layout page.
Moving Blocks
To move a block to a different position inside the frame, drag-n-drop the block to the required position.
Note
Remember that blocks must be nested inside a child container
Adding Blocks
When adding a block, you can use one of the following options:
- Add a pre-defined block.
- Create and add a custom block with a specific configuration.
To add an existing block:
- Click the + icon on the container where the block should be placed and select Add Block.

- Select Use Existing Block tab.
- Choose a block from the list and click its icon.
The block will appear among the other objects in the frame.
To create and add a new block:
- Click the + icon on the container where the block should be placed and select Add Block.
- Switch to the Create New Block tab.
- Choose a block type and click its icon. This opens a window with the new block configuration.
- Set up the block parameters.
- Click Create when finished.
The block will appear among the other objects in the frame. Also, it will be added to the list of the existing blocks.
Note
Block types and properties are described in this topic.
Editing Blocks
To edit a block:
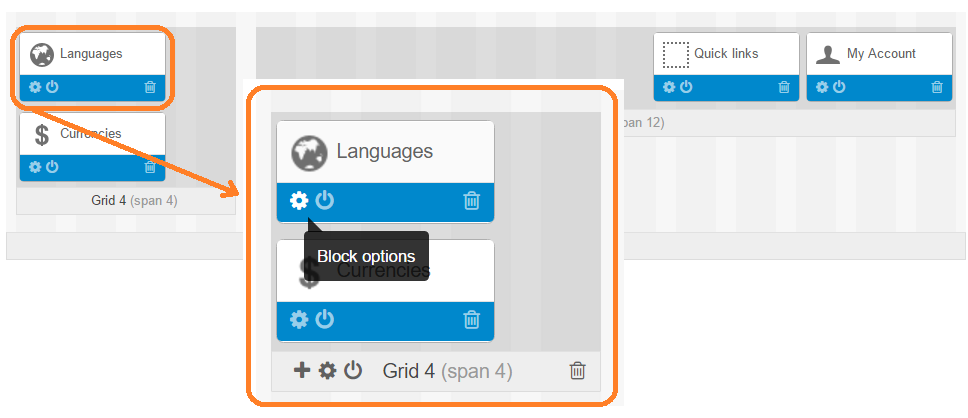
- Move the cursor over the block and click the gear icon. This opens the block configuration form.
- Edit the block parameters.
- Click Save to apply the changes.

Note
Block types and properties are described in this topic.
Deleting Blocks
To remove a block from the frame:
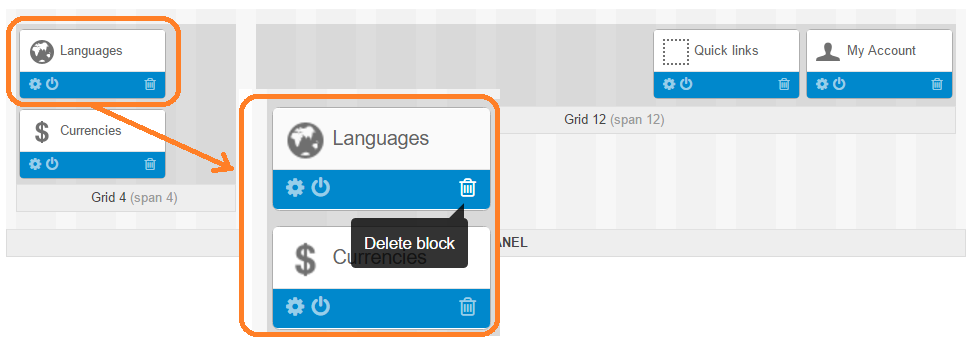
- Move the cursor over the block and click the trash can icon.
- When prompted, confirm the action.

To add new blocks, edit and delete existing ones you can also click the gear button in the top right corner of the page and choose Manage blocks from the drop-down list.
Assigning Blocks
If a layout page represents a group of pages (for example, detailed product pages on the storefront), blocks are automatically assigned to all items in the group.
However, you can hide a block individually for an item (product, category, page, etc.), if you want to hide the block on the corresponding storefront page. Similarly, you can force a block to appear on a particular storefront page if the block is deactivated in the layout page settings.
To hide/show a block on an item storefront page:
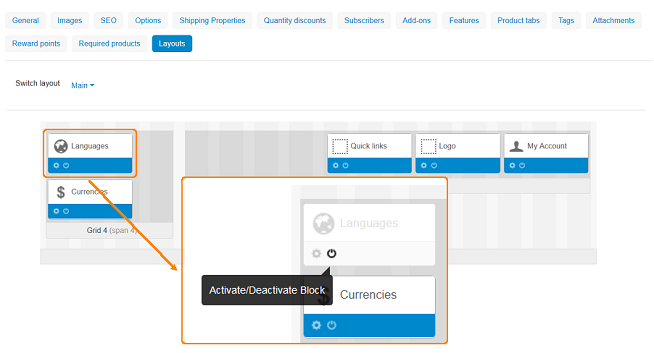
- Open the item detailed page in the Administration panel.
- Shift to the Layouts tab.
- Deactivate (hide) or activate (show) the block.

Questions & Feedback
Have any questions that weren't answered here? Need help with solving a problem in your online store? Want to report a bug in our software? Find out how to contact us.