How To: Set up Product Features
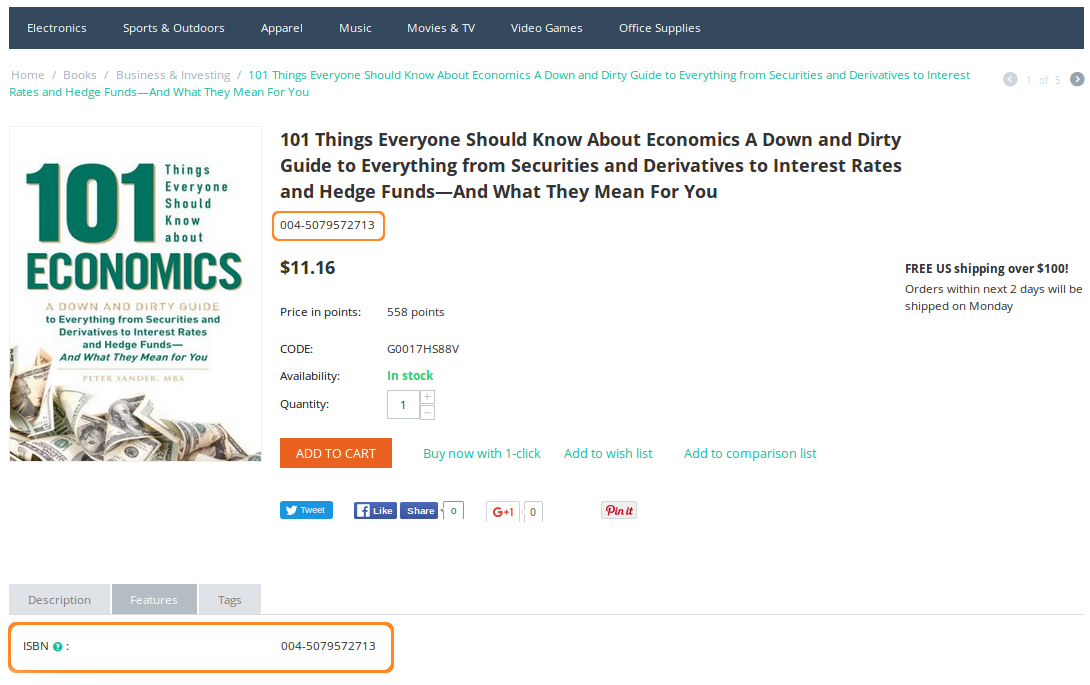
Product features are various traits and properties of the product. You can use features in product filters to allow customers to find products with specific parameters.
Add a Feature
Note
Starting from Multi-Vendor 4.12.1 vendors have the ability to add features, if you allow them to do it.
There are two ways to add a new feature:
Way 1: From a Product Page
Open the Products → Products page.
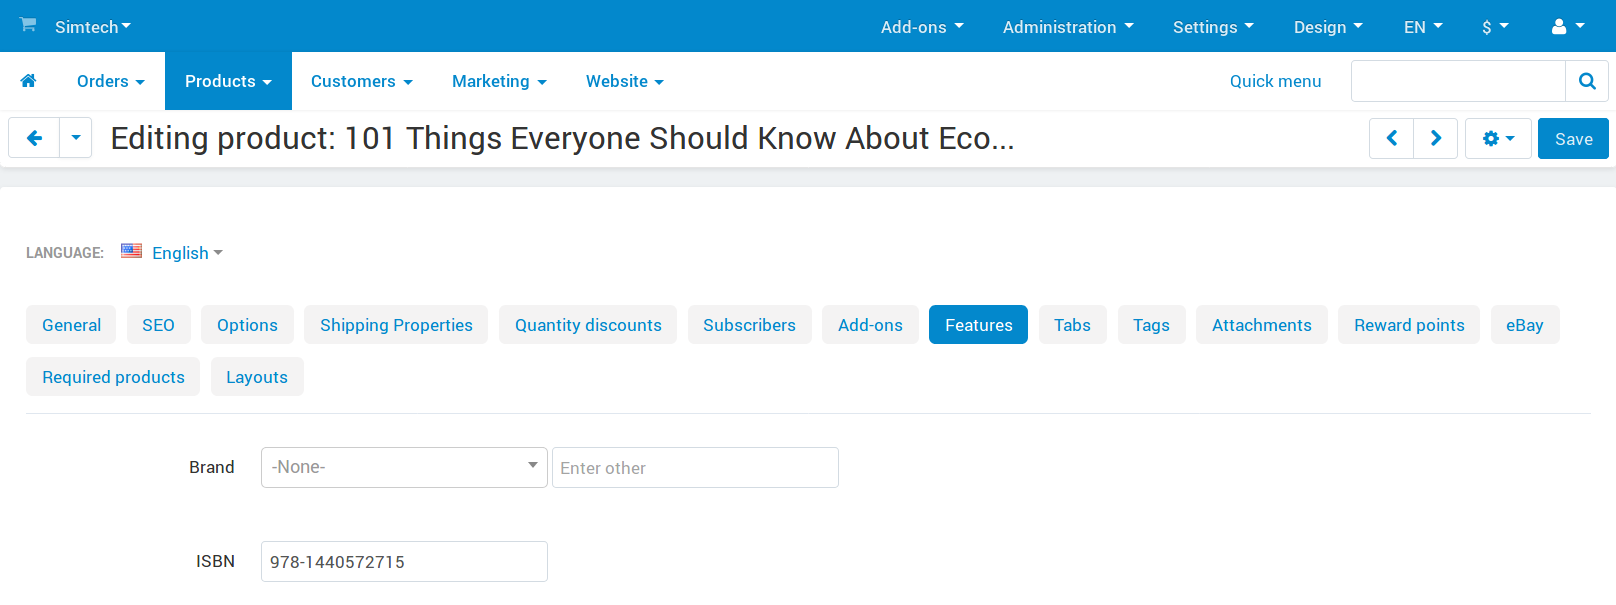
Click on the name of the product to open its settings.
Open the Features tab.
Click Add feature.
Fill in the following fields:
- Name—the name of the feature.
- Storefront name—the storefront to which the product feature originally belongs.
- Variants—add the variants for your feature.
Click the Create button.
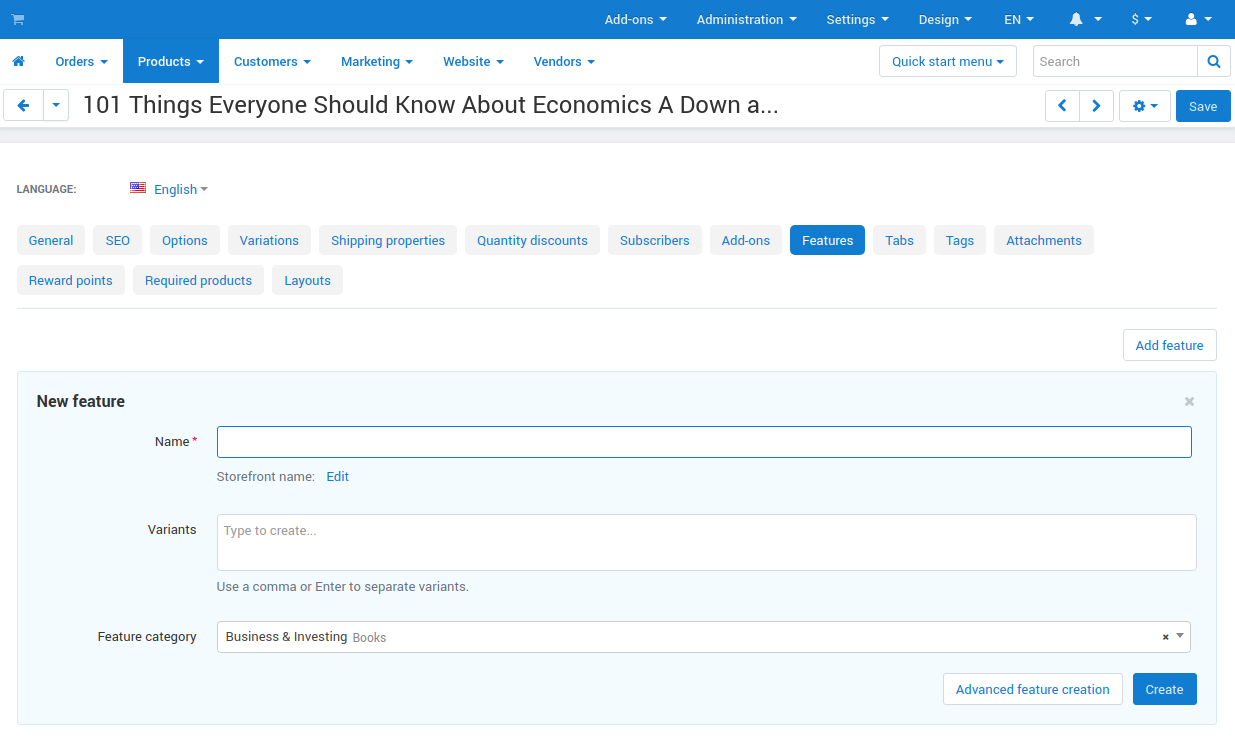
Note
Click the Advanced feature creation button to proceed to create the feature from the features list.
Way 2: From the Features List
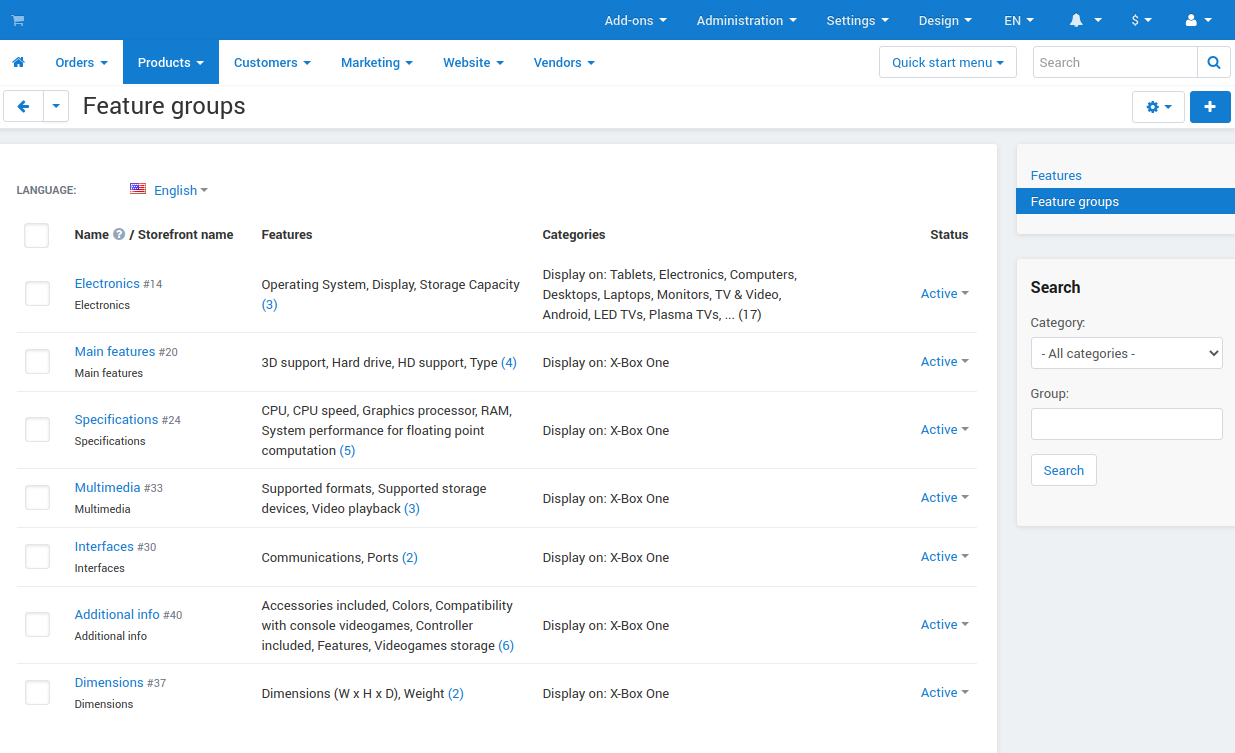
In the Administration panel, go to Products → Features.
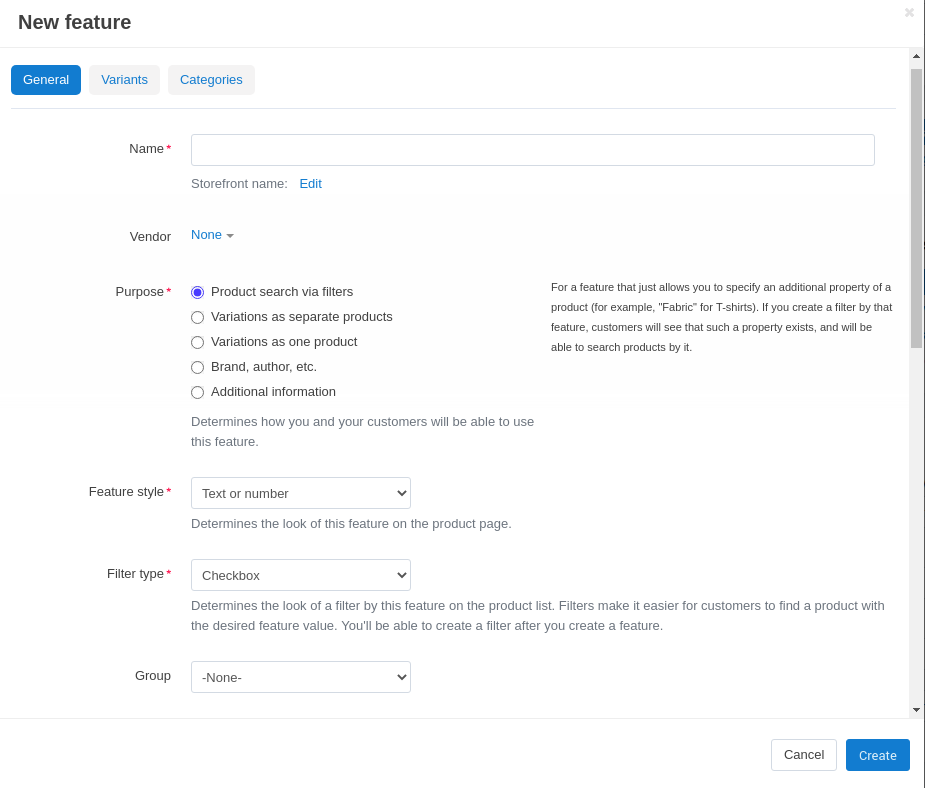
Click the + button in the top right corner.
Fill in the necessary feature properties.
(optional) Some features have multiple variants. Once you’ve configured everything on the General tab, make sure to configure the Variants tab too, if it appears.
(optional) By default, the feature will be available in all product categories. Switch to the Categories tab if you wish to make the feature available only in certain categories.
Important
A feature available in a category is also available in its subcategories. If a feature belongs to a group, its categories are the same as the categories of the group. The Categories tab won’t appear for the feature in that case.
Click the Create button.
Add a Feature Group
Feature groups allow you to assign categories to multiple features at once.
Warning
If you delete a feature group, all the features of that group will be deleted too.
In the Administration panel, go to Products → Features.
Switch to Feature groups in the menu on the right.
Click the + button on the right.
Fill in the following fields in the New group window that will open:
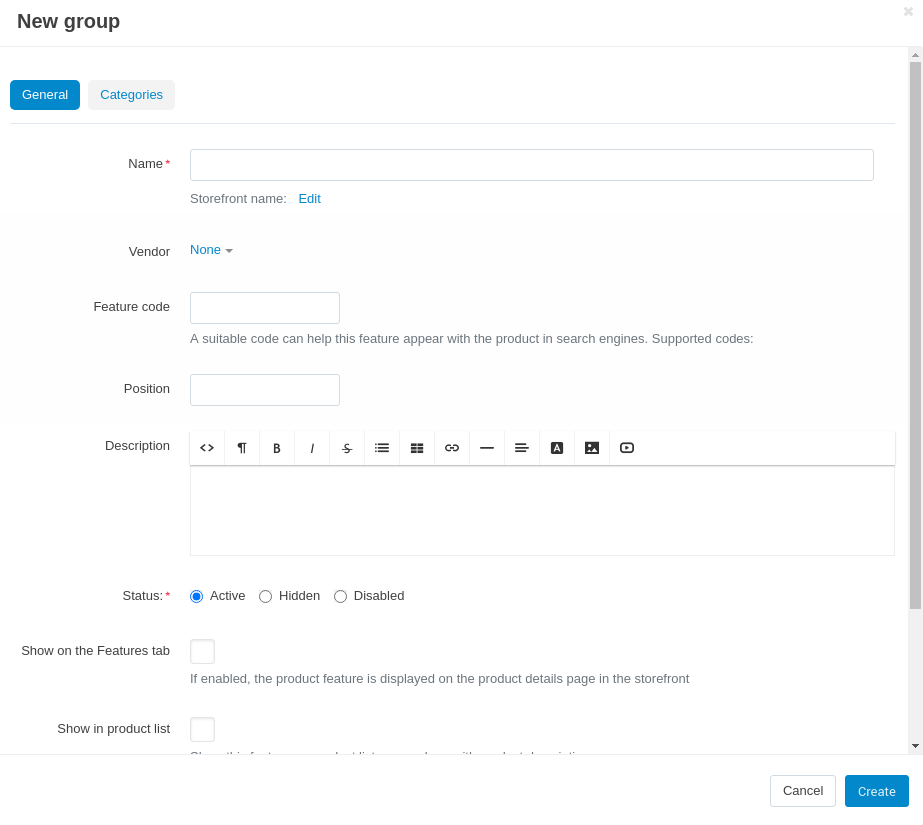
- Name—the name of the feature group.
- Storefront name—the storefront to which the group belongs.
- Vendor—the vendor to which the storefront belongs.
- Feature code—the code to identify the feature group.
- Position—the position of the feature group relative to other groups.
- Description—the description that appears when a customer clicks the question mark icon on the Features tab of the product detail page on the storefront.
- Show on the Features tab—determines whether or not to display the feature group on the product page.
- Show in product list—determines whether or not to show the feature group on the product list page on the storefront among other product details.
- Show in header on the product details page—determines whether or not to show the feature group under the product header.
(optional) By default, the feature group will be available in all product categories. To limit the group to certain categories, follow the steps below:
Switch to the Categories tab.
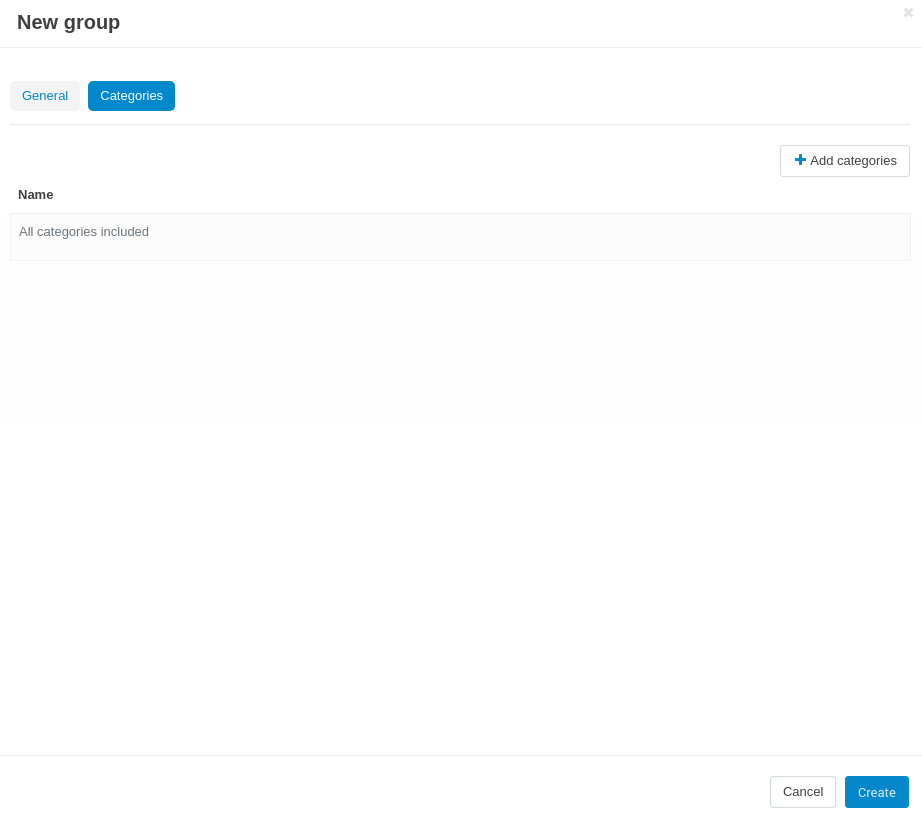
Click the Add categories button.
Tick the checkboxes of the categories where this feature group should be available.
Click Add categories and close.
Click the Create button. The new feature group will appear under Products → Features, if you switch to Feature groups using the menu on the right.
Important
Vendors can only delete those features or feature groups which they created. If the vendor’s feature is already applied to some products, only the marketplace administrator can delete it.
Specify Features of Products
Single Product
Go to Products → Products.
Click the name of the desired product.
Switch to the Features tab.
Specify the value of the feature.
Click the Save button.
Multiple Products
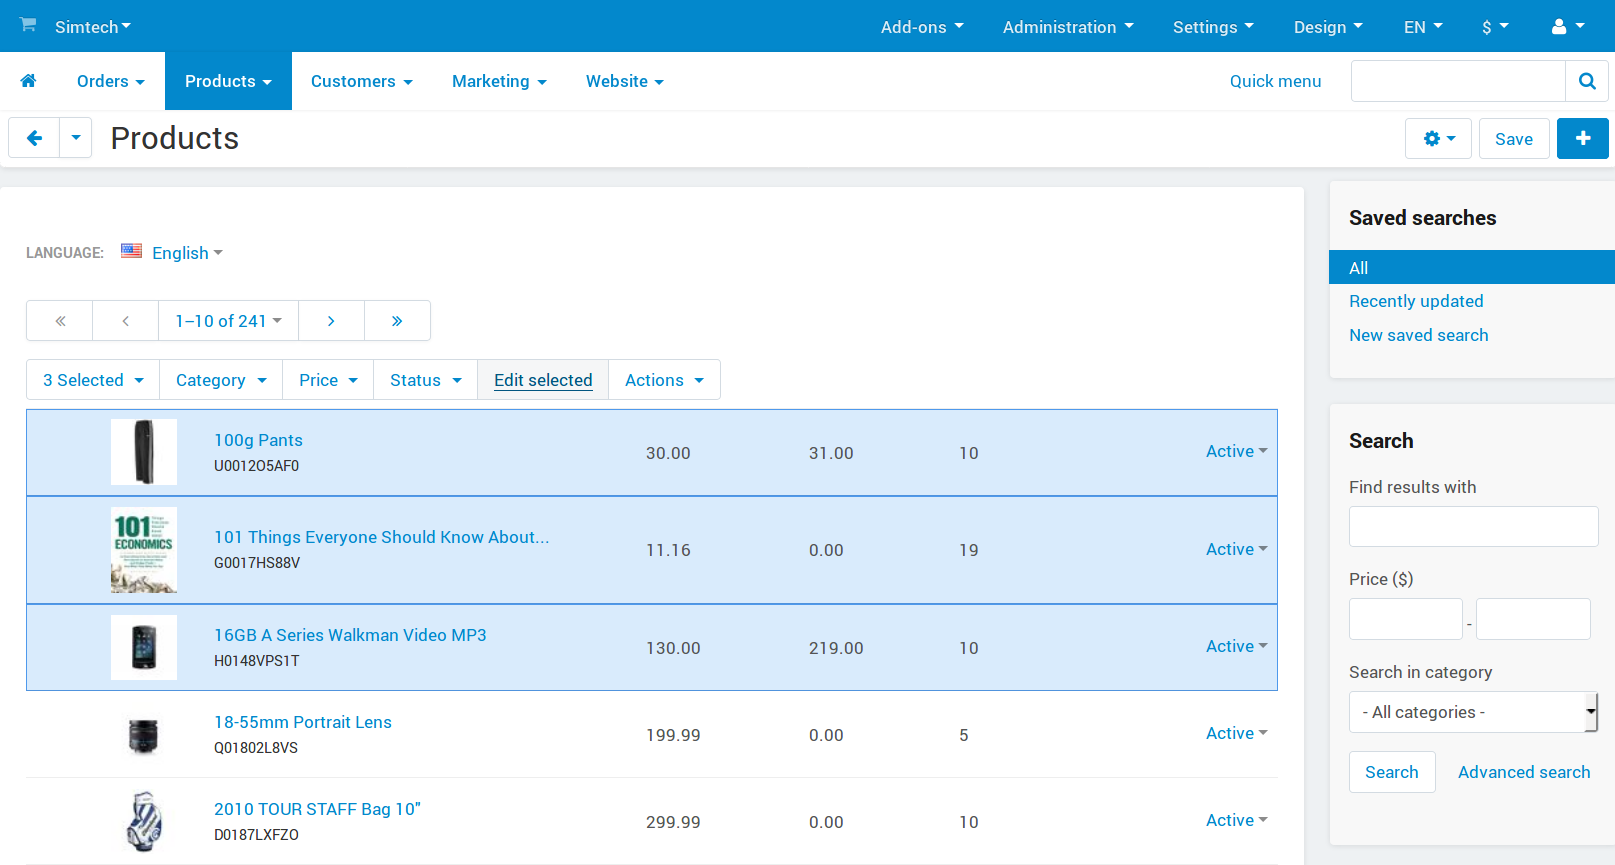
Go to Products → Products.
Click on the necessary products to select them.
Hint
Use the search panel on the right to find the necessary products faster.
Choose Edit selected above the list of products.
A pop-up window will appear. Click Unselect all, then tick the Features checkbox.
Click Modify selected.
Specify the values of the features for the selected products.
Click the Save button in the top right corner.
Note
You can also add features to products using product import. The description of the correct format can be found in this article.
Questions & Feedback
Have any questions that weren't answered here? Need help with solving a problem in your online store? Want to report a bug in our software? Find out how to contact us.