Sticky Product Bar
Overview
Sticky Product Bar add-on provides revenue increase by streamlining and simplifying adding products to the cart and checking out.
The sticky bar includes Add to Cart, Add to Wishlist, Add to Comparison List, and Buy Now buttons. You can configure the content and design of the sticky bar to your taste and needs from the admin panel.
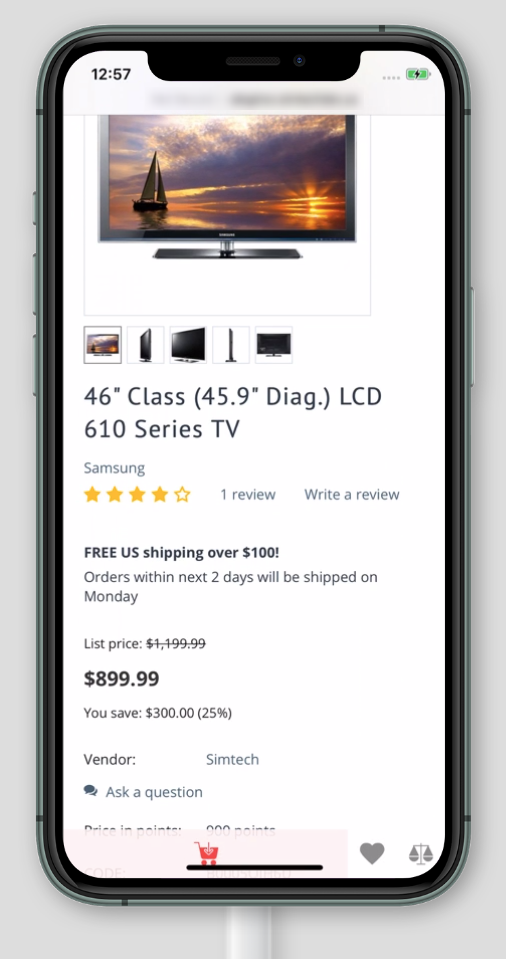
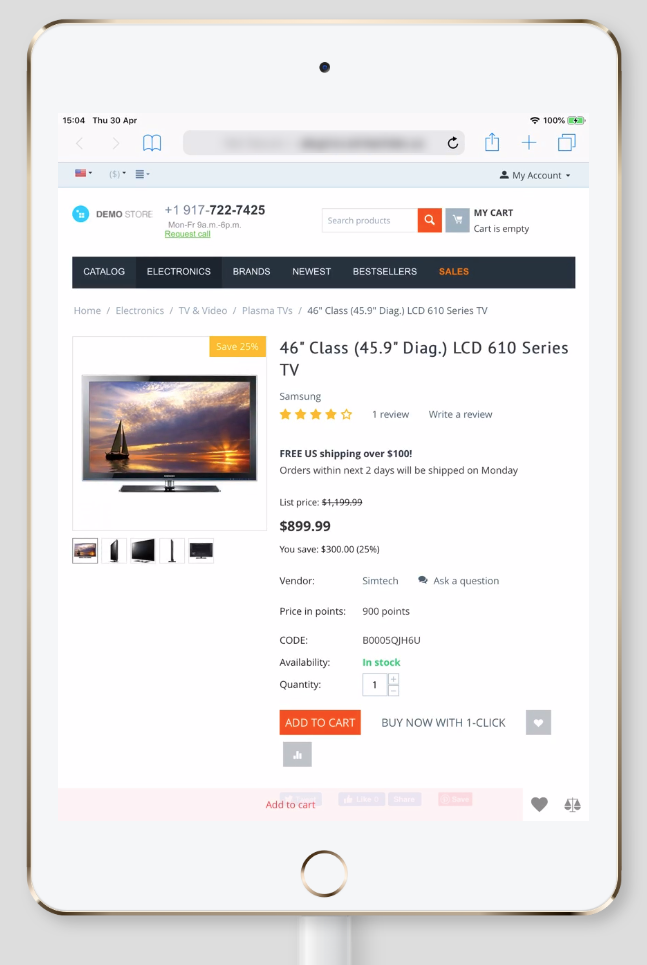
The Sticky Product Bar add-on is fully responsive.
iPhone 11 PRO (iOS 13):
iPad Mini 2019 (iOS 12):
Learn how to install the add-on, configure settings, and more by following quick and easy steps below.
Features
- For mobiles, tablets, and desktops
- Ability to change the color of the buttons and texts in Admin panel
- Ability to change CTA texts and upload your icons as SVG file
- Ability to turn on/off certain buttons at will
Compatibility
The add-on is compatible with CS-Cart and Multi-Vendor 4.11 and above, but only versions 4.12.x and above are supported. Minimum required PHP version is 7.1.
See more information about compatibility of our add-ons here.
Support
You are guaranteed a quality add-on supported by the future versions. If you need help, please contact us via our help desk system.
Demo
Check out the Sticky Product Bar add-on in our demo store.
Managing in the admin panel
Installing the add-on
Install the Sticky Product Bar add-on on the add-ons list page (Add-ons → Manage add-ons). Click the + button in the top right corner, select an archive and click Upload & install. You can now find the installed add-on in the list of installed add-ons, just make sure it is set to Active.
Setting up the add-on
To set up the add-on, configure the following settings:
General
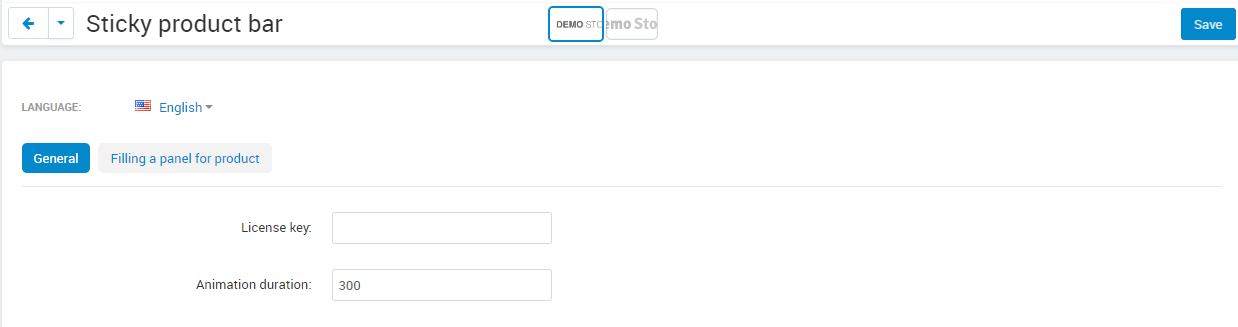
- License key—Enter the license key to activate the add-on. You will receive this key in the order confirmation email. You can also see license keys for all your purchased add-ons in your HelpDesk account.
- Animation duration—Set the duration of animation when interacting with the buttons (hover and focus).
Filling a panel for product
Buttons manager is available on Filling a panel for product tab in add-on settings.
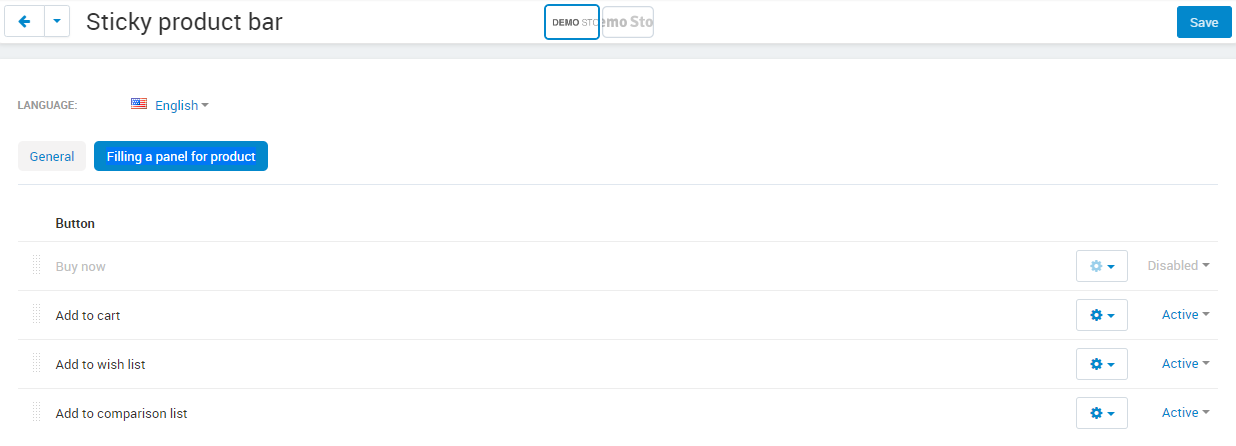
- Drag and drop the elements to change their order.
- The action button is disabled by clicking status on the left.
- The gear opposite the button opens edit mode.
Click gear to open buttons edit mode and configure the settings below.
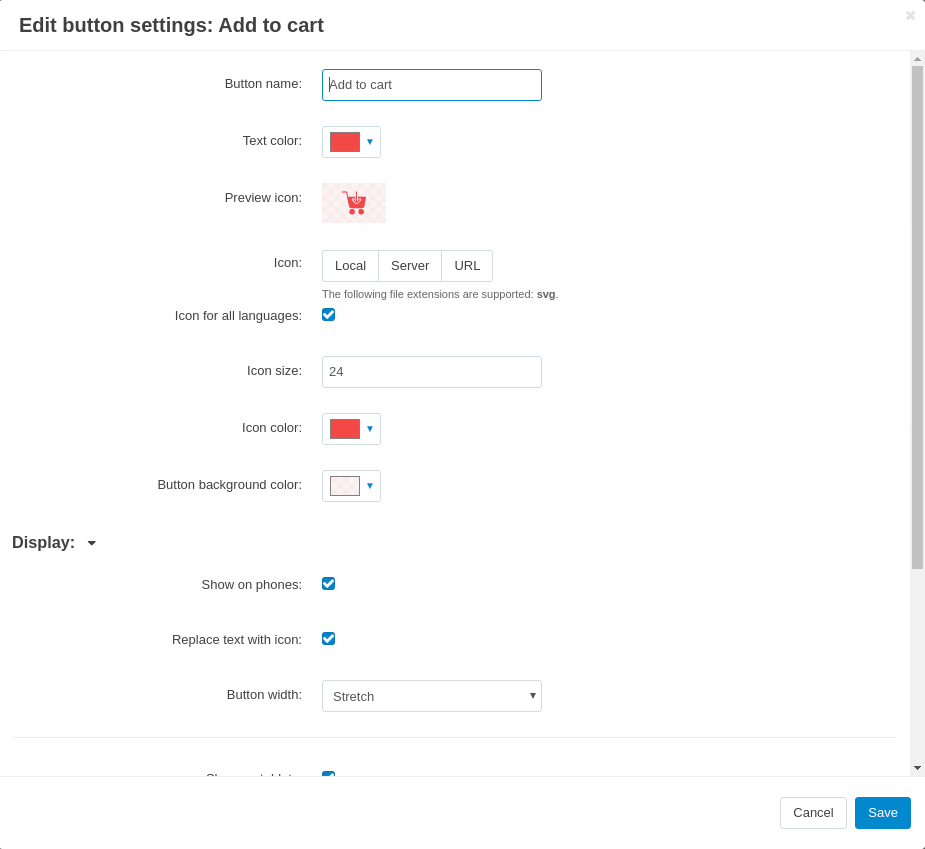
- Main
- Button name—Name of the button displayed on a product page.
- Text color—Select color of text on the button.
- Icon—Icon downloader in SVG format.
- Icon size—Allows to change the size of an icon.
- Icon color—Allows to change the color of an icon.
- Button background color—Allows to choose the color of the button background.
- Display
Show on phones—If disabled the button will be hidden on devices with screen width below 768px.
Replace text with icon—Allows replacing the text button with an icon for devices with screen width below 768px.
Button width—Manage the button width for devices with screen width below 768px.
- Auto - performs automatic adjust of the button width.
- Stretch - allows to stretch the button width.
Show on tablets—If disabled the button will be hidden on devices with screen width below 1024px.
Replace text with icon—Allows replacing the text button with an icon for devices with screen width below 1024px.
Button width—Manage the button width for devices with screen width below 1024px.
- Auto - performs automatic adjust of the button width.
- Stretch - allows to stretch the button width.
Show on desktops—If disabled the button will be hidden on devices with screen width over 1024px.
Replace text with icon—Allows replacing the text button with an icon for devices with screen width over 1024px.
Button width—Manage the button width for devices with screen width over 1024px.
- Auto - performs automatic adjust of the button width.
- Stretch - allows to stretch the button width.
Questions & Feedback
Have any questions that weren't answered here? Need help with solving a problem in your online store? Want to report a bug in our software? Find out how to contact us.